Origami Face Changer
The origami face changer is a really fun toy to make. One piece of origami allows you to display many faces, which can be customized to your heart's content.
Made this origami? Comment and Submit your photo using the comment box at the end of this page!
Here's a tip we received from Olivia, a reader. " I discovered a method 2 for the face changer which is much easier. Fold a boat base. Then squash down the tips."
So, you could follow her suggestion and fold an origami boat base. Then make 4 squash folds to form this face changer.
Otherwise, you can follow the instructions below.
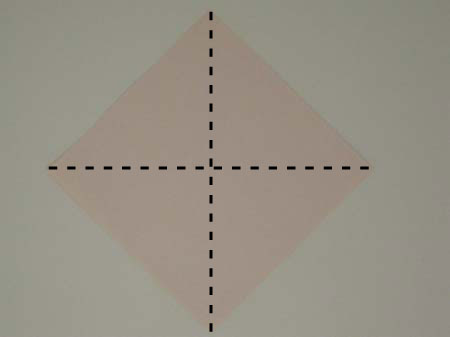
Start with a square of origami paper, colored side down:

Make a valley fold along one diagonal, then unfold and make another valley fold along the other diagonal:


Now flip the piece over. Fold corner A towards the center as shown:
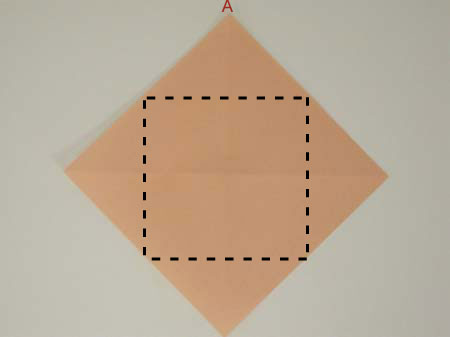

Repeat for the other three (3) corners:

Now unfold, and flip the piece over again:

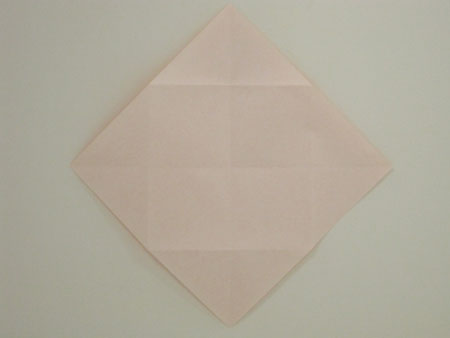
Next, fold the edge AB to the centerline of the square as shown:
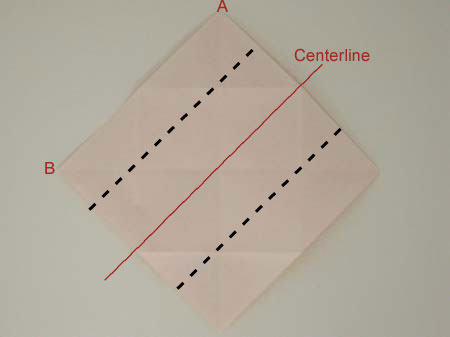

Repeat for the edge CD, then unfold the paper again:


Repeat the last two (2) folds on the opposite side of the square, as shown below...
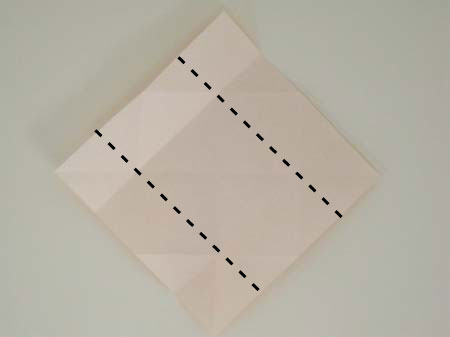


...then unfold:

Now it's time to transform the paper into your face changer! Using your fingers and thumbs, push gently on the middle of each edge of the square, as shown. This will cause the paper to collapse along the crease lines that we made earlier:


Then flatten the four (4) outer flaps as shown:


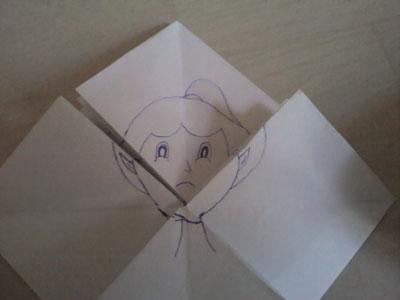
Now you'll need to do some drawing. In each of the 4 corners, the flaps have 3 positions (basic/up/down or basic/left right).
So you can have 4 x 3 = 12 possible faces.
On the top, draw 3 types of hair.
On the bottom, draw 3 different types of nose / mouth / chin / neck.
On the left and right sides, draw 3 different types of eyes / ears.
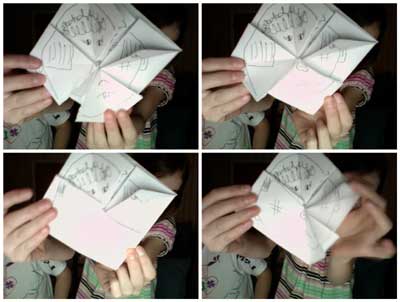
Below, we have folded down the left flap, to make our face changer wink ;)


Here are a couple other faces from the same face changer:


Can you make a face changer showing your entire family, or group of friends?
From Amelia in Heywood " Me and my family love this face changer so much! Forthe past 2 days I have took it everywhere with me and even used it!!!! "
From Anne-Marie in Middlesex " I made the face-changer and kept it infront of my face, like a mask! it was funny when i startled my sister by sneaking up on her! XD "
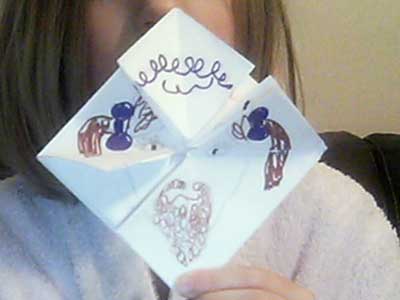
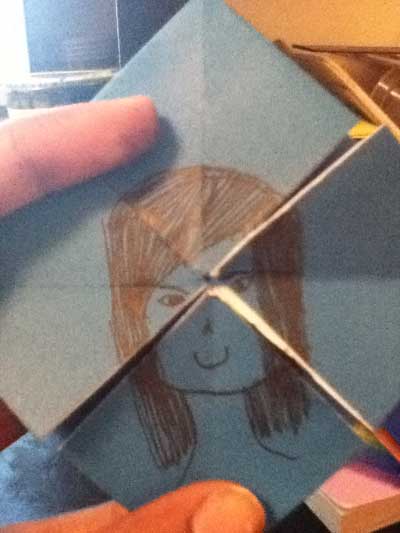
From reader in Toronto:
From Keanne in Makati City " this is my first origami face changer. i really like it. this origami website rules... i do all of my origami here in this website..."

From reader in Manila " This was my first origami face changer.i really like it."