Origami Diamond
The origami diamond is probably the cheapest diamond out there. Still, it's a classic and easy-to-make origami design.
Made this origami? Comment and Submit your photo using the comment box at the end of this page!
Origami Diamond
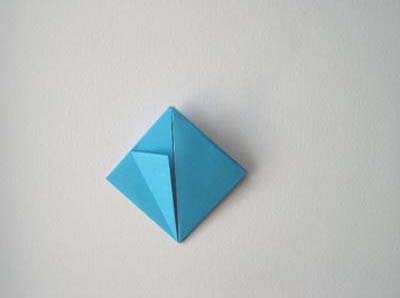
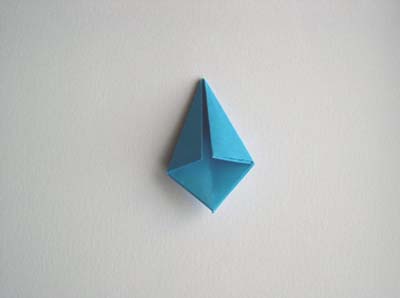
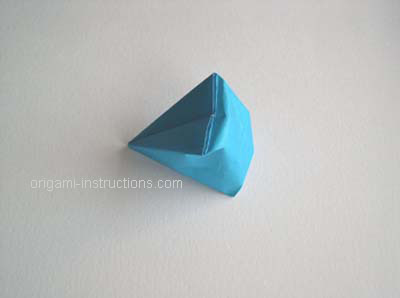
Origami Diamond Step 1: Start with a square 6" x 6" (15cm x 15cm) piece of origami paper. Then make an origami waterbomb base. The 2nd picture shows a completed waterbomb base and is what you should have to get started.


Origami Diamond Step 2: Now you need to fold up the four corners as if you were making a water balloon. First fold the left and right sides to meet the crease in the center.
Then, flip paper over and fold the right and left sides to meet the center crease again.


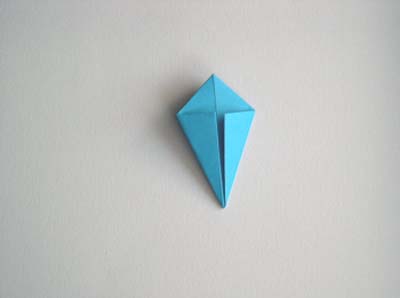
Origami Diamond Step 3: Now fold the lower edges of the square into the centerline. Again, fold right and left edges to meet the crease in the center.
Flip paper over and fold right and left edges to meet crease in the center again.
The following two photos show the first edge folded, then all edges folded.
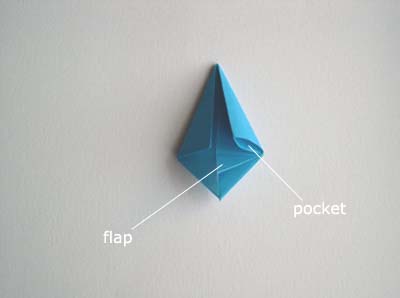
Origami Diamond Step 4: Now we've turned it upside down to show the pocket, and the flap to be tucked into the pocket.
Expand the pocket a little with your finger if necessary, to get the flap to fit.
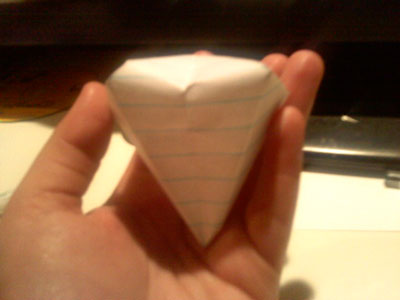
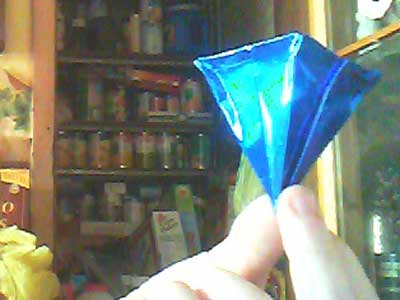
Origami Diamond Step 5: After tucking in all four flaps, blow gently into the narrow end of the diamond to expand it.
Diamonds are a folder's best friend!

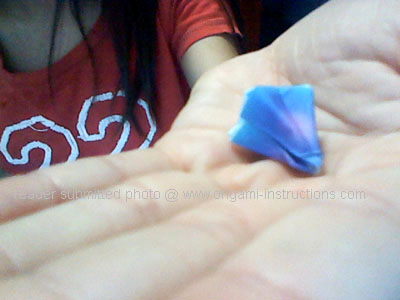
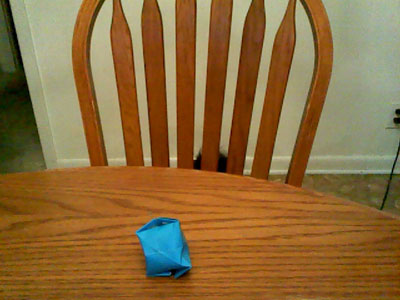
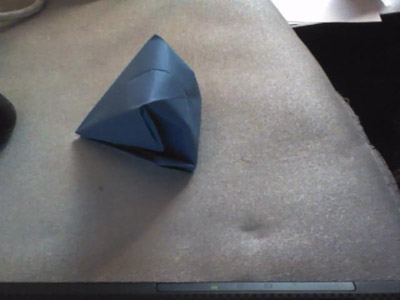
Thanks to our reader for sending in their origami diamond!
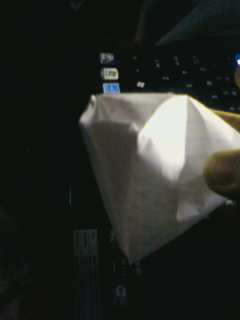
From Crysta in Minneapolis " Origami diamond. I had to tape down the sides because when I tried to blow it up it fell apart lol. "
From reader in Aliso Viejo:
From Tajcana in Horna Marikova:
From Jonice in Orlando:
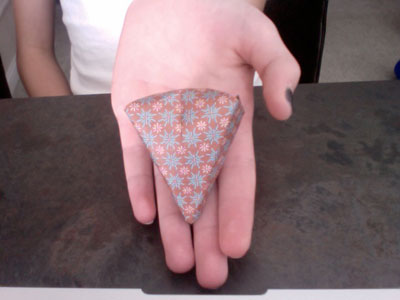
Wow, how many carats in that diamond?!
From reader in Findlay:
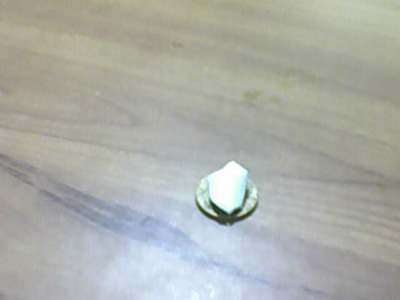
From Allaine in Philippines " My diamond is smaller than or small as a 25 cent of the Philippines! If you made smaller than mine's, I'll be so impressed! "
From Bridget in West Deptford " Origami Diamond Whoa... the best of the best! :D "
From Caitlin in Mason:
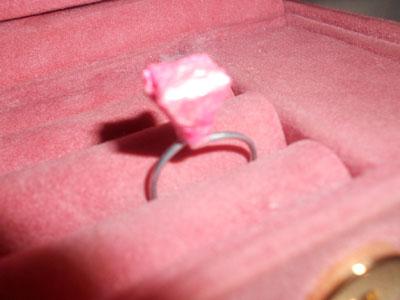
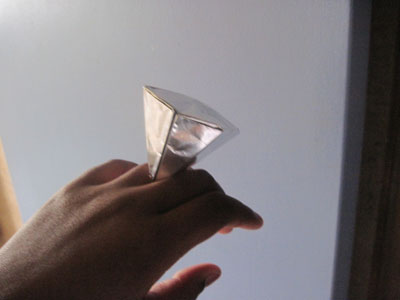
From Alyssa in Manila " Made into a ring! Origami diamond "
Cool!