


Origami Box Folding Instructions
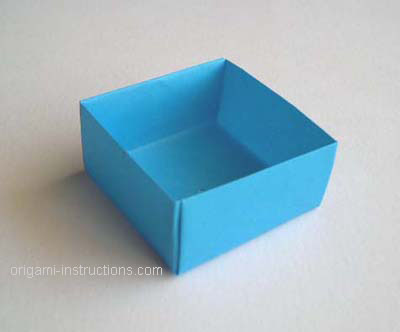
The origami box is simple to make, and can be used to hold other origami pieces. Or important stuff, like candies. This origami box is also called Masu, which is Japanese for a square wooden box. Follow the step by step photos to make the origami box. If you prefer, we also have origami box video instructions.
Made this origami? Comment and Submit your photo using the comment box at the end of this page!
If you like this, you may also like the origami star box and origami pleated box.
If you want a box with a cover, check out the origami box with cover page.
Origami Box
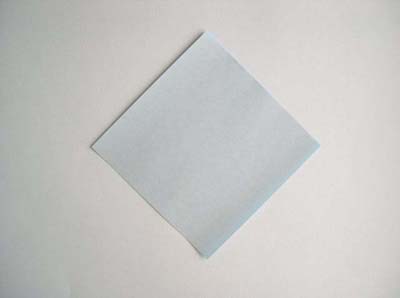
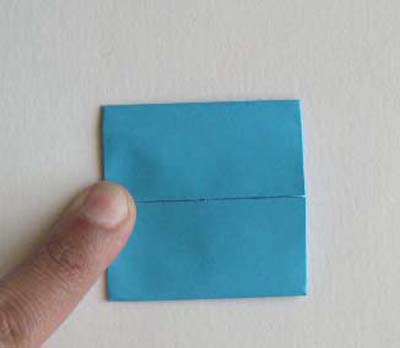
Start with a square 6" x 6" (15cm x 15cm) origami paper.
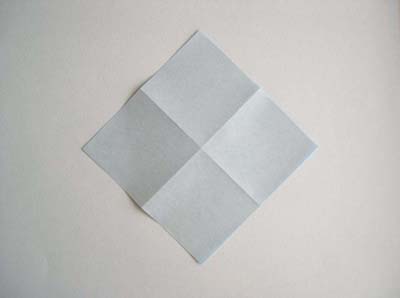
Flip the sheet so that the colored side is face down. Now make two mountain folds as shown.
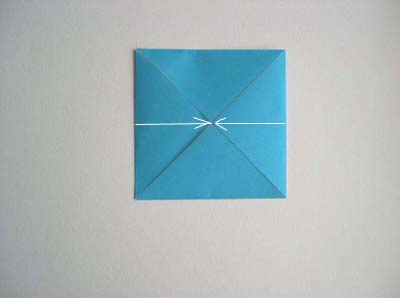
Using the mountain fold lines as guides, fold the four corners of the paper into its center.
Then fold the right edge and the left edge into the centerline.
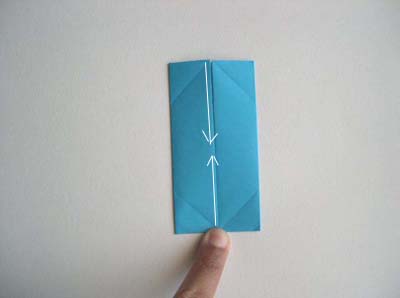
Now fold the top edge down and the bottom edge up, as shown below.
Then I'm going to ask you to undo the last two-and-a-half steps!
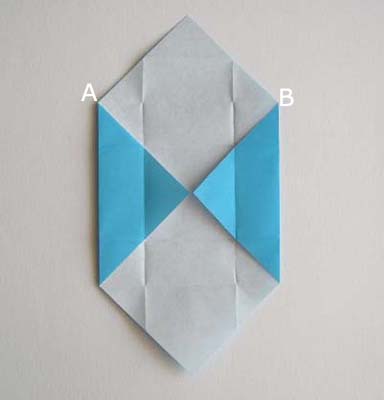
The unfolded paper should like the one below.
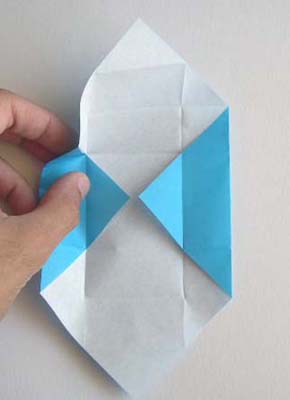
Now put your finger behind point A and do a reverse fold as shown as shown in the next 3 photos.
One side of the box will be formed as you do this.
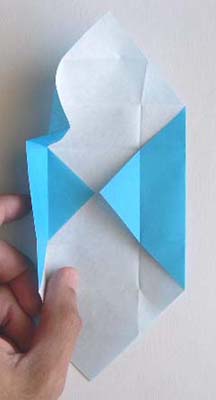
Do the same for point B and the other side of the box.
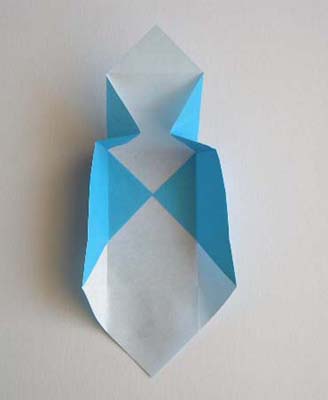
Now tuck in the flap as shown to form the third side of the box.

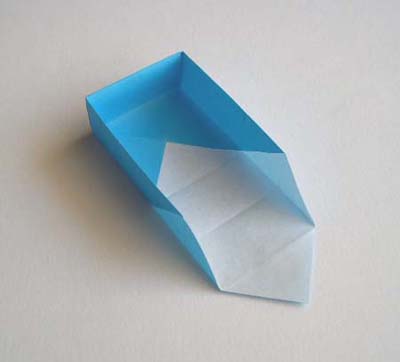
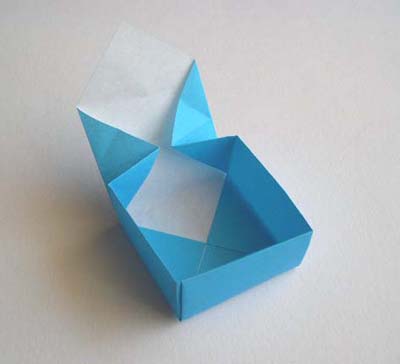
Turn the box around and repeat the sequence of the last 5 photos. You now have an origami box!
Serving suggestion with your origami box(candies optional):

Check out all the origami box photos that we've received from readers of this site!