


Inflatable Origami Water Balloon
The inflatable origami water balloon (also called water bomb) is an easy to make, working working toy.
Made this origami? Comment and Submit your photo using the comment box at the end of this page!
You can check out our water balloon video instructions, and/or follow along with the photos below.
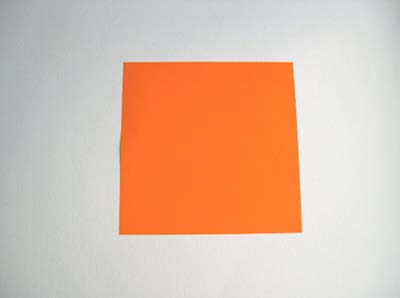
Start with a square of paper.
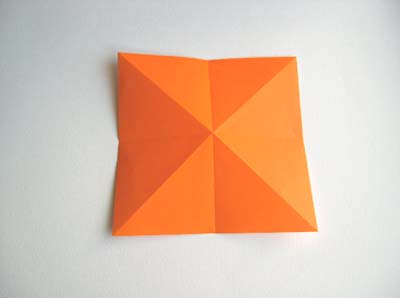
Then make mountain and valley folds as if you were making a square base.
The difference is that the mountain and valley folds are reversed when compared to the square base.
Origami Water Balloon
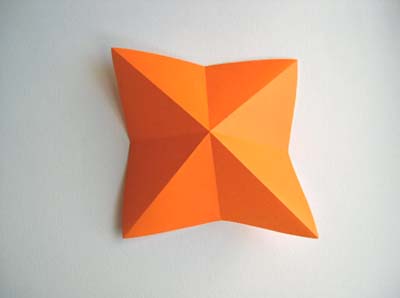
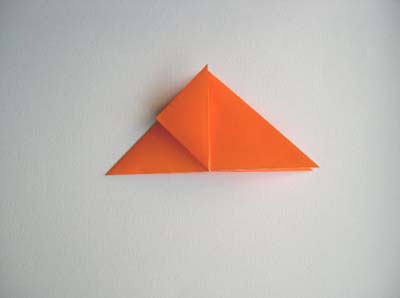
Now start to collapse the pre-folded piece of paper.
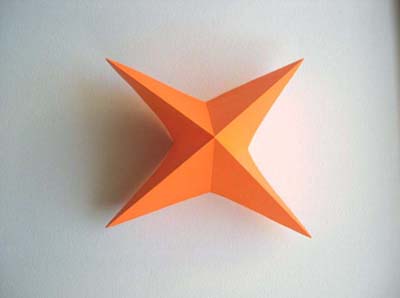
You will end up with the folded triangle shown below. This piece occurs so often in origami that it has its own name, the balloon base (or water bomb base).

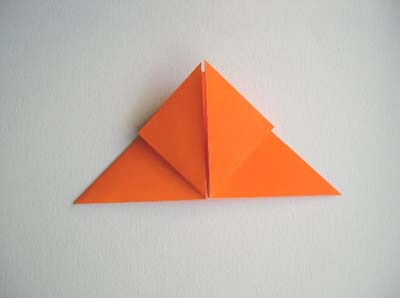
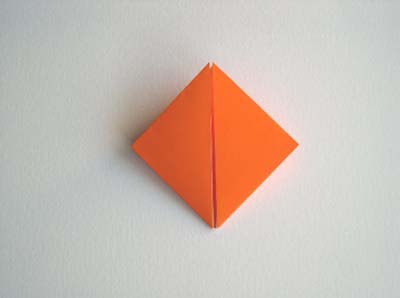
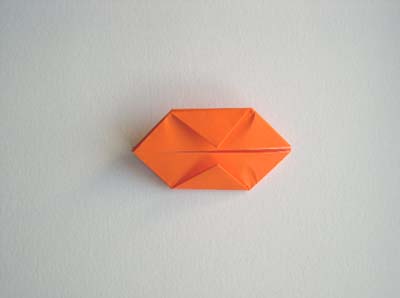
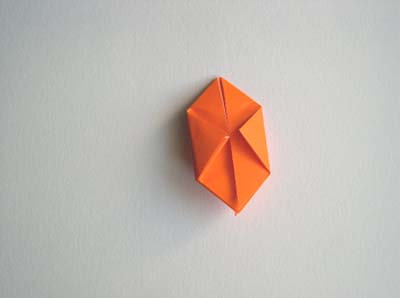
Now fold each of the four corners upwards as shown in the next three photos:
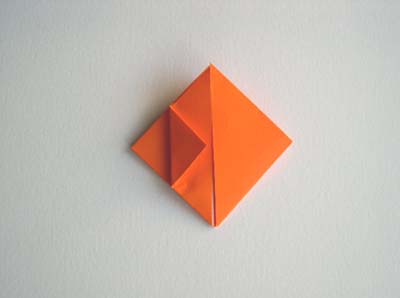
Now fold the four horizontal corners into the center as shown:
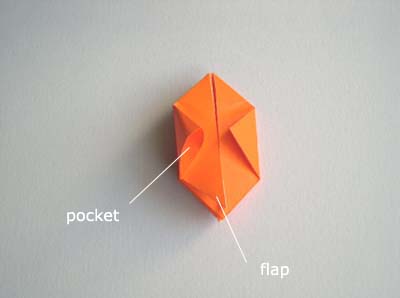
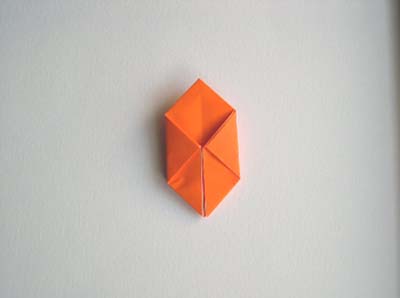
Use your finger to expand the little pocket as shown below. You are going to tuck the flap into the pocket.
However, the flap must first be folded in two to make it small enough for the pocket.
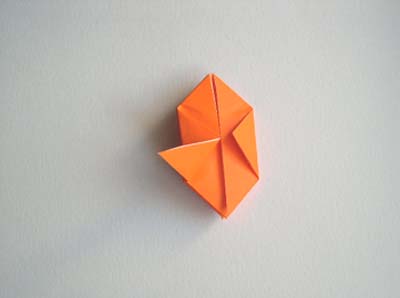
This sequence shows the flap folded, then tucked in.
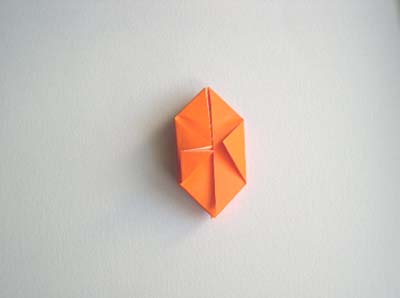
Now fold and tuck in the other three flaps.
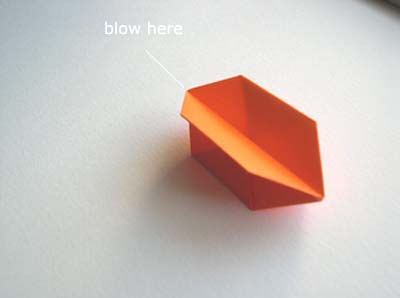
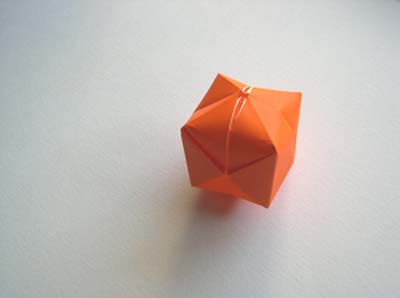
Finally expand the balloon as shown below. First unfold the balloon partially, then blow gently into the hole at one end.
At our school, we actually filled these with water for some recess hi-jinks...
This is a much loved origami and we've received many photos from our readers. Check out the origami water balloon as folded by our readers!