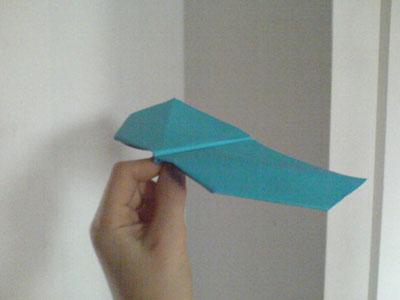
Origami Hang Glider
The Origami Hang Glider is simple to make, although it may be a bit less exciting than a real hang glider. It also flies smoothly and gracefully.
Made this origami? Comment and Submit your photo using the comment box at the end of this page!
Origami Hang Glider
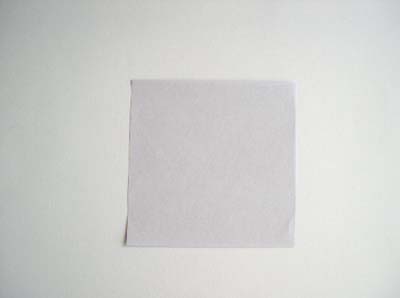
Start with a square piece of origami paper.
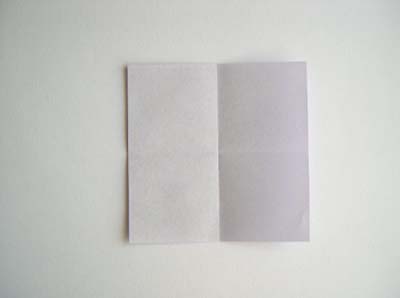
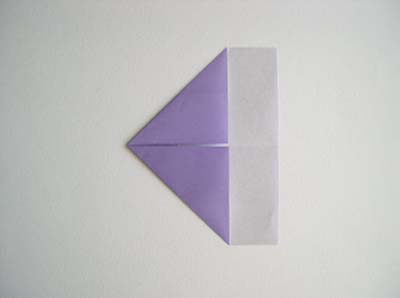
Fold it in half along the North-South line, and also along the East-West line, to make two creases as shown.
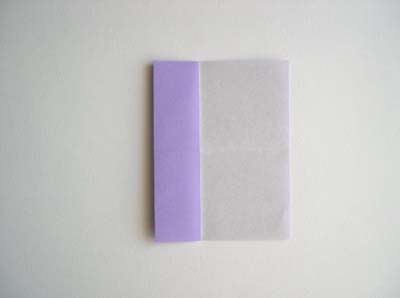
Now fold the left-hand edge of the paper into the exact center of the square (use the intersection of the creases you just made as the center mark).
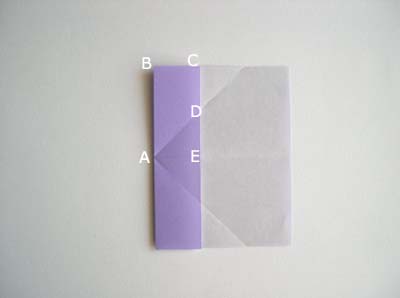
The fold the upper and lower left corners onto the center line, as shown below:
Next unfold the previous folds, leaving the paper creased as shown.
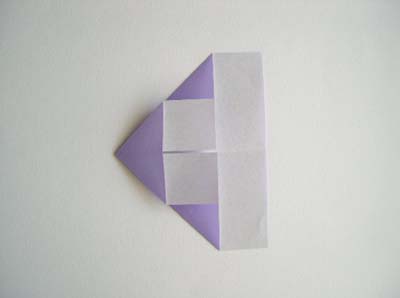
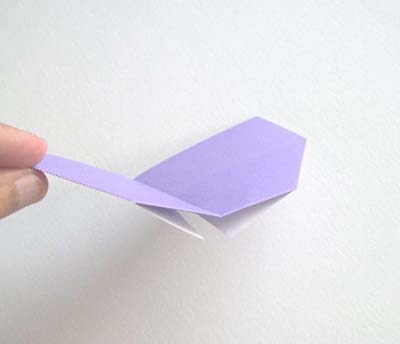
Next line A-B gets folded to the centerline, and C-D gets folded away from the centerline.
Look at pictures carefully:
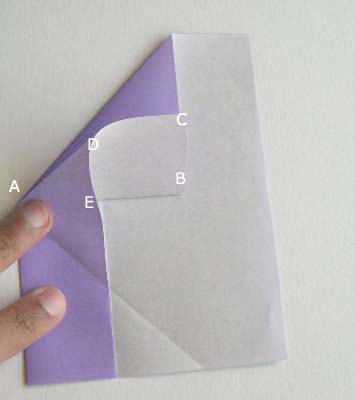
Now repeat the last fold on the lower half of the piece:
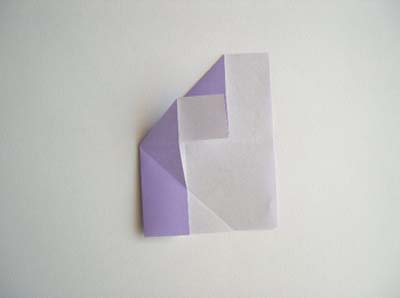
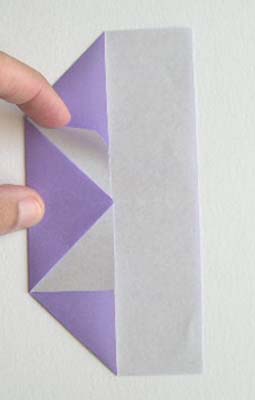
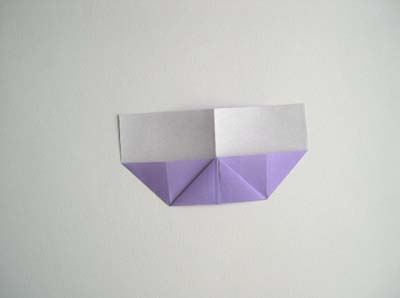
The next step is to fold the top point over as shown. There are now two loose flaps on either side, fold these up as shown.

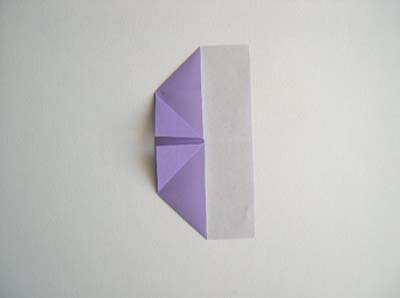
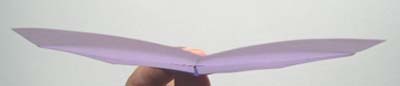
Almost there! Fold the hang glider in half, then unfold.

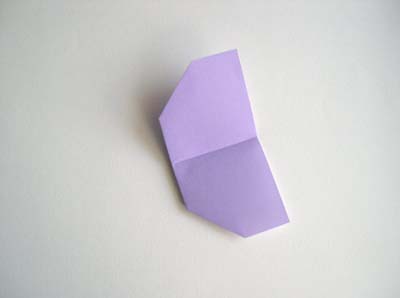
The idea is to leave a small angle between the two halves of the wing. This is called the dihedral angle.
It is used on airplanes to make them be more stable in flight.
If you want to experiment, you can remove this angle, or reverse it, to see the effect it has on your hang glider's flight.
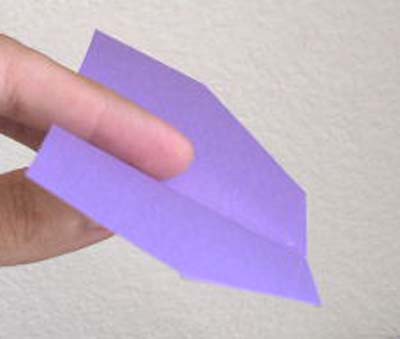
You can secure the flaps with a bit of tape, to reduce aerodynamic drag.
This will also improve the flights. A paper clip can be added to the nose, this will make it fly faster.
Do not throw the glider like you might fly a paper airplane.
To fly the origami hang glider, hold it over your head and at a downward angle of 30 to 45 degrees.
Simply let it slide off your fingers towards the floor.
It will swoop down gently, then slow down and level off.
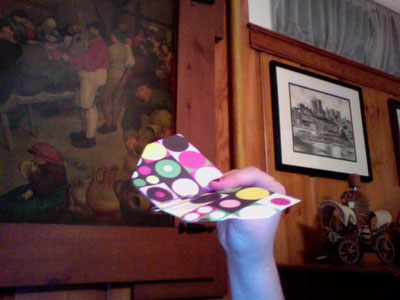
From Taylor of Scarsdale:
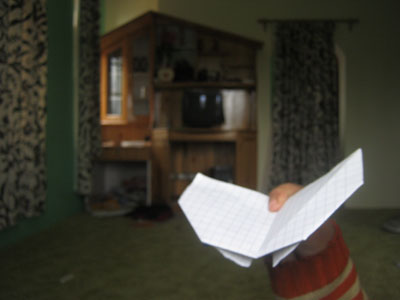
From Yaheya in Srinagar " A great gliding origami hang-glider ! "
From Eryk in Gdynia " This is my glider. I added little fold in center of it and now it's flying! "