


Origami Place Card with Stand
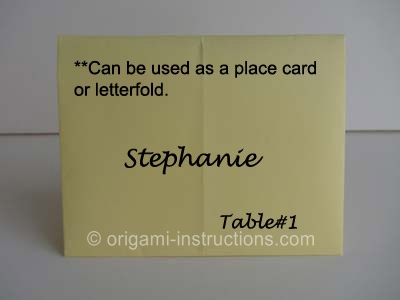
You can use this origami by Laura Kruskal as a place card at your dinner party. Or you could write a letter then fold it as this. Either way, your guests or the letter recipient will be delighted!
Made this origami? Comment and Submit your photo using the comment box at the end of this page!
Origami Place Card with Stand Step 1: Start with an A4 printer paper. The dimensions are 8.5 inch x 11 inch (210 mm x 297mm).
Fold paper in half on the vertical axis. Crease well and unfold.


Origami Place Card with Stand Step 2: Fold both top right and left corners to meet the center crease.


Origami Place Card with Stand Step 3: Now fold both the right and left sides to the center.


Origami Place Card with Stand Step 4: Fold the bottom edge upwards to meet point X. Crease well.


Origami Place Card with Stand Step 5: Now fold the bottom part over itself.
Crease well and unfold this step as well as Step 4.


(Note: For those observant readers who may notice an extra crease, I forgot to take the photo above until after I completed the origami...oops...The extra crease is actually made in Step 8 below)
Origami Place Card with Stand Step 6: Now we're going to refold the bottom edge and tuck it into the pocket.


Side view:


Origami Place Card with Stand Step 7: Flip paper over.

Origami Place Card with Stand Step 8: Fold on the dotted line shown below. Crease well and unfold.


and your origami place card with stand is complete! Printer paper is thicker than regular origami paper so the place card stands sturdily.
The front of the place card measures ~3 3/8" (85mm) Height x ~4.5"(108mm) Length .
Front view:

Side view:

Back view:
