How to make an Origami Camera
This is a fun one! The origami camera actually clicks when you take a photo!
Made this origami? Comment and Submit your photo using the comment box at the end of this page!
Origami Camera Step 1: Start with a square of origami paper, and crease it both horizontally and vertically .


Origami Camera Step 2: Now fold each of the four (4) corners to the center of the model. This is called a "blintz".

Origami Camera Step 3: Next turn the piece over, and fold the corners to the center again, i.e. make another blintz.


Origami Camera Step 4: Turn the piece over again, and fold one more blintz.


Origami Camera Step 5: Now turn the piece over again (but no blintz this time!). Unfold and flatten the top and bottom flaps, as shown in the sequence of the next four (4) photos.


Origami Camera Step 6: Now take hold of the corners A and B, and gently unfold and refold the piece as shown in the next seven (7) photos:


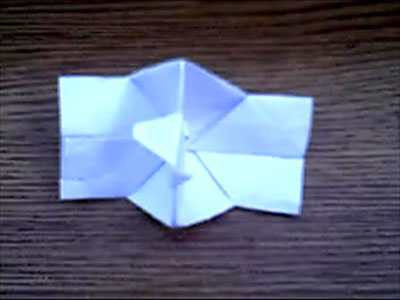
Origami Camera Step 7: Fold the rear flap of the model downwards, to get the piece shown below. Now take hold of corners A and B again, and overlap them:


Origami Camera Step 8: Then fold the tips over each other so that they are locked in place:

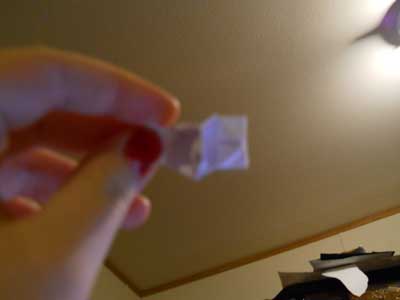
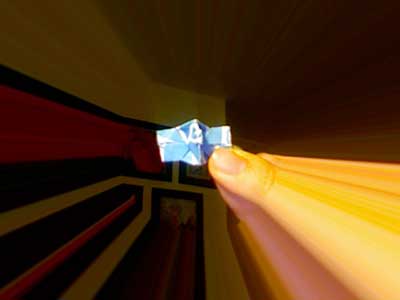
Now your origami camera is complete. To take a photo, hold the camera as shown and point it at the subject. Press forward with your thumbs, and the
flaps will unlock sharply with a "clicking" sound. To take another photo, re-lock the tips.
Enjoy!


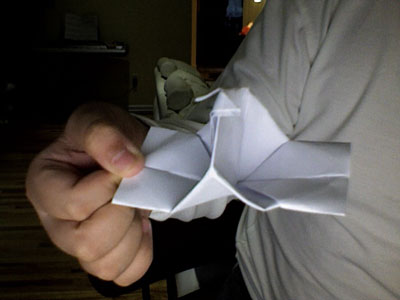
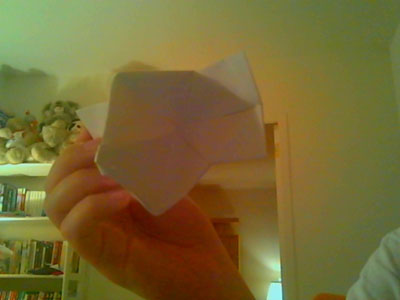
From Kevin of Danvers "I made this out of printer paper"
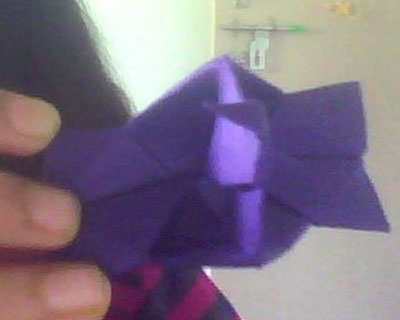
From Madison in Girard:

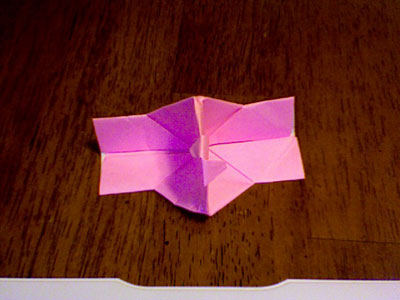
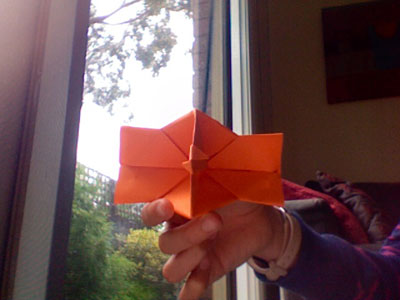
From MJ in Calamba:
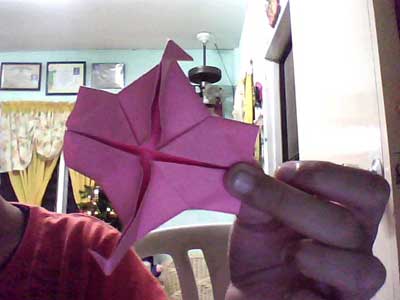
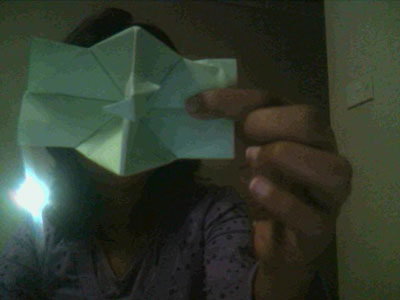
From Re'an in Malaysia "Origami Camera"
From Ashley in Elkhart " This is my first origami camera ever and it is also really small. "
From reader in Las Vegas " Origami Camera- Made out of scrap piece of paper."
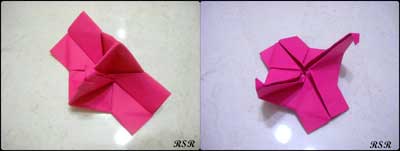
From Chioma in Valley Center " I made an origami camera, and it looks good doesn't it? I think it does! "
From reader in Quakers Hill " this is my camera. i've been looking everywhere for a simple camera and i finally found it .yay!
From Jeffrey in New York City " i am submiting this photo to the origami camera page."
From Sweata in Katihar " nice origami.say cheeeeeeeese "
From Eva in Melbourne:
From Morgan in Brunswick " This is my first origami camera! It works great! "