


Origami Animals - Origami Pig
This is a fairly straight-forward origami pig and the first part is actually the same as the origami house.
Made this origami? Comment and Submit your photo using the comment box at the end of this page!
Origami Pig
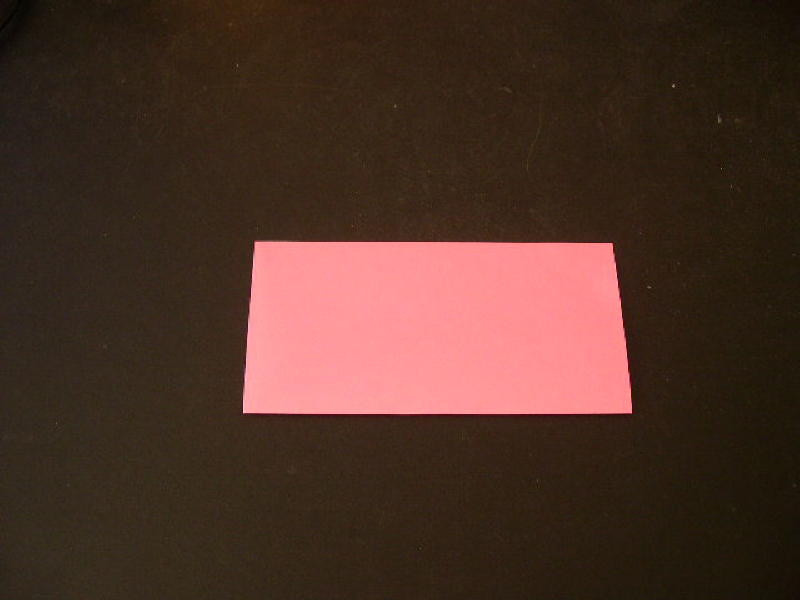
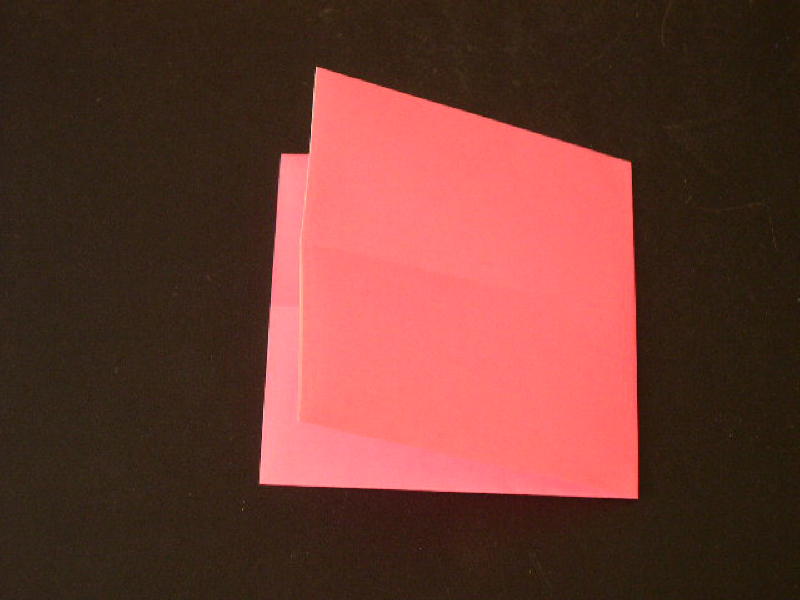
Start off with a square origami paper, color side facing down.

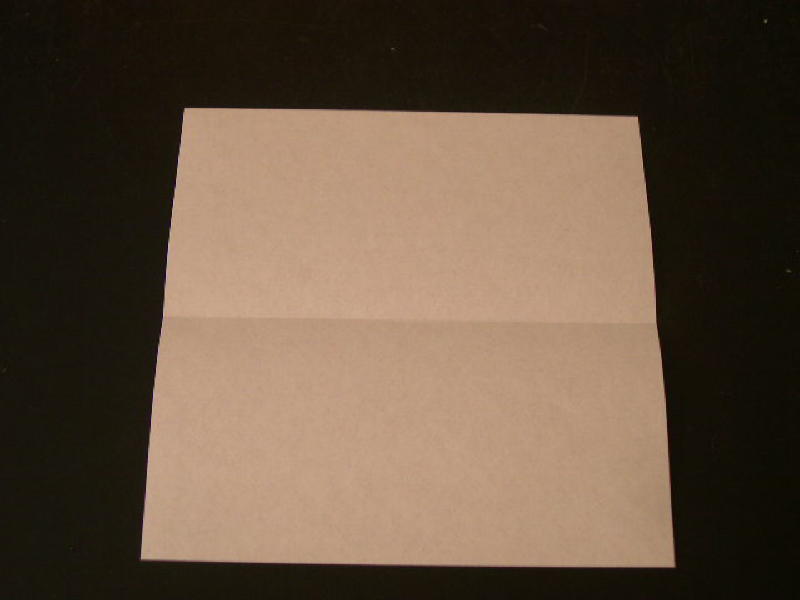
Fold it in half:
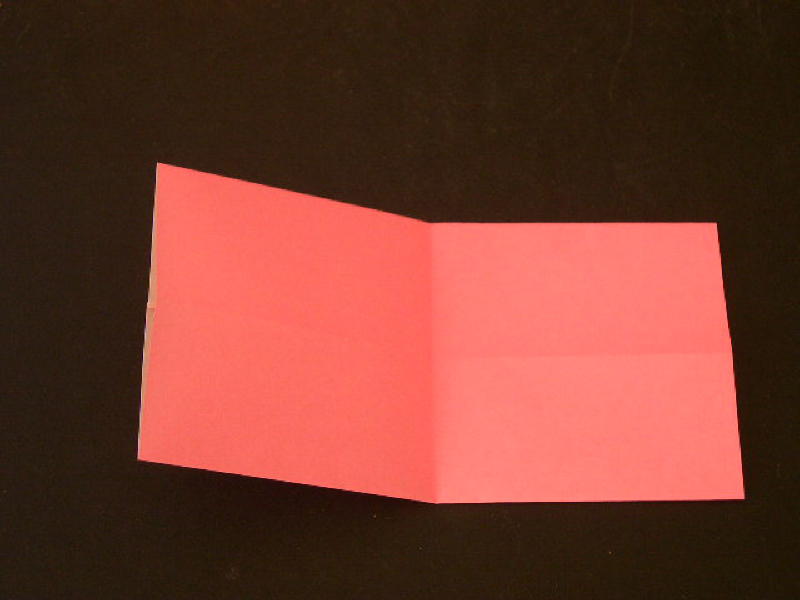
Open the paper and you should see a crease in the center:
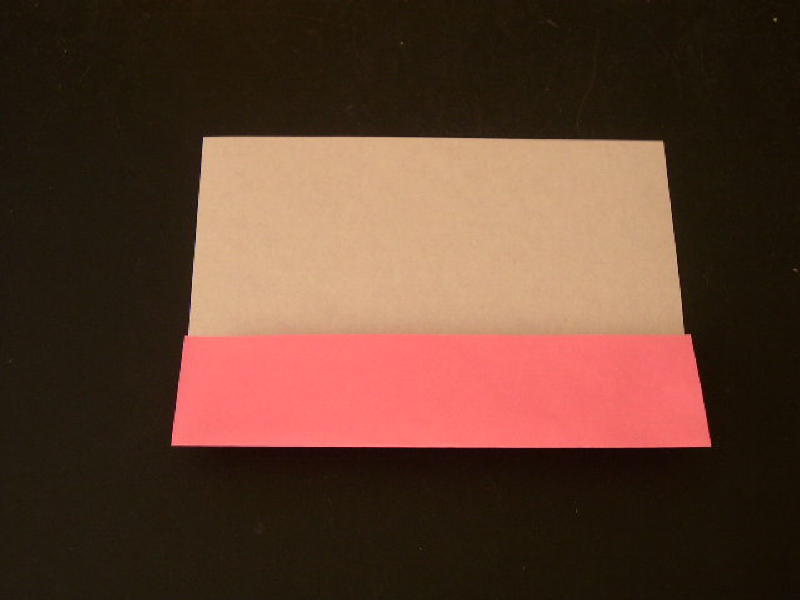
Now, fold both halves to meet the crease in the center:
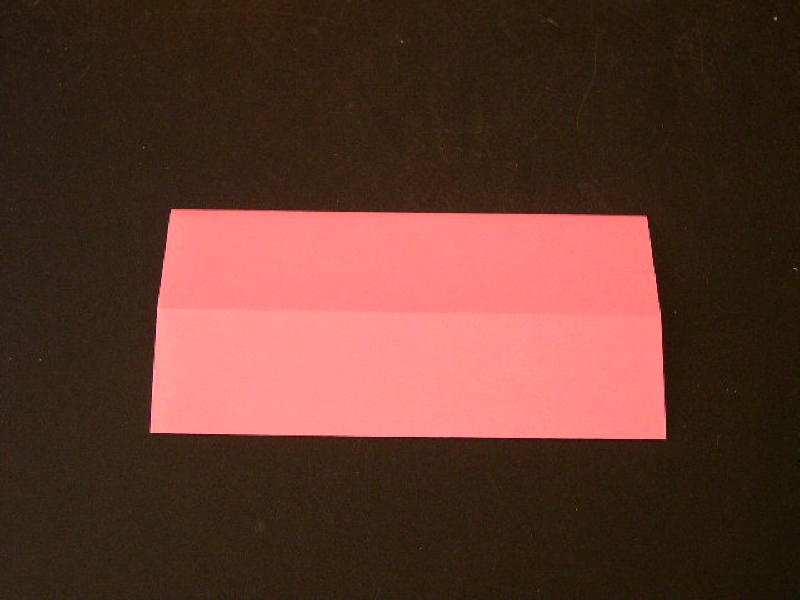
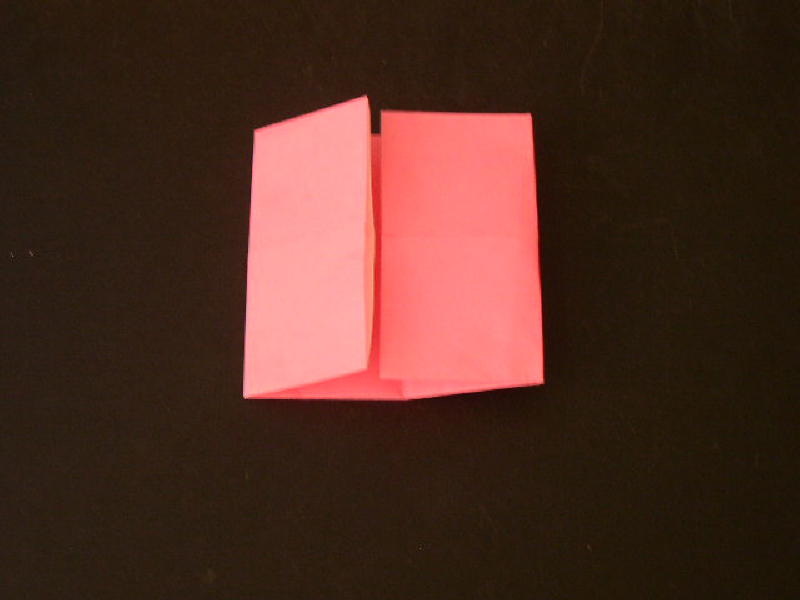
Fold the paper in half again, this time from right to left.
Open it back up:
Fold both halves to meet the center crease like so:
Pry open the top left corner:

and press it down to make a triangle:
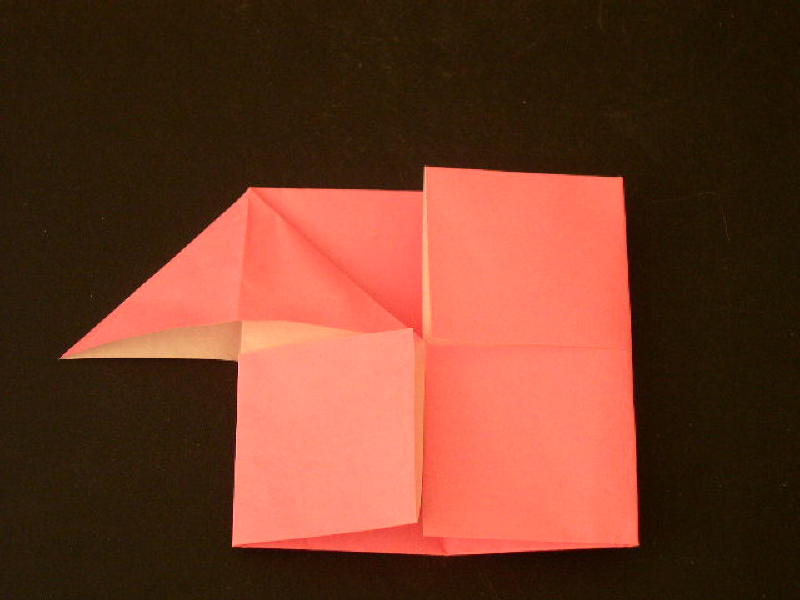
Repeat the fold for the other 3 corners - top right, bottom right and bottom left. All 4 triangles meet in the center:
Now, lift up half the right side from the center:

and fold it over:
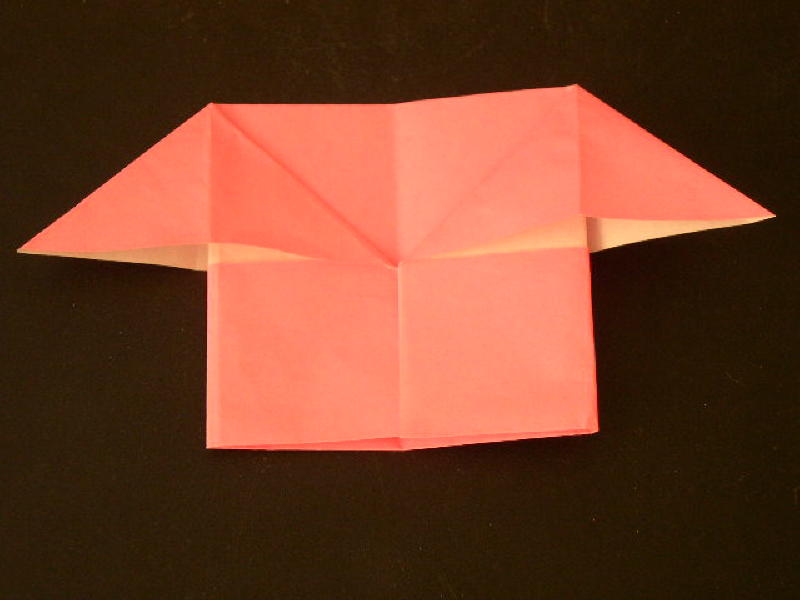
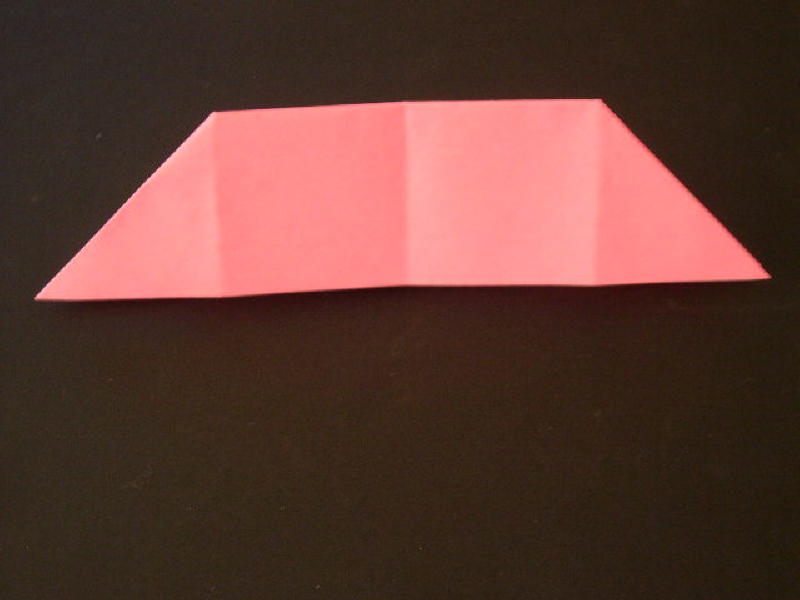
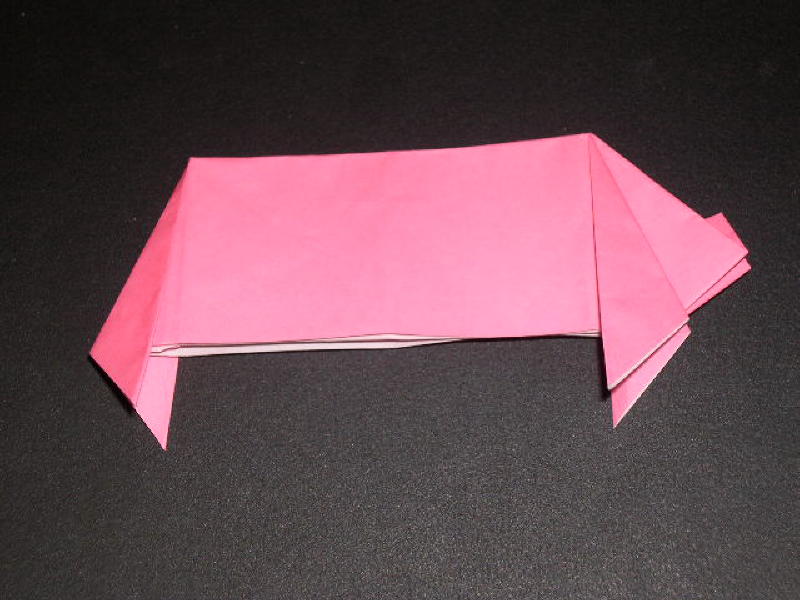
Fold the paper in 2, bringing the bottom half up to meet the top.
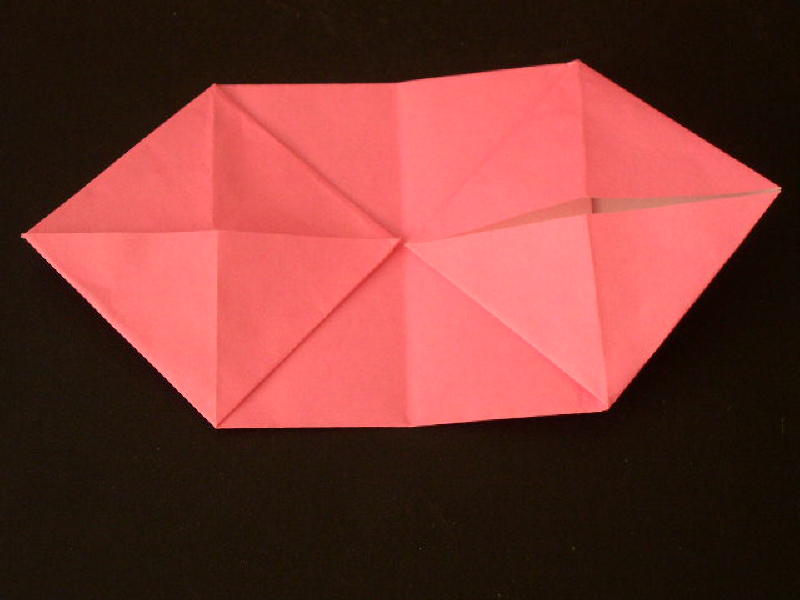
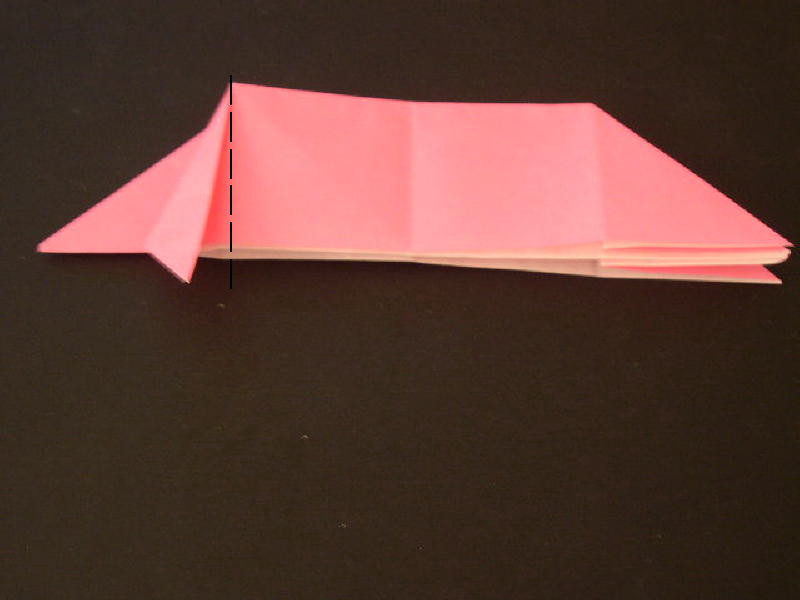
Bring the left tip over to meet the dash line shown in the picture below:
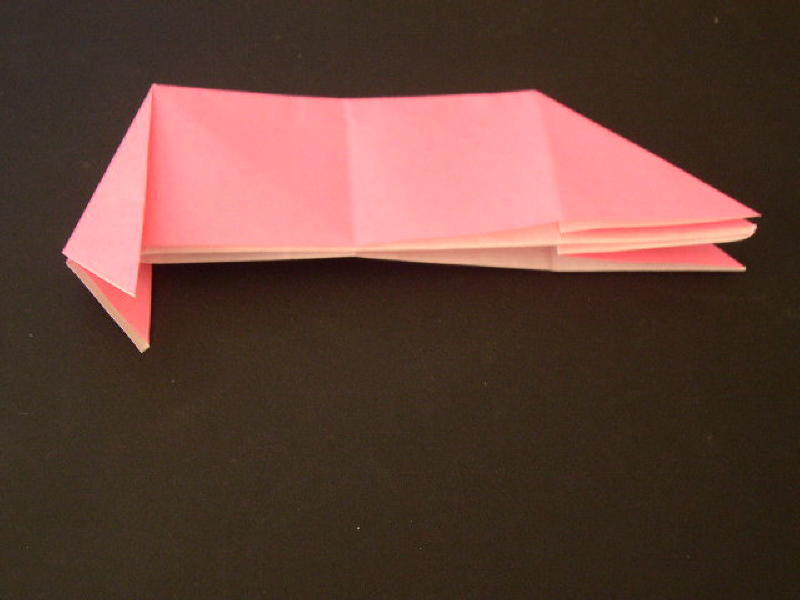
Do the same for the other side:
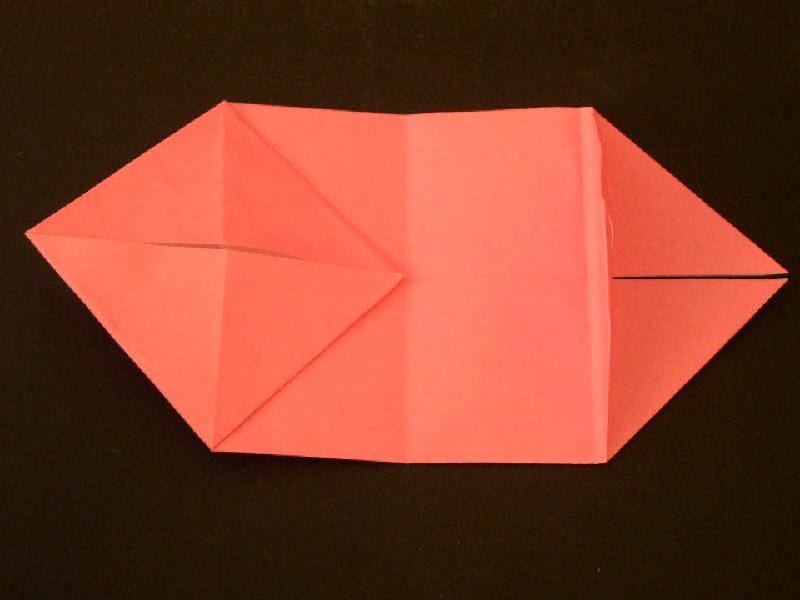
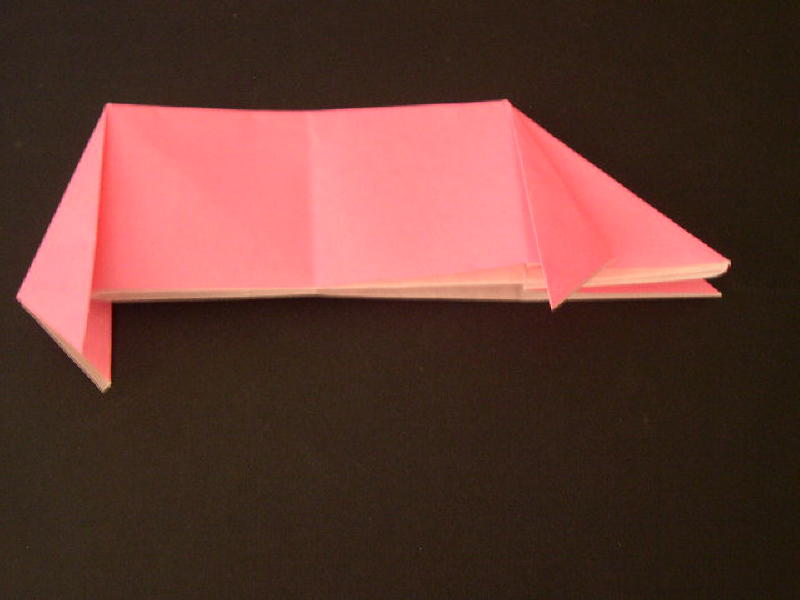
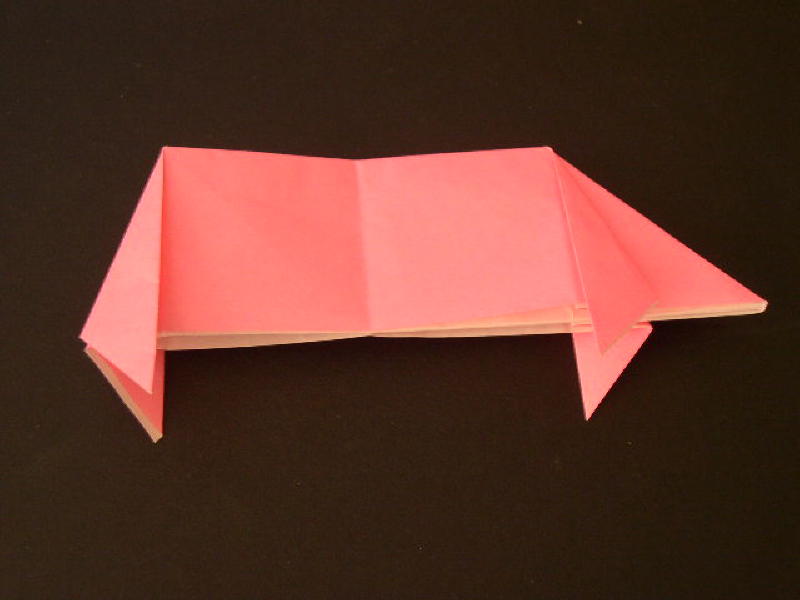
Repeat the fold for the right tip, bringing the right tip to meet the crease:
Repeat the previous step for the other side:
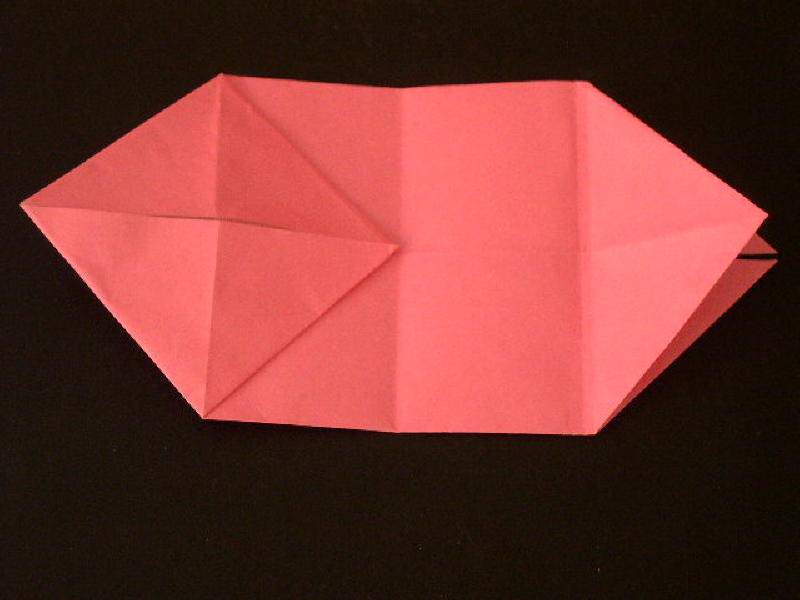
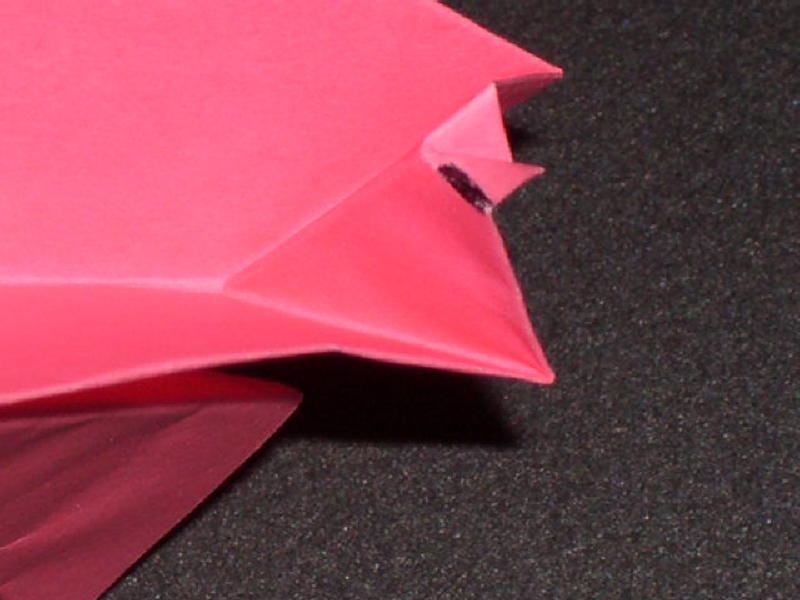
Make a slight crease on the right side and make an inside reverse fold:
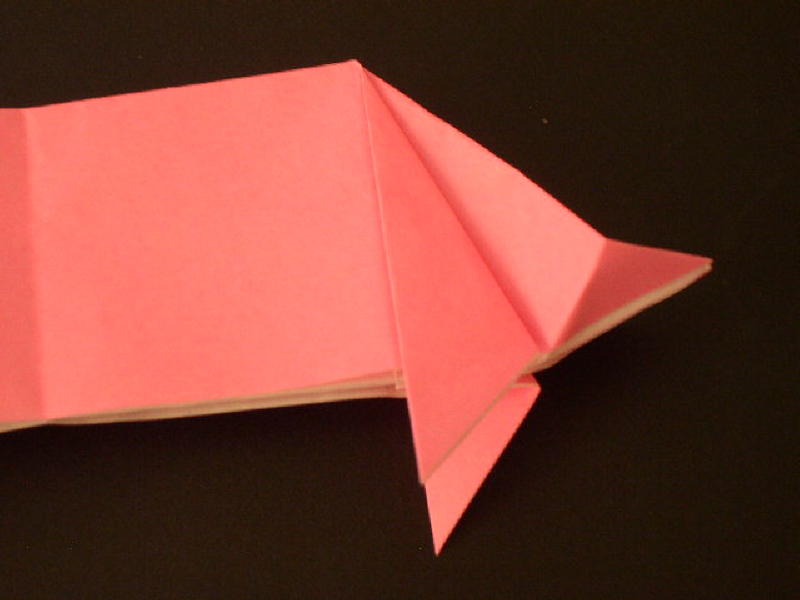
Top view of the inside reverse fold:
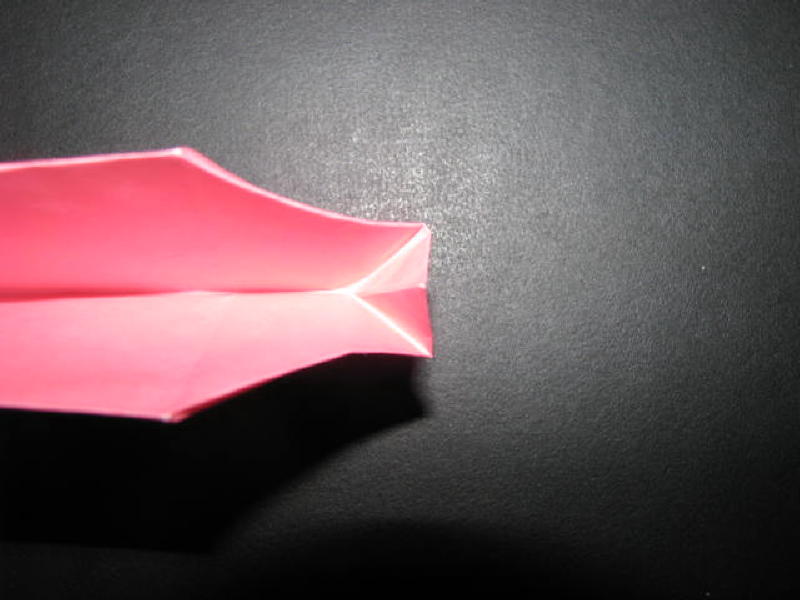
Now, make a crease on the marked line shown below:

and do another inside reverse fold, this time pressing the fold down. Here's the top view:
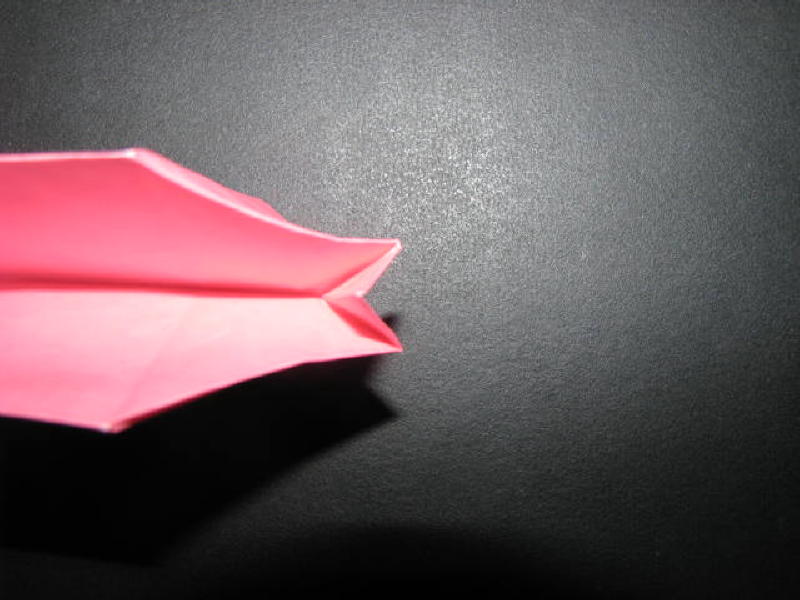
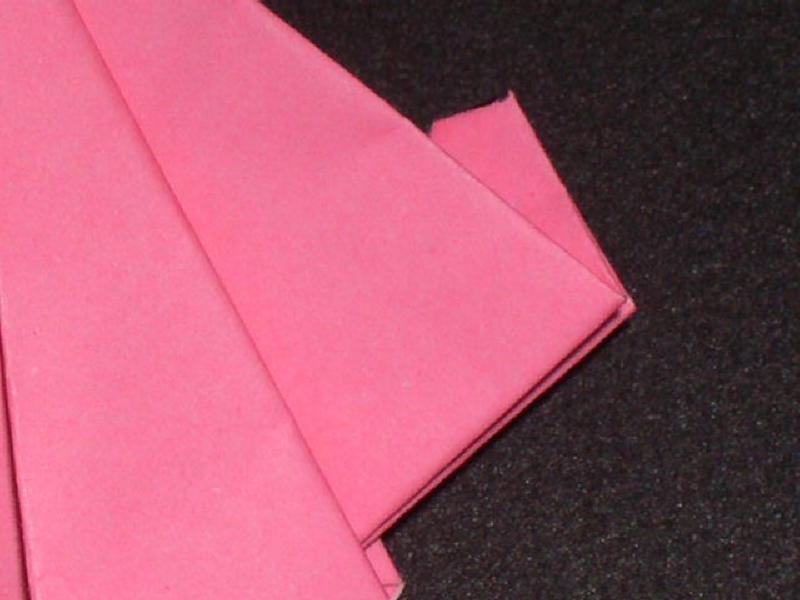
and you should get this:
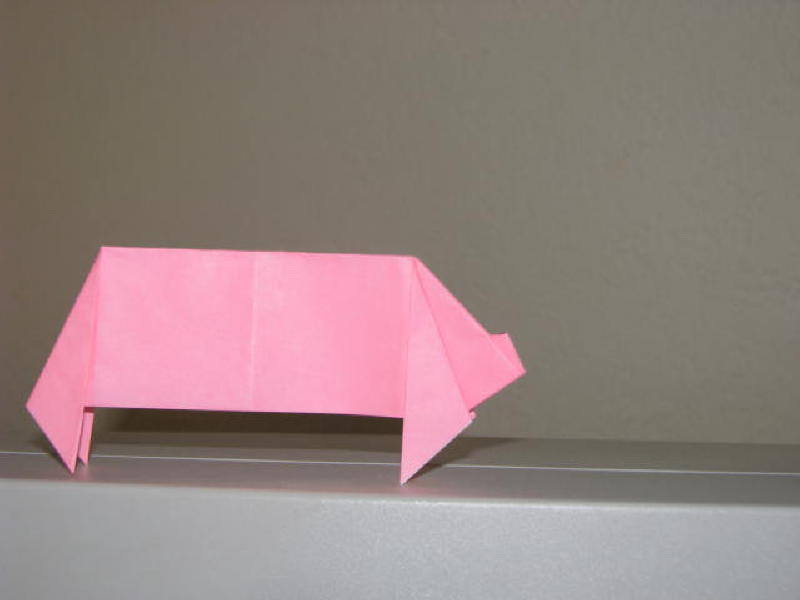
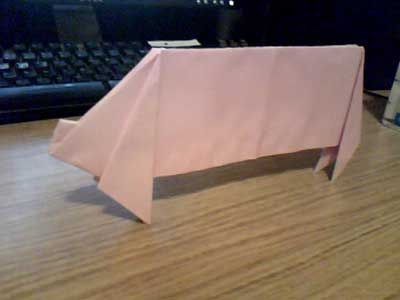
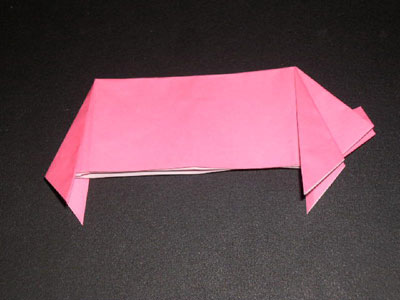
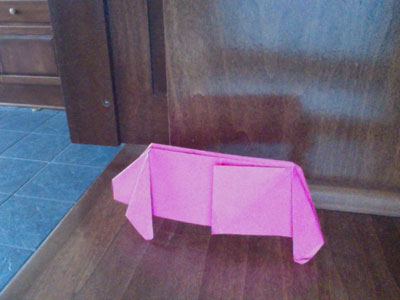
That's it! Here's the piggy:
From Liza in Westford:

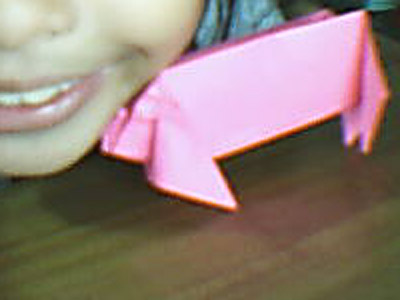
From Kiana in Greenfield City " Ehh the pig IS KISSING ME!! "
From Tyler in Longmont:
From Rachael in Altoona " I LOVE pigs so im glad I didn't screw this origami figure up! "
From reader in Canada:
From reader in Cincinnati " This is my piggy1 It was hard so I'm glad that you guys made instructions! I know you worked really hard on this, so, THANKS! Love this site! "
From Carina in Detroit " Making the origami pig was a little bit tricky. "
