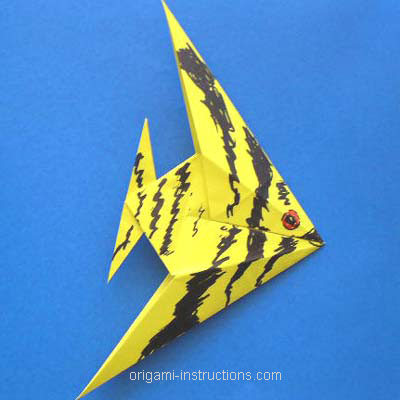
Origami Fish
This origami fish is relatively easy to make. It builds into an ocean-dwelling angel fish.
Made this origami? Comment and Submit your photo using the comment box at the end of this page!
Origami Fish
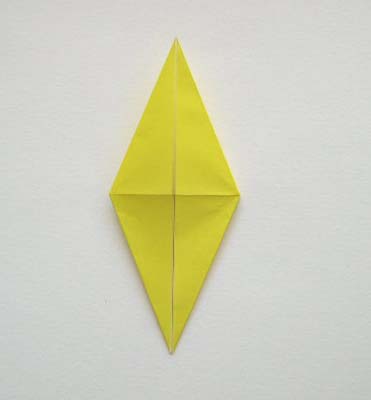
Start with a single piece of brightly colored origami paper. First make a bird base, shown below.
Review our instructions for the bird base if needed.
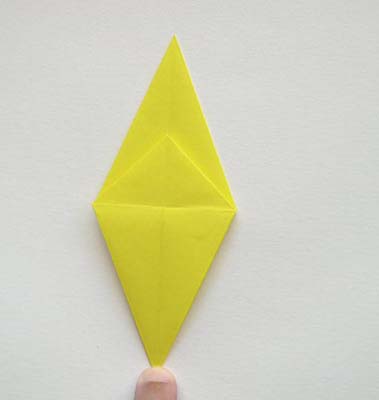
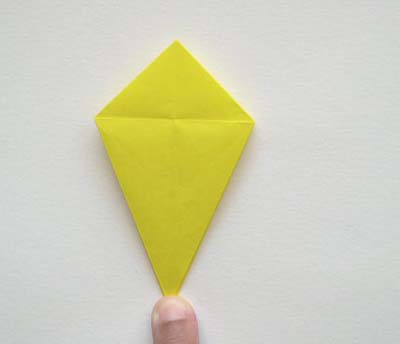
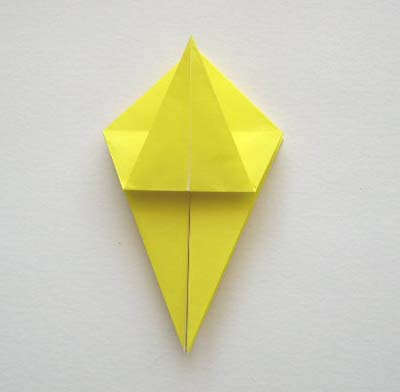
Fold the top points of the bird base down, to make a
kite shape, as shown in the next two photos.
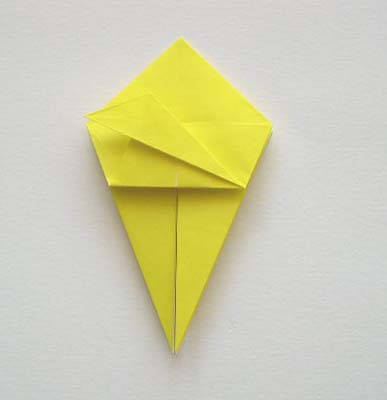
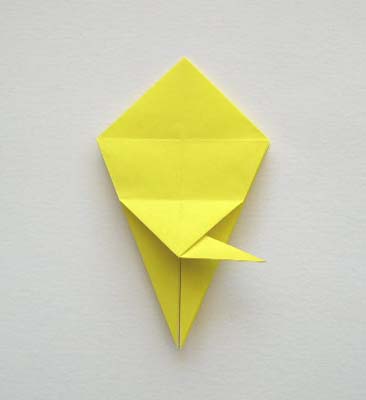
Now fold one of the lower points of the kite upwards, to meet the top point.
Fold that point across to the left corner of the kite.
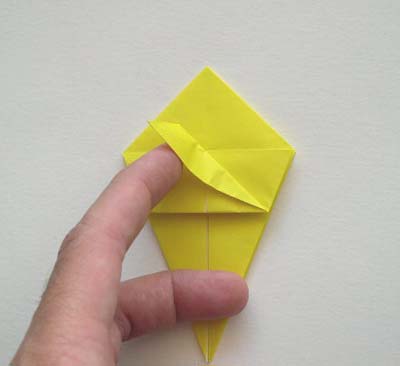
Now fold that corner across to the right, as shown in the sequence of the next three pictures.
This creates one half of the fish tail.
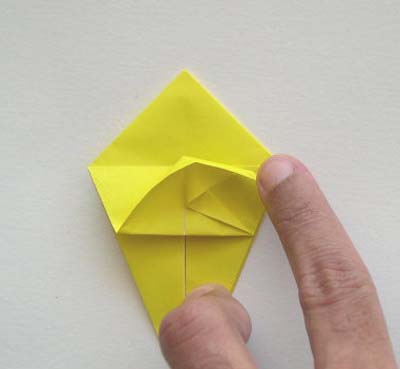

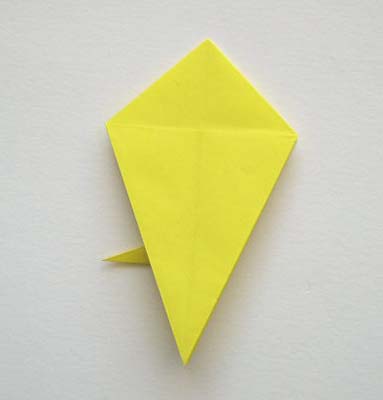
Fold the fish tail down.
The flip the origami piece over, and repeat the last six photo-steps to make another fish tail half.
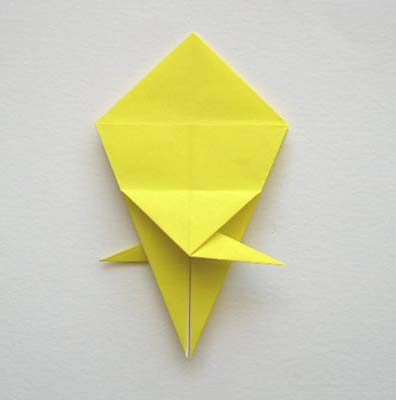
Now fold the Left and Right corners of the kite onto the centerline as shown.
Repeat on the other side.
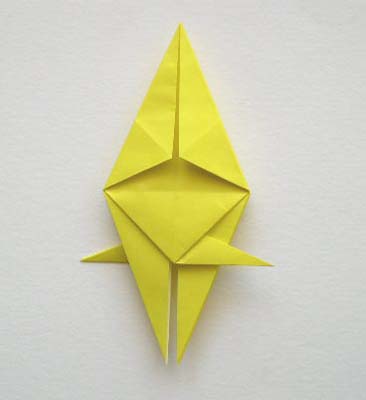
We're almost there.
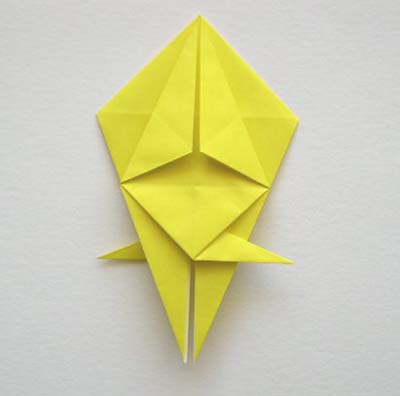
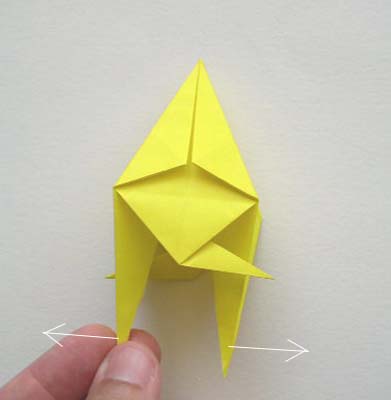
Hold each bottom point of the kite, one in each hand, and pull gently to unfold the fish.
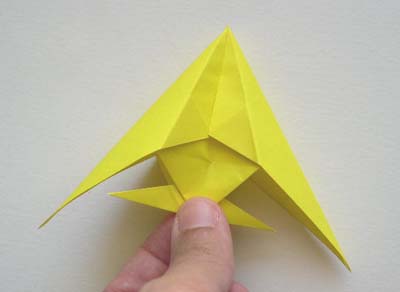
You can apply a small amount of glue or tape to hold the
tail together.
Also optional is decoration with pens, pencils, markers or crayons.
Below we see our origami fish living "under the sea".
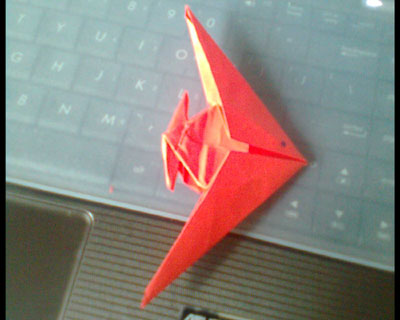
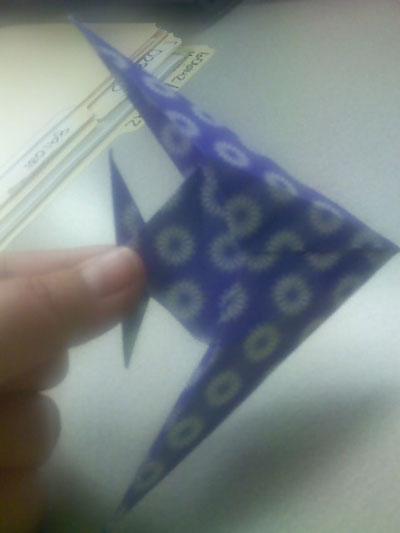
Thanks to Goran from Skopje for submitting his origami fish:
From reader in Sparta " I had fun making this origami fish! "
From Alex in Corona "Pretty and Easy"
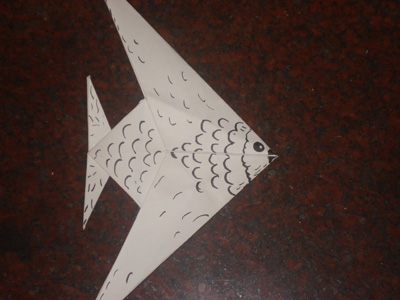
From Zachary in Kansas "This Origami is a fish i made it in Art class"
From Cian in Nassau " thought you'd like to see mine beside yours!! :) thanks so much for this. my kids and i had a ton of fun doing it today. "

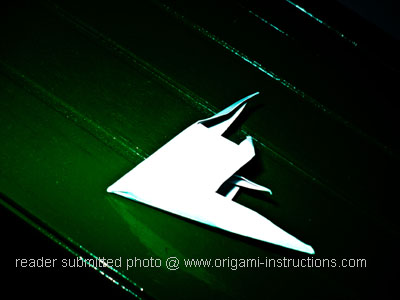
From reader in Virginia Beach:
From Amer in Waterlooville:
From reader in London:
From Eoghann in Quakers Hill:
From Lamya in Mangalore " this is the first origami fish i made.. turned out pretty well! "
From Anya in Plano " this was fun!i used tissue paper because it was COLORFUL it helped my english project alot:) "
Very colorful origami fish indeed!
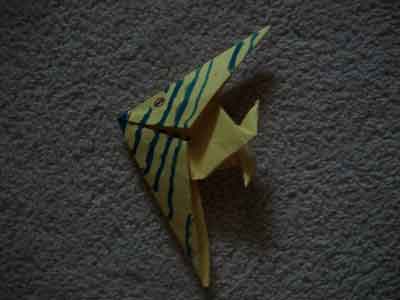
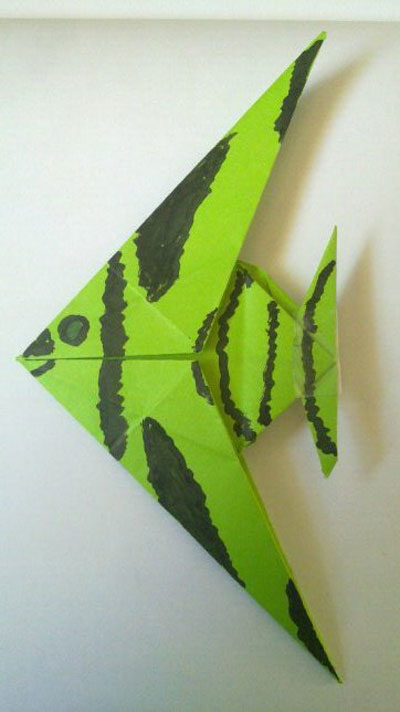
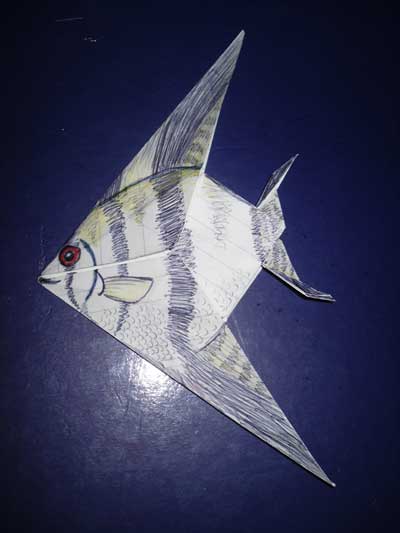
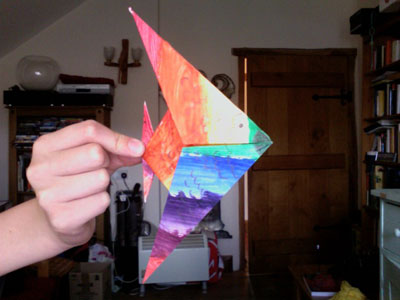
From Hannah in Plymouth UK " What do you think of my origami angel fish? I really enjoyed making this one. I might make a fish tank full of them :) "
Wow, your origami fish looks really realistic, Hannah! You've great artistic skills!
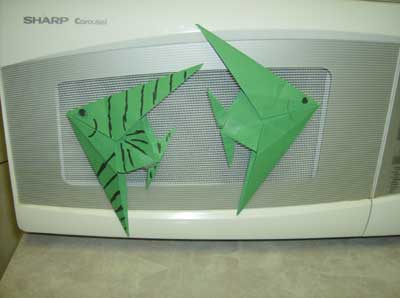
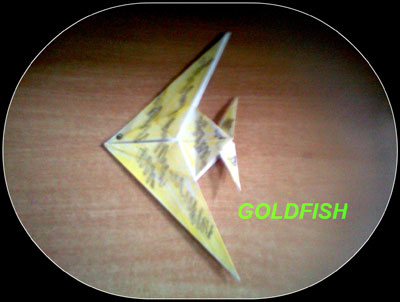
From reader in Clermont "Angel fish swimming!"
From Rachel in Philadelphia " MY origami fish! It was a little hard at first but you'll defenitly get the hang of it... Thanks so much i used it for my reading project! "
From Parminder in Mohali:
From Erika in Manaus Brazil " Origami fish-I just couldn't stop folding them! "
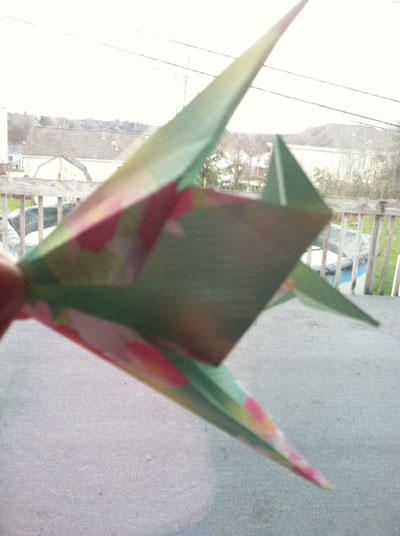
From Sam in Herefordshire " This is my Origami fish. I painted the paper and the folded it up! Do you like it? "
Love it!
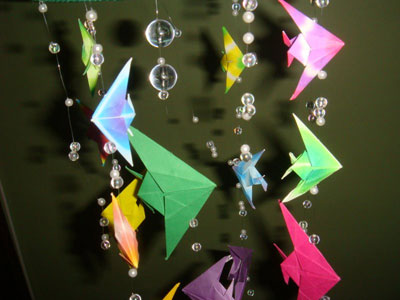
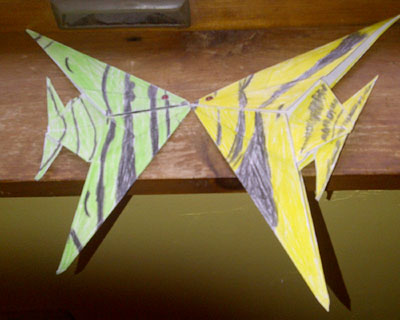
From Smantha in Calais " My two angelfish love eachother!lol.I am still working on a family. My computer kept on turning off but i just love making these!!! "
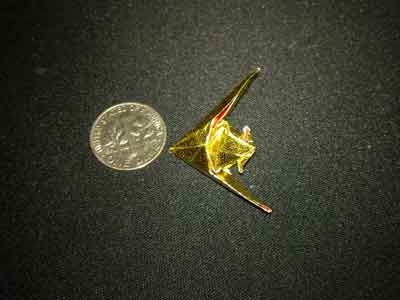
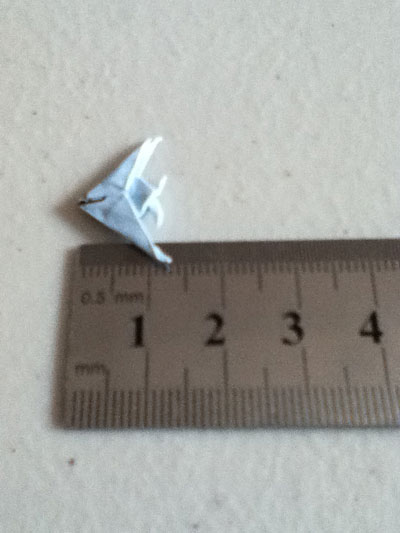
From Beth in Melbourne " I've learnt alot from this site and I realy love it! This is the fish that I made, it's about 1.3 cm long. "
From reader in Galloway:

From reader in Selangor: