Origami Fox
This is a traditional origami fox. It is not difficult and I love how with a few folds, it transform into a realistic looking animal!
Made this origami? Comment and Submit your photo using the comment box at the end of this page!
Origami Fox Step 1: Start with a 6 inch (15cm) square origami paper color side down. Fold on the diagonal as shown by the dash line below.


Origami Fox Step 2: Fold the paper in half on the diagonal as shown by the dash line below. Crease well and unfold.


Origami Fox Step 3: Now bring both the top right and bottom left tips to meet at point A shown in the picture below.


Origami Fox Step 4: Now we fold the entire paper in half on the diagonal shown below. Notice "-.-.-." means that this is a mountain fold. So the crease should remain at the top. We fold both the tips Y and Z down.


Origami Fox Step 5: Make a fold on the dash line shown below. Crease well.

Origami Fox Step 6: Unfold the crease you just made in Step 5. As you do so, you'll notice that there's actually 3 layers of paper! We're going to make a squash fold on the middle layer to form the face of the fox.


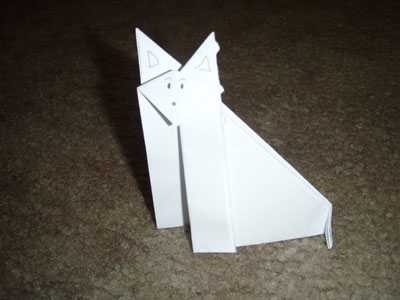
Origami Fox Step 7: and your origami fox is complete!


OK, I was interrupted by a phone call when making this and forgot about the tail portion. Make a little fold at the end to complete the fox's tail.


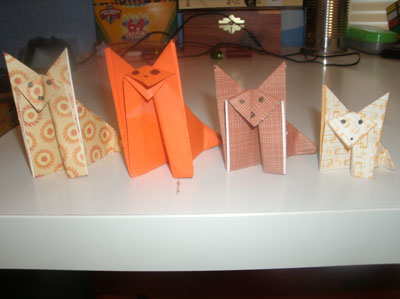
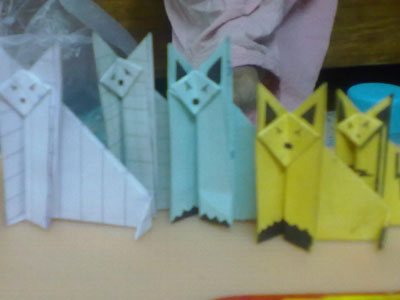
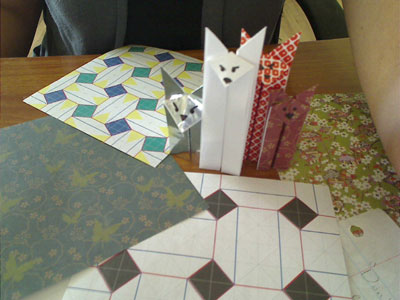
From Collin in GR "I love these instructions, easy and FUN! Here is my fox "family!""
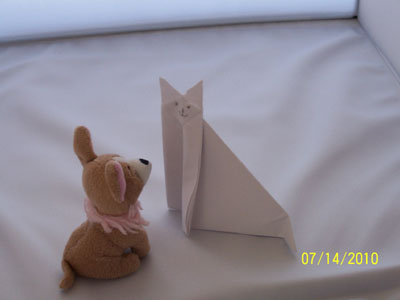
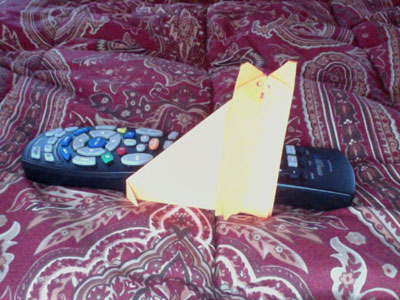
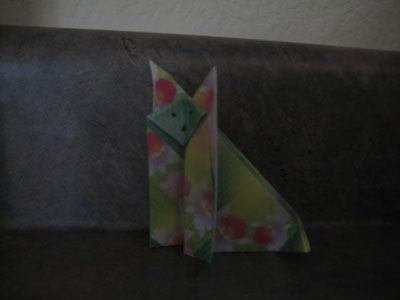
From Anah in Surrey " origami fox - he's a fierce looking fox!"
From A. in Gold Canyon:
From reader in Cincinnati " I made this fox! It is my first one! I hope you like it! You worked really hard and your fox turned out wonderful! So did all the readers! I think mine turned out pretty well. This site is really cool! I love it! Thanks for putting up instructions! It helps me and a lot of others with Origami! Thanks again! "
From Lois in Cheyenne " Origami Fox. Nice and simple, I like it. :) "
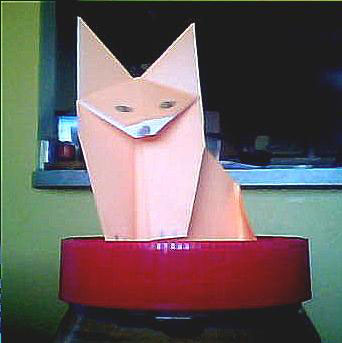
From Angel in Lancaster "Origami Fox":
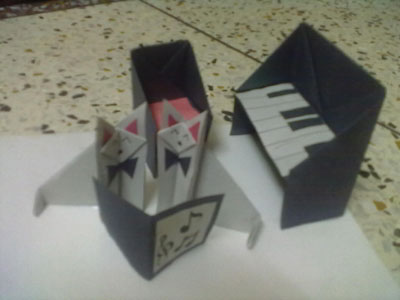
From reader in Jaipur " OMG! <3 This site and the instructions are simply amazing..! Let me introduce you to my "Foxy" family..they were so cute.. :D I could'nt help but make an army of them..!! "
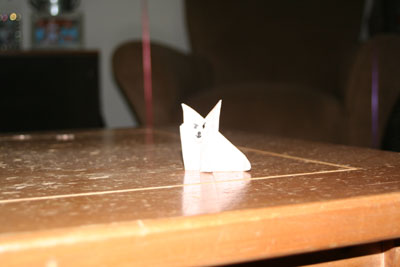
From reader in Centennial " this is my very own fox. LOVE IT!!!!!!!!!!!!!!!!!!!!!!!!!!!!!!!!!! "
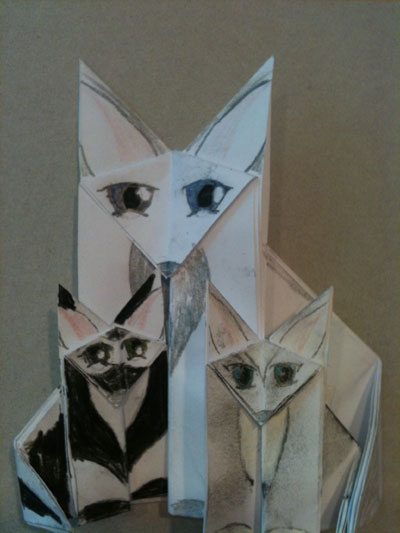
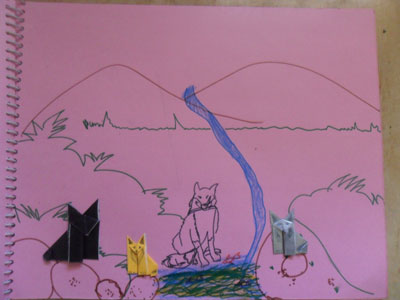
From Aoifie in Hillsboro " These 3 origami foxes are Snowfur and her cubs Blackpaw (Blackstreak) and Pearlpaw (Pearlmist)."
Love them!
From Pahul in Jaipur " Love this site! The instructions are really easy and awesome!! "
From Allyson in Tucson " Origami Fox. I love this one! "
From Frances in Modesto " My fox family.(: "
From Padma in Chennai:
From Dewanata in Cilegon "I made this Origami Fox when I felt stressed doing my work. It made me feel better :D "