How to Make Origami Ladybug
Ladybug or Ladybird? It doesn't matter! It is still a great project for kidsI think all kids and adults love ladybugs. I know that as kid, I was really excited when I saw a ladybug.
Made this origami? Comment and Submit your photo using the comment box at the end of this page!
You can use the regular 6" square origami paper but I think it's much cuter and more realistic if you start off with a smaller piece of origami paper. I tore the origami paper into 4 and used a 3" square origami paper to make this cute origami.
While this origami is not difficult, young kids will probably need the help of adults.
Origami Ladybug Step 1: Start off with a 3" origami paper color side down. The paper I used is red on one side and white on the other.

Origami Ladybug Step 2: Fold in half to make a triangle.

Origami Ladybug Step 3: Open it back up.

Origami Ladybug Step 4: Now, fold it in half again, this time from right to left.

Origami Ladybug Step 5: Open it back up and flip the paper over.

Origami Ladybug Step 6: Now you want fold about 2/3 of the paper over. If you are using a 3" paper, I measured it t be about 2cm (slightly less than 1 inch) from the middle crease.


Origami Ladybug Step 7: Ooops, I had to use a new sheet of paper because I wrote on the desired side! I didn't do a good job of tearing the paper, as you can see.
Anyway, fold about 1/2 of the tip up:

Origami Ladybug Step 8: Now you need to make a mountain fold at the line indicated in the picture below. This means that you fold at that line and the crease should be at top. Make the mountain fold and then tuck it in. Follow the photos below.


Origami Ladybug Step 9: Now flip the paper over and you should see this.

Origami Ladybug Step 10: Now fold the right side to meet the crease in the center.

Origami Ladybug Step 11: Fold the left side to meet the crease in the center:

Origami Ladybug Step 12: Now fold the bottom tip up slightly.

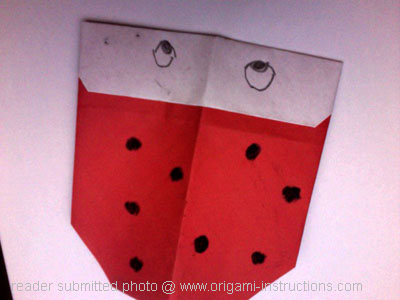
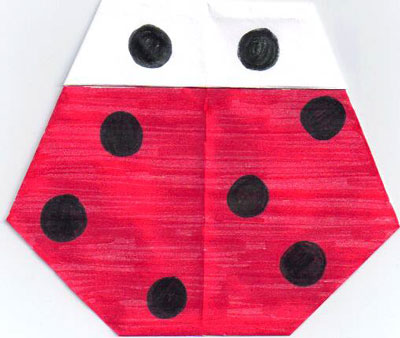
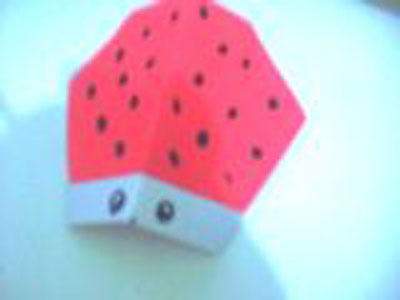
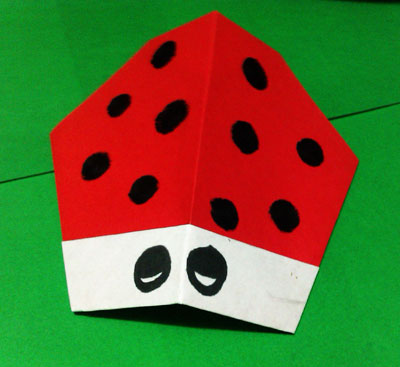
Origami Ladybug Step 13: Flip the paper over and you have yourself an origami ladybug!

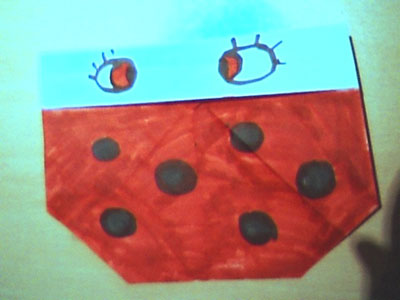
Of course, it will look more like a ladybug with spots so draw them in!


Thanks to Lyndsey from Auckland for submitting her origami ladybird picture. She made it with a broken finger!
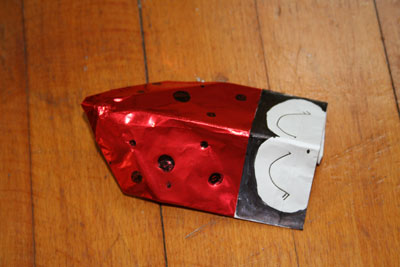
Thanks to a reader for the origami ladybug in a box! " This is an lady bug in a box. It took me a long time to understand the instructions because I am a beginer. But practice makes perfect."
From reader in Houston:
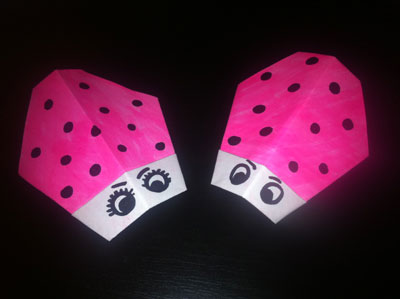
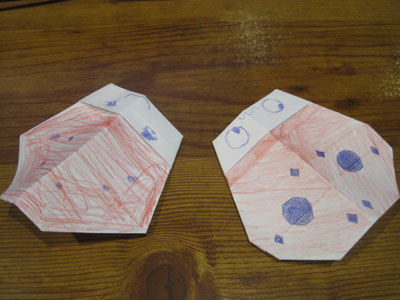
From Anah in Surrey "A family of origami ladybugs!"
From Bram in Luxembourg:
From Stella in Medan:
From Quinn in Dubuque:
From reader in Maidenhead:
From reader in Taylor:
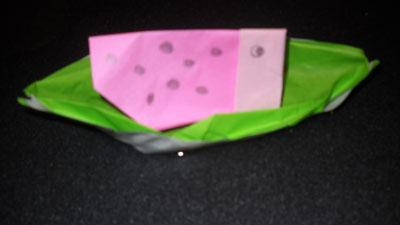
From Aidan in Tumwater " I put my Origami ladybug ontop of it and they actually float!! if you're using origami paper, don't leave it in the water too long because it might get soaking wet. It was fun to make. "
From Aeryelle in Smithtown " My Ladybug i used a dark color of red! "

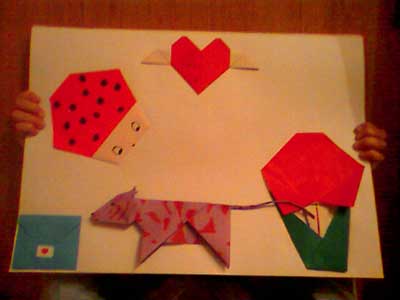
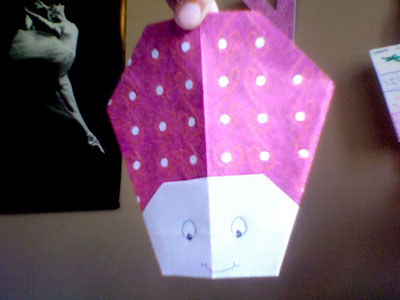
From Jennifer and Max in Bracht Germany " This is a present my 7 years old son and me made for his 7 year old girlfriend. I just wanted to show that you can make also big posters with origami because I haven't seen anything like this on this yet. Thanks for all those manuals, it helped a great deal. "
From Katelyn in Calgary "Origami Ladybug":
From reader in Jakarta:
From reader in Prishtina " My Ladybug hope u like it ! "
From Olga in Brooklyn: