Origami Dog
After you've folded the origami dog face, you can now fold the body for the origami dog. It's really cute when the 2 pieces are joined together. Any dog lover will love this!
Made this origami? Comment and Submit your photo using the comment box at the end of this page!
If you love dogs, you should try folding the origami barking dog. It's an action origami toy. When you pull on the dog's tail, it "barks". It's very cute! We have a video showing the dog in action so do check it out. It's a bit more challenging to fold than this origami dog but it's really worth the effort.
Origami Dog Step 1: Fold the origami dog face first. Then follow the instructions below to fold the "body".
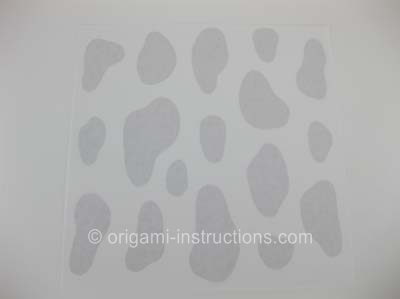
Start with a 6 inch (15cm) square origami paper color side down. We are using the Animal Print Origami Paper which comes in various colors and designs.
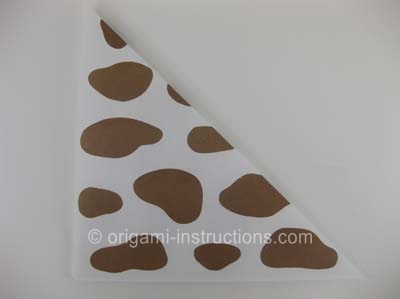
Origami Dog Step 2: Make a fold on the diagonal, bringing the top right corner to meet the bottom left corner.
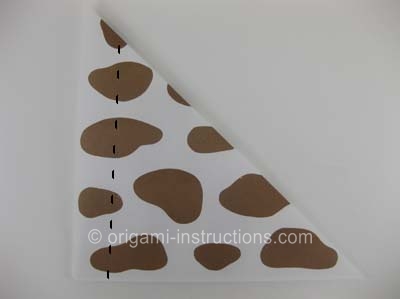
Origami Dog Step 3: Make a fold on the dash line shown below. Crease well.
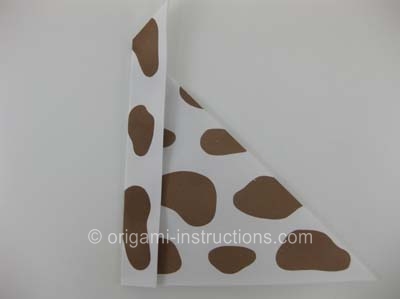
Origami Dog Step 4: Open up the paper slightly and make a squash fold.
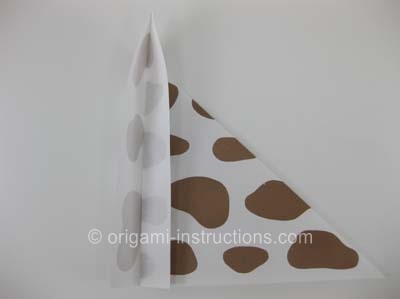
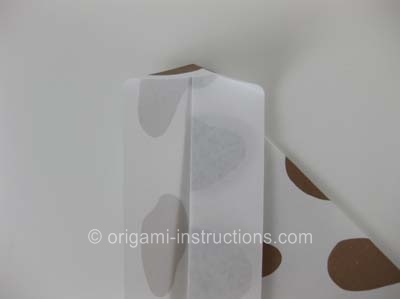
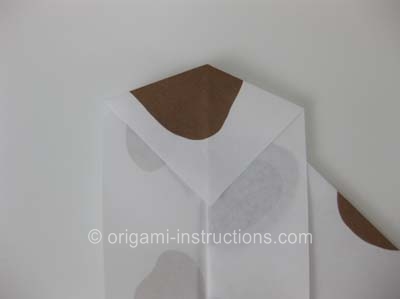
Origami Dog Step 5: Now we need to concentrate on the "tail" end. We need to make 2 folds at approximately the dash lines shown below. Crease well.
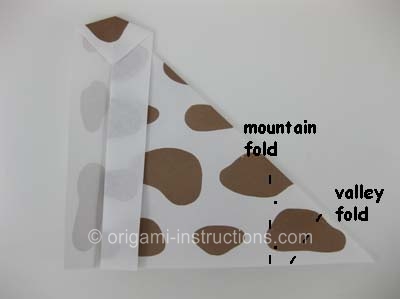
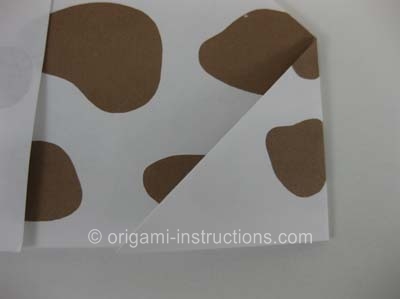
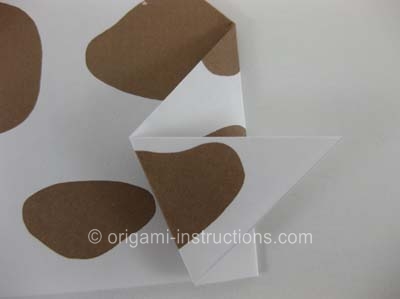
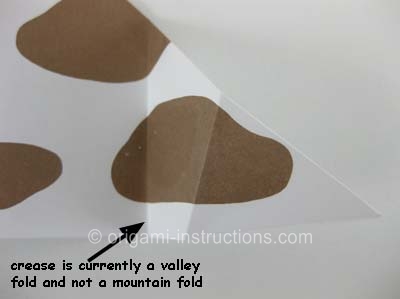
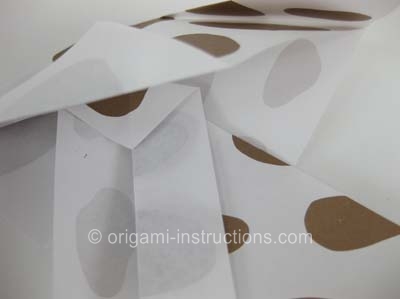
Origami Dog Step 6: If you noticed in Step 5, one of the lines was represented by "-.-." meaning that it should be a mountain fold. A mountain fold is when the crease is at the top. So pinch the paper at the crease so that the crease is upward as shown by the photo below.
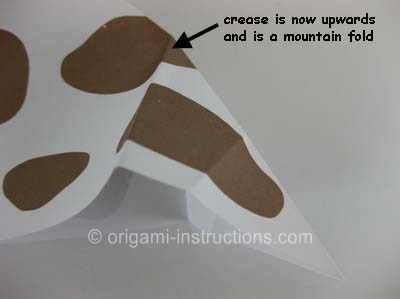
Origami Dog Step 7: The other crease should be a valley fold so pinch the paper at the crease so that the crease is downward. Once you do that, the paper just moves very naturally into an inverse reverse fold which is what we're aiming to do.
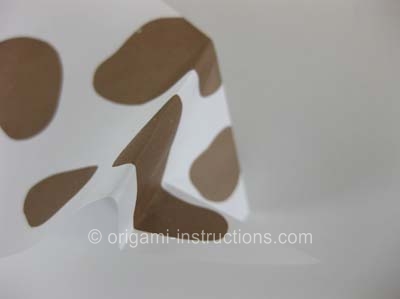
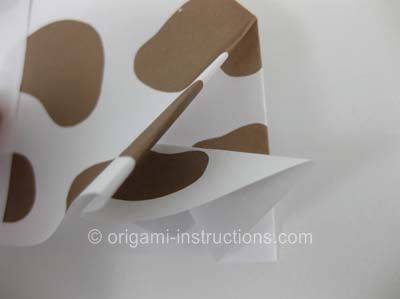
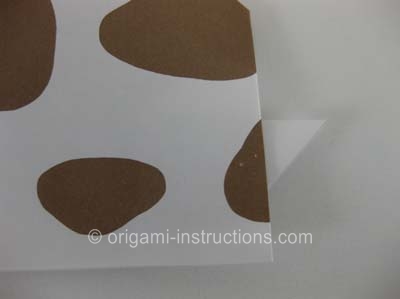
and your origami dog's body is complete!
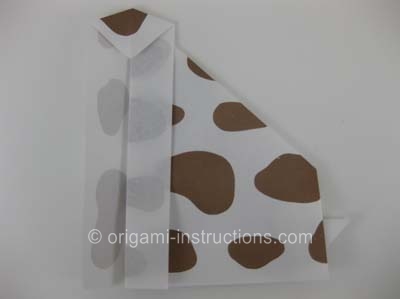
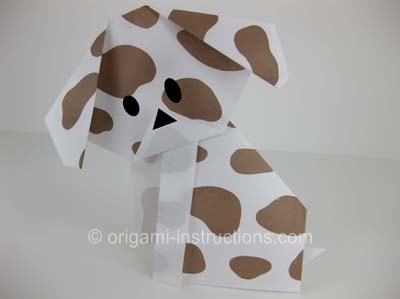
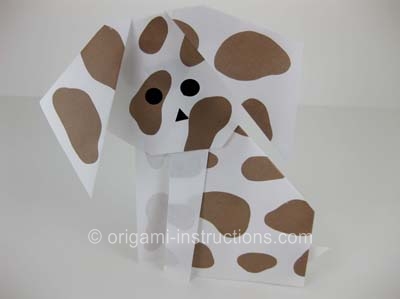
Now we just have to attach the head to the body with double-sided tape or glue.
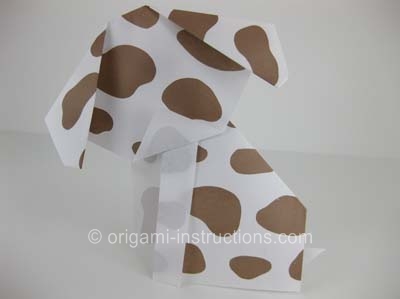
Depending on which dog face you made, you can get one of the following very cute origami dog!
We love receiving photos from readers of their decorated origami dog. Our readers are so artistic! We also love photos of their origami dog next to their real dogs! Do check out the photos here on Page 2(more recent) and Page 1 .


