Origami Lotus Flower Folding Instructions
The origami lotus, also known as the water lily, is fun and easy to make. Find out how to make this beautiful origami lotus by following the photo diagrams below.
Made this origami? Comment and Submit your photo using the comment box at the end of this page!
We used a 6 inch square origami paper for this origami lotus. But if you have a larger piece of origami paper, it may be better to use that.
This origami requires the square to become smaller and smaller so it will be easier to handle if you start off with a larger piece of origami paper.
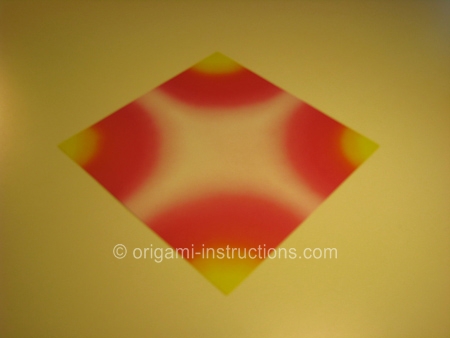
Origami Lotus Step 1: Start with a piece of one-sided origami paper. The colored side can be solid color, or patterned as shown.
With the color side facing up, fold the paper in half along the diagonal . Then unfold, and fold along the other diagonal.
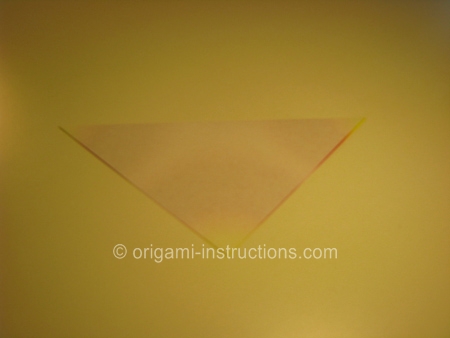
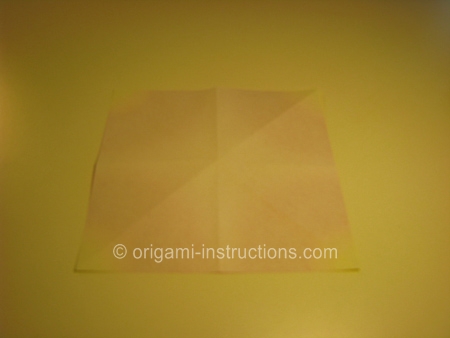
Origami Lotus Step 2: Repeat the fold-unfold for horizontal and vertical midlines. The paper should now have nice reference lines as shown below.
Origami Lotus Step 3: Now fold one corner into the center as shown below.
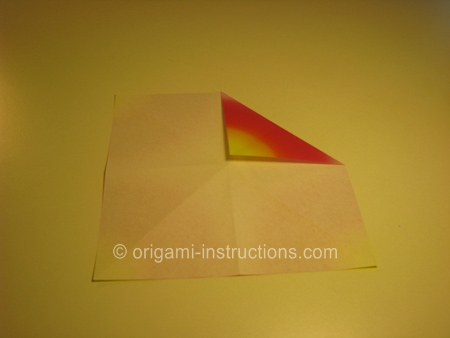
Origami Lotus Step 4: Repeat this fold for the other three (3) corners. The model should look like below.
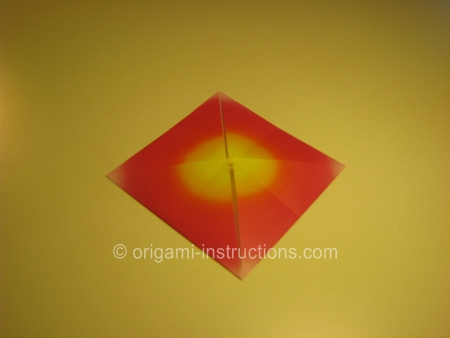
Origami Lotus Step 5: Now fold a corner into the center...
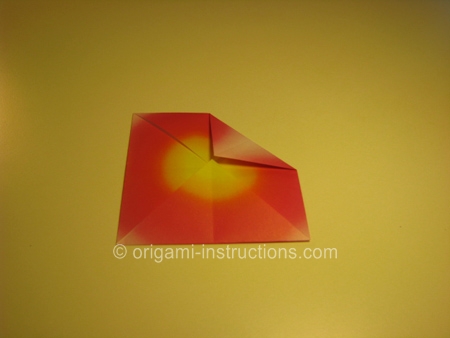
Origami Lotus Step 6: ...and repeat for the other three (3) corners. The piece should like below.
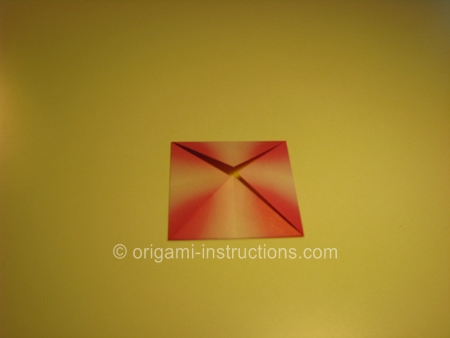
Origami Lotus Step 7: Guess what? Fold the corners into the center, again!
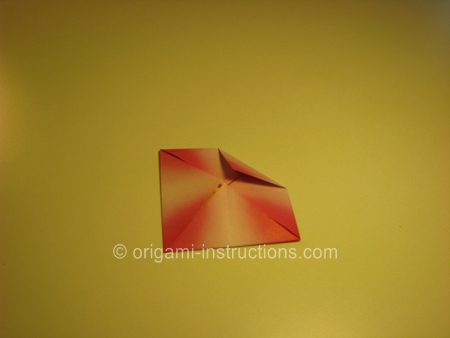
Origami Lotus Step 8: The model should look like below.
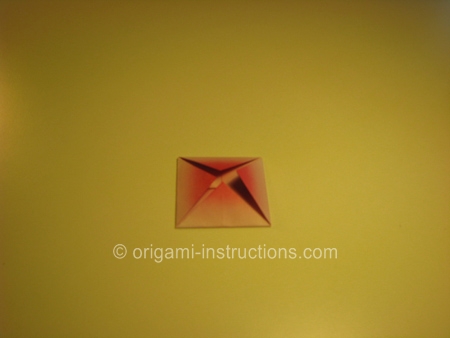
Origami Lotus Step 9: Now flip it over...
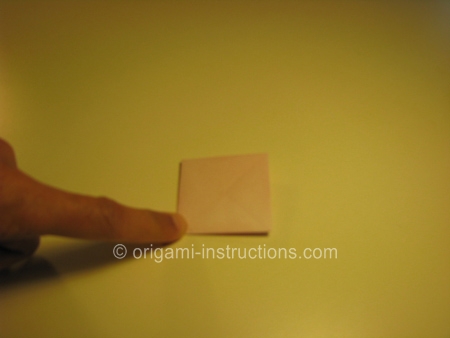
Origami Lotus Step 10: ...and fold the corners to the center again! For the last time, we promise!
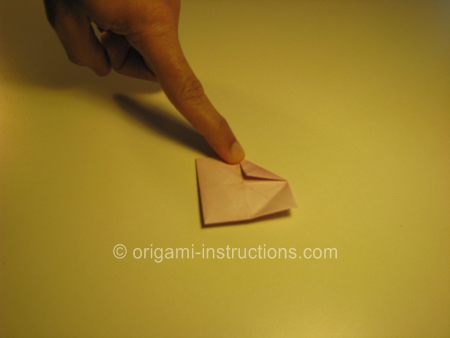
Origami Lotus Step 11: Things will then look like below right:
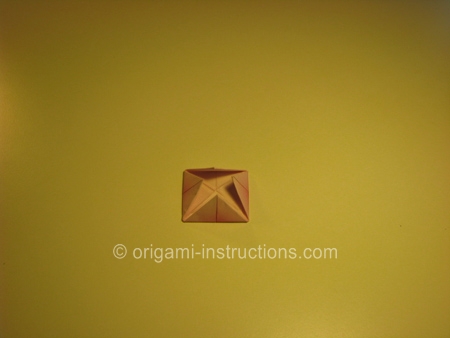
Origami Lotus Step 12: Now reach behind one corner, and start pulling the flap around and to the front. You'll need to allow the adjacent flaps to open, or the paper will tear.
Look at the following four (4) photos carefully to see how this is done.
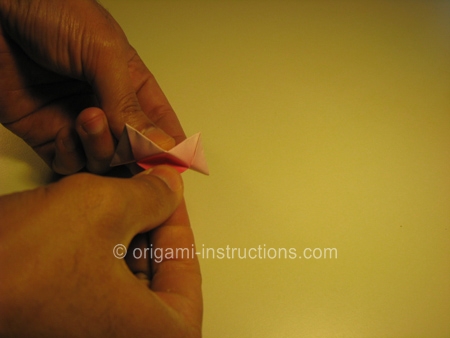
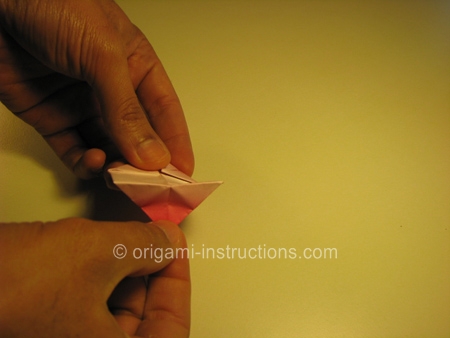
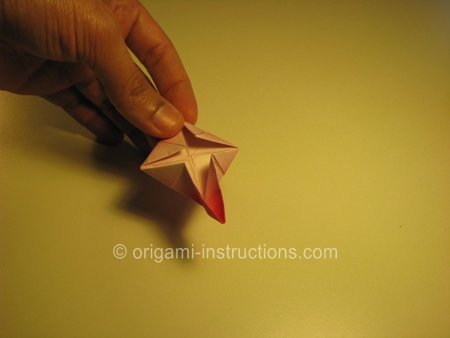
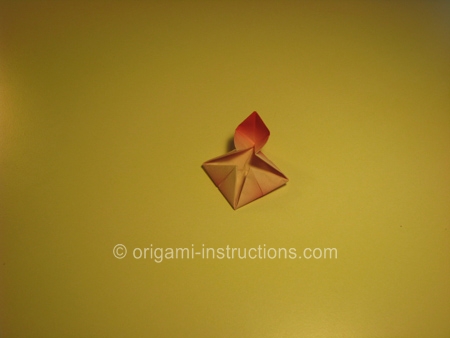
Origami Lotus Step 13: Now repeat this move for the other three (3) corners. The model will now resemble below.
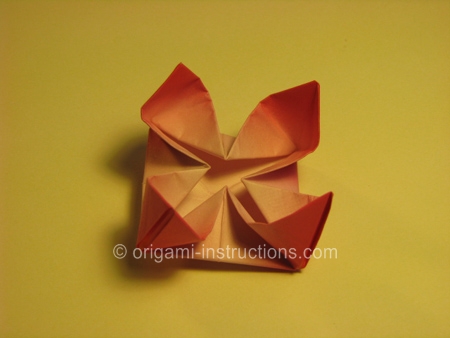
Origami Lotus Step 14: Now reach behind again, and pull another corner to the front, as shown below right. Do this three (3) more times.
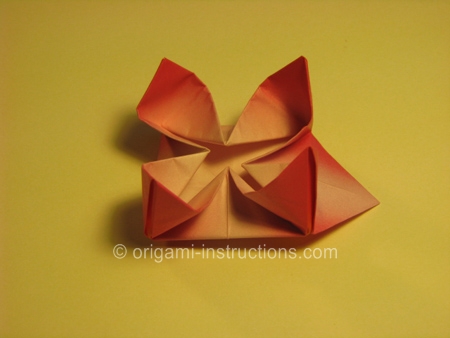
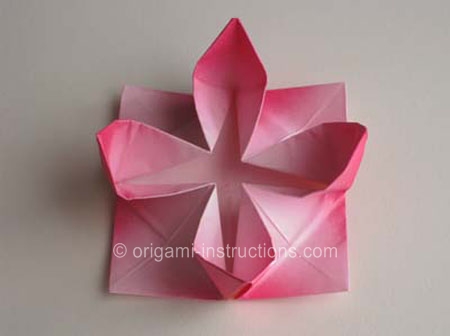
Now your origami water lily (origami lotus) is ready to float on the pond!
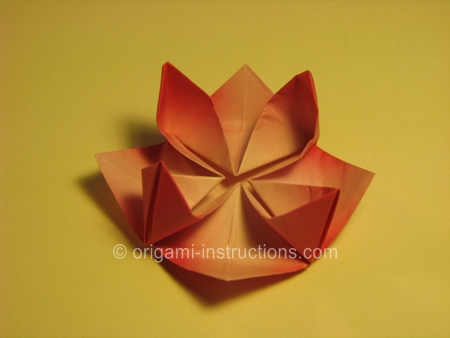
The same origami lotus in different lighting.
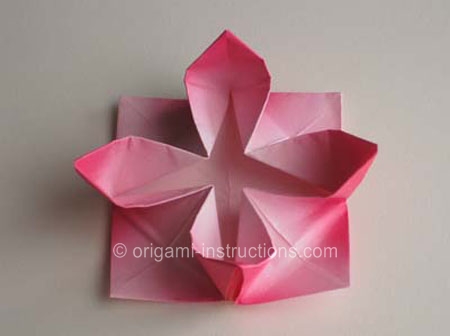
We've received many photos of the origami lotus folded by readers like you! Check them out here:
Photos Page 2 (more recent photos)


