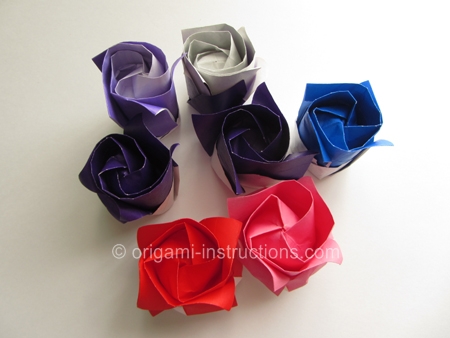
Origami Kawasaki Rose
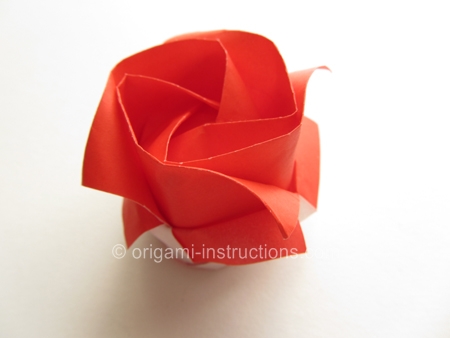
This is another variation of the very popular Kawasaki Rose. Mr. Kawasaki has created many, many variations of the rose and this is one of them. This version creates a slightly broader rose than the first one we have on this site.
Made this origami? Comment and Submit your photo using the comment box at the end of this page!
Also check out our Kawasaki Rose Version 2 Video, which should help with some of the trickier steps:
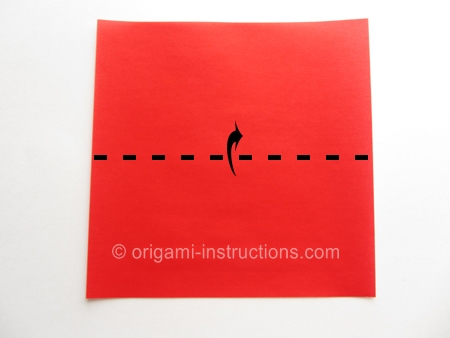
Origami Kawasaki Rose Step 1: Start with a 6 inch x 6 inch (15cm x 15cm) square origami paper, color side up.
Fold paper in half. Crease well.
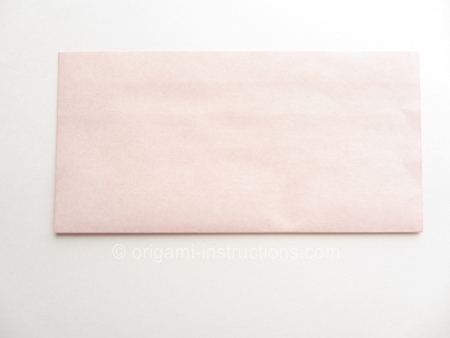
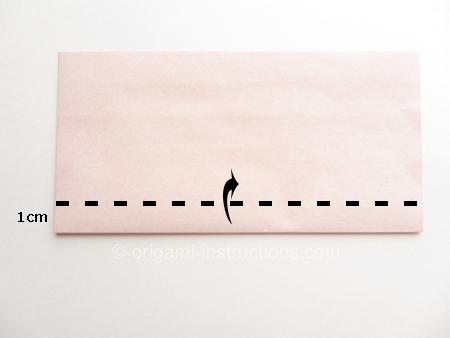
Origami Kawasaki Rose Step 2: Make a valley fold about 1cm from the edge. Crease well and unfold.
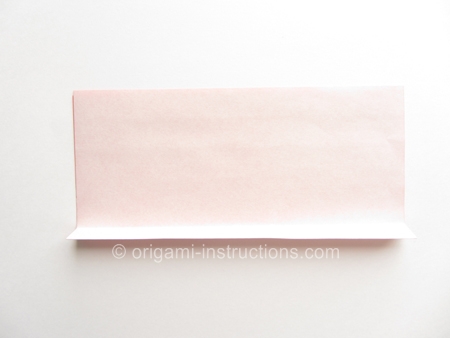
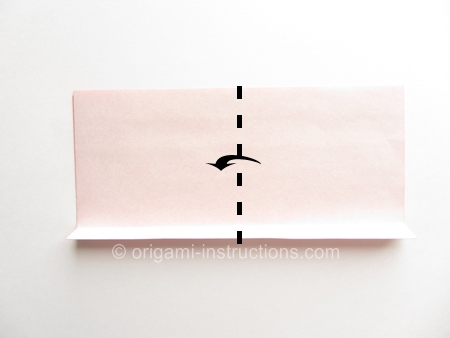
Origami Kawasaki Rose Step 3: Fold paper in half on the vertical axis.
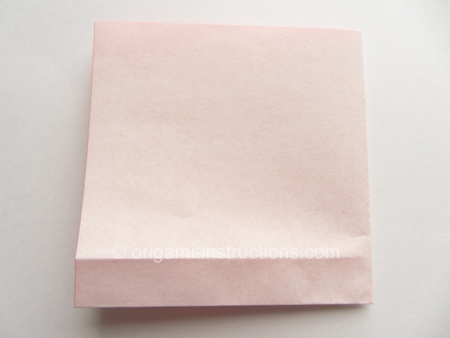
Origami Kawasaki Rose Step 4: Fold the bottom right corner to the crease line. Crease well and unfold.
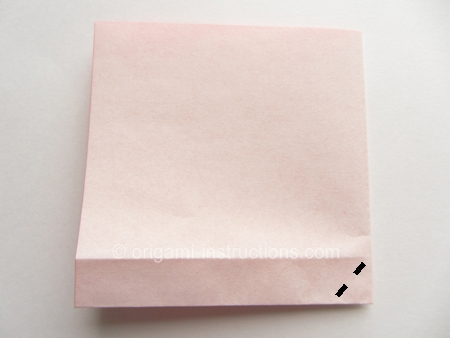
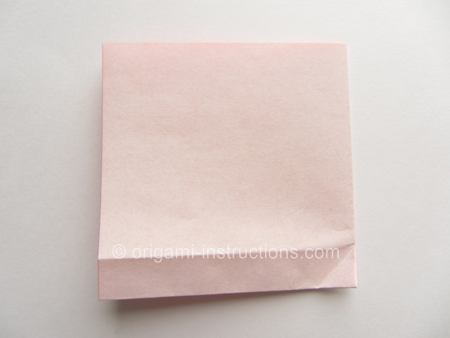
Origami Kawasaki Rose Step 5: Flip paper over.
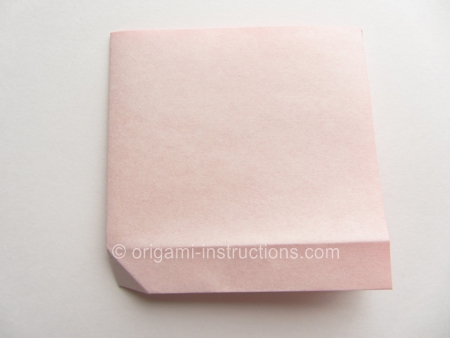
Origami Kawasaki Rose Step 6: Fold the left edge as shown below. Crease well and unfold.
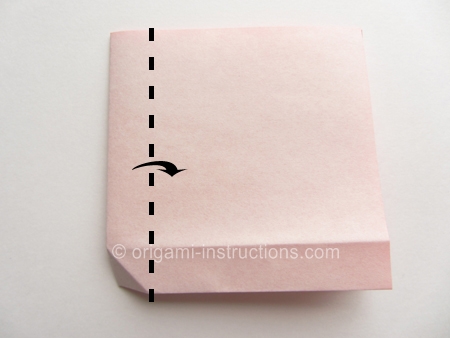
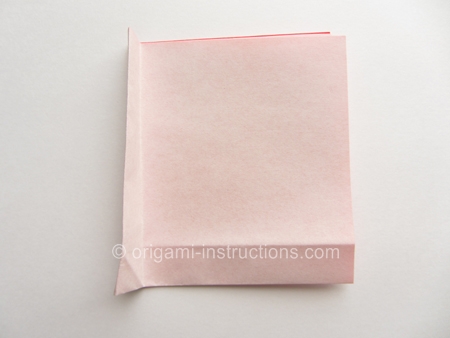
Origami Kawasaki Rose Step 7: Unfold paper.
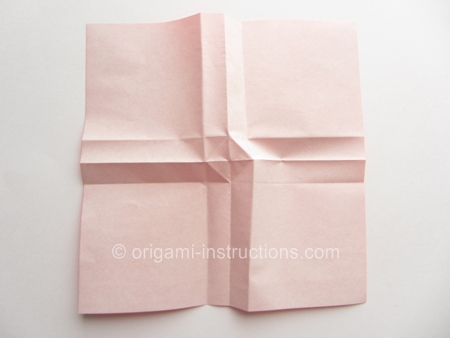
Origami Kawasaki Rose Step 8: Fold line A-B to A-C. Crease well and unfold.
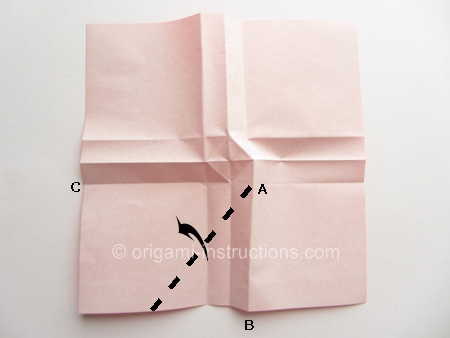
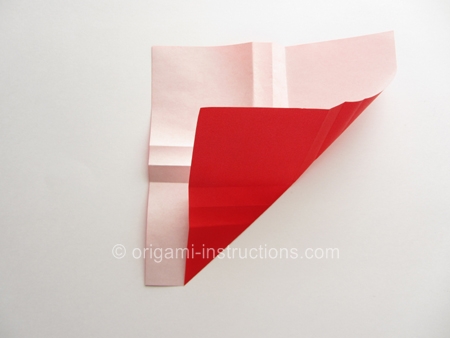
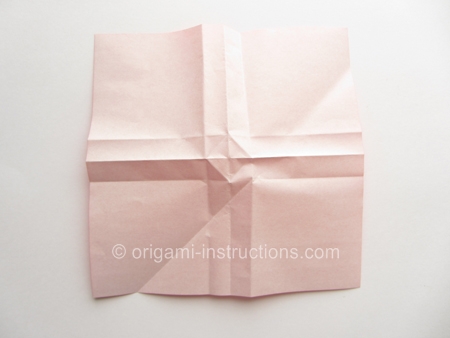
Origami Kawasaki Rose Step 9: Rotate paper 90 degrees counter-clockwise.
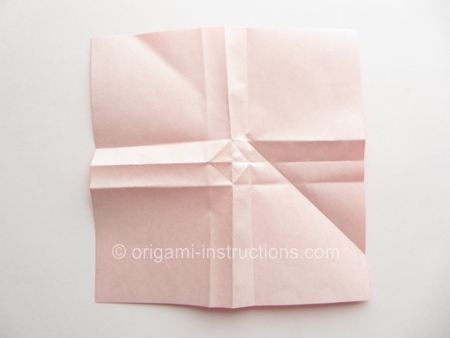
Origami Kawasaki Rose Step 10: Repeat Steps 8 and 9 three more times for the other 3 quadrants of the paper.
Your paper should look like this when completed.
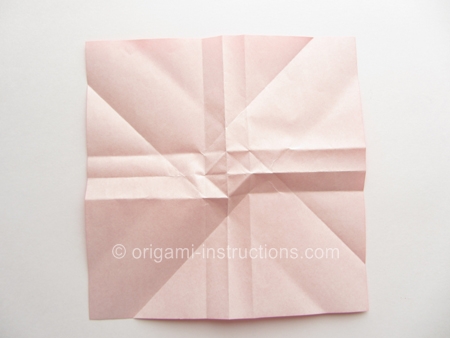
Origami Kawasaki Rose Step 11: Recrease the center lines into mountain folds as shown.
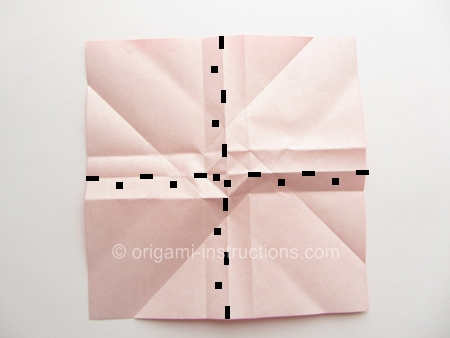
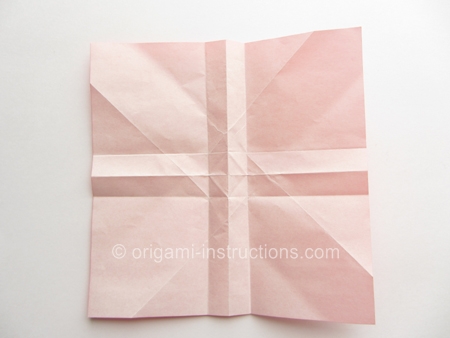
Origami Kawasaki Rose Step 12: Make the horizontal mountain fold as shown.
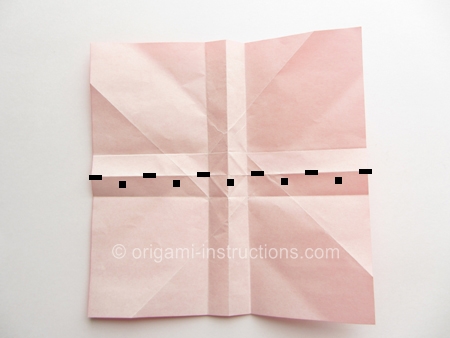
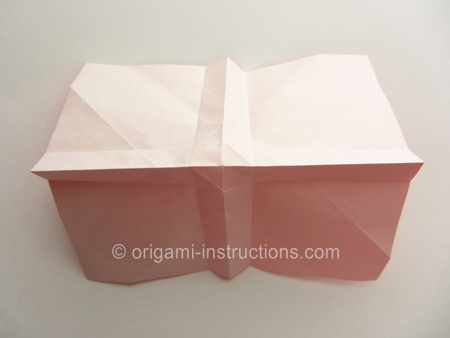
Origami Kawasaki Rose Step 13: See the diamond shape in the center? Recrease the edges into mountain fold.
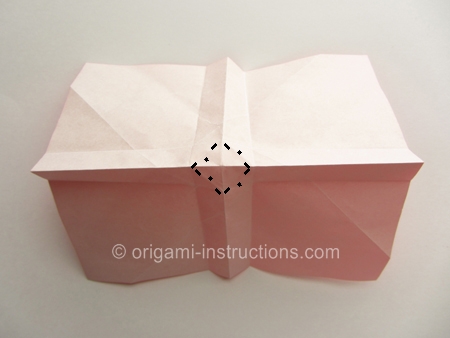
Then push down the center of the diamond.
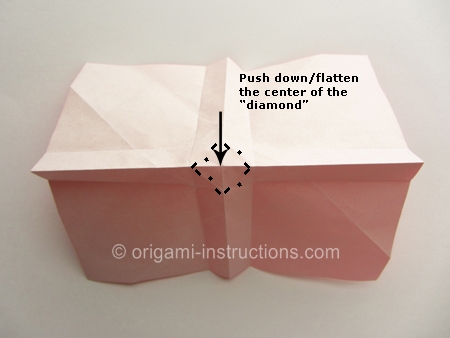
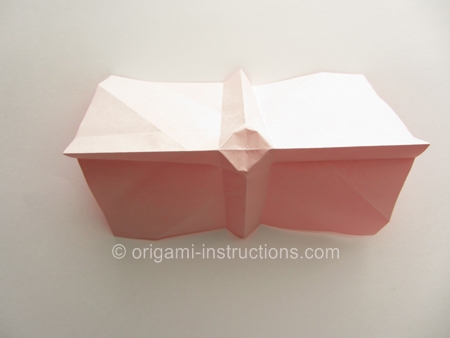
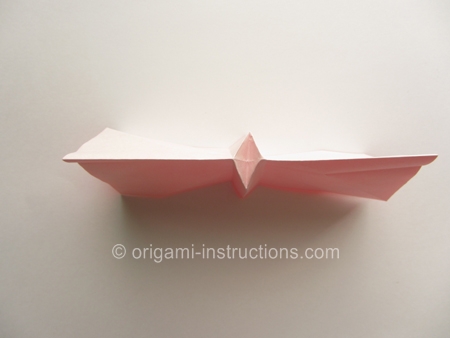
Origami Kawasaki Rose Step 14: To flatten the paper, fold half the diamond to the left (Top of paper) and fold half the diamond to the right (bottom of paper).
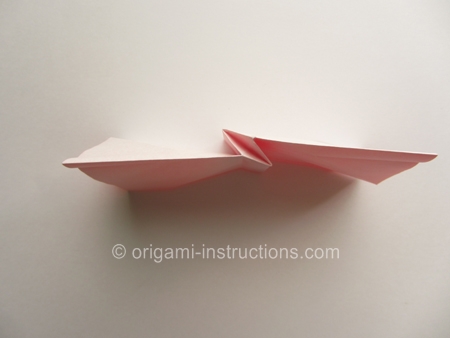
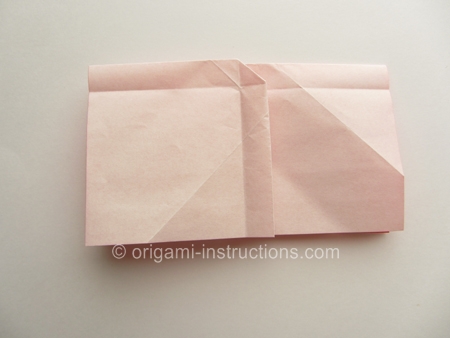
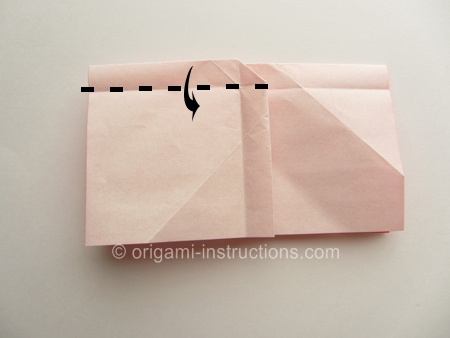
Origami Kawasaki Rose Step 15: Make the valley fold on the top left as shown.
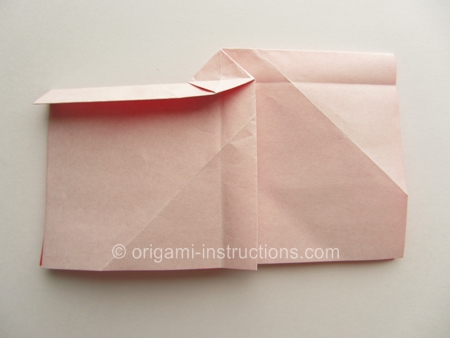
Origami Kawasaki Rose Step 16: Flip paper over.
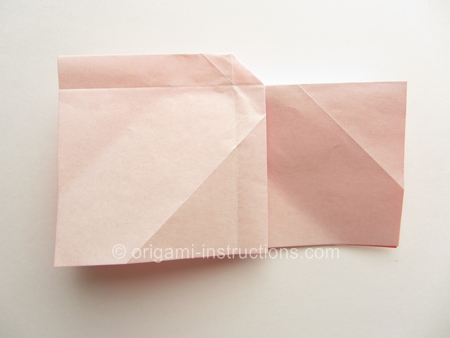
Origami Kawasaki Rose Step 17: Fold the bottom half to the top, essentially opening the paper.
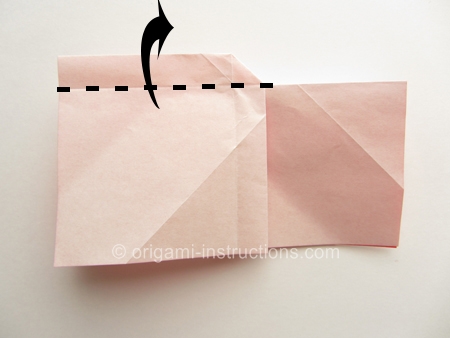
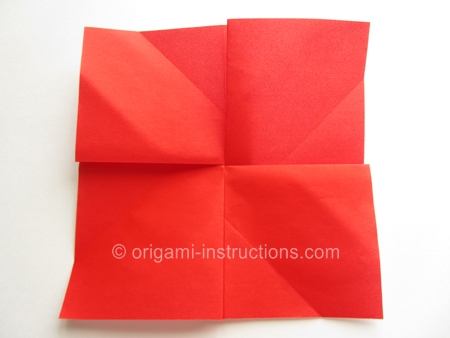
Origami Kawasaki Rose Step 18: OK, this is probably the most challenging part of this origami. Right now, we've a flat piece of paper.
We're going to transform this flat piece of paper into a cylinder.
To do so, we're going to fold A-B to A-C to A-D to A-E.
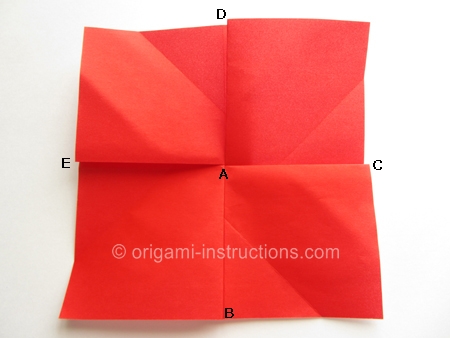
Remember the creases you made in Steps 8 to 10? As you fold A-B to A-C to A-D to A-D, you'll be re-creasing those folds again. With the color side up, those folds are mountain folds, you'll need to re-crease them as valley folds. It may help to flip the paper over to do the re-crease.
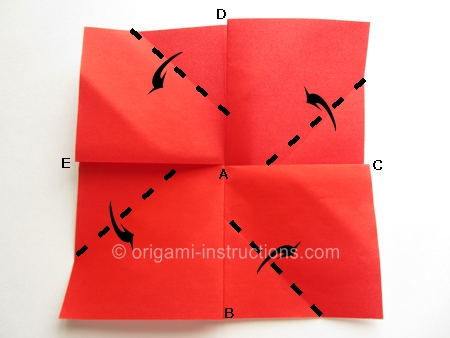
Initially, the paper is flat and stiff so you will have to coax the paper into the circular (cylindrical) transformation.
Start off by folding A-B to A-C and to A-D. If you find that the paper is difficult to handle, then just fold A-B to A-C first.
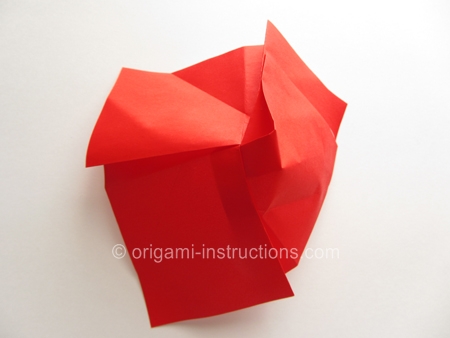
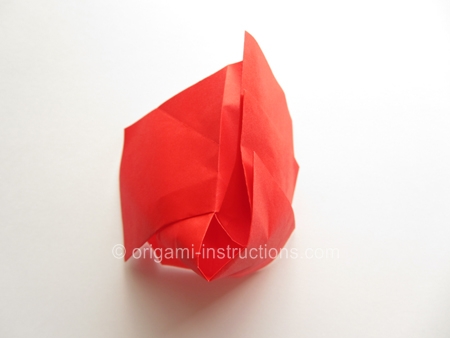
And unfold.
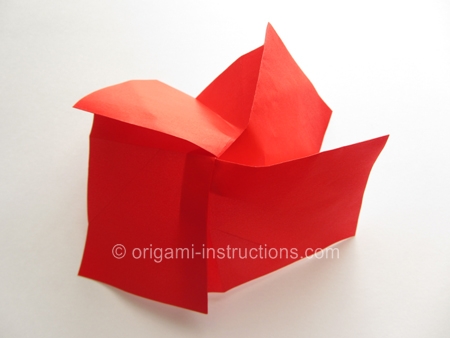
Fold A-C to A-D to A-E. Then unfold. Each time you fold and unfold, the paper begin to resist less and instead of flat, the paper should become more of a "dome" shape.
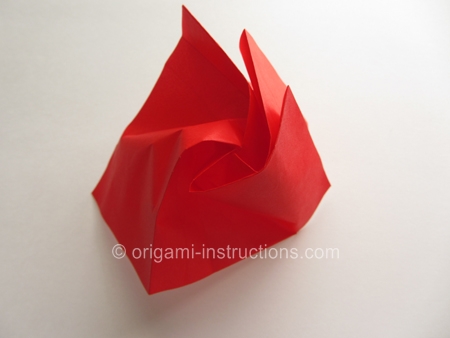
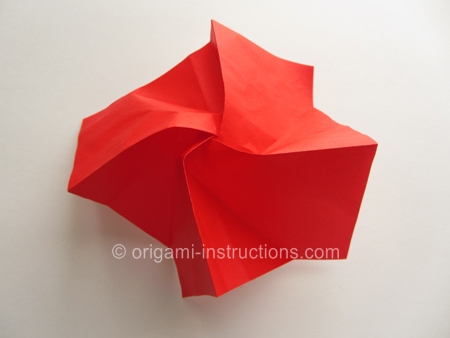
Keep on folding and unfolding. It may take a while when you're starting out. It took us a long time initially but eventually, you'll get the paper to go all the way round and become like this! This is the trickiest part, so consult the video if needed.
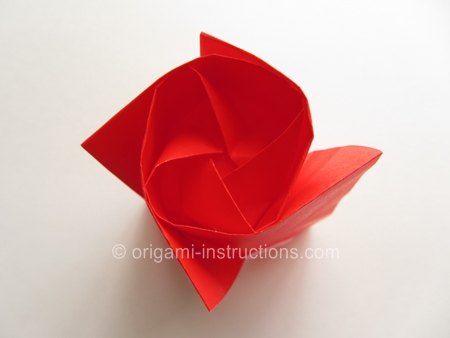
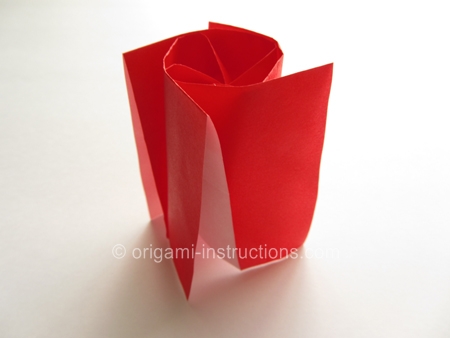
Origami Kawasaki Rose Step 19: Lay the paper on its side. Fold up the bottom part.
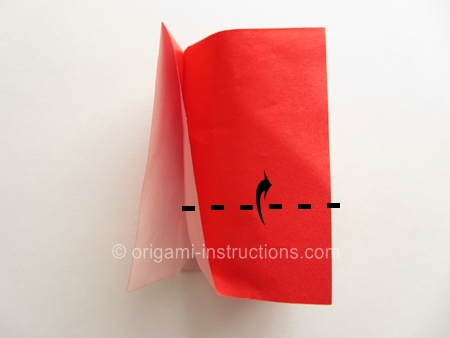
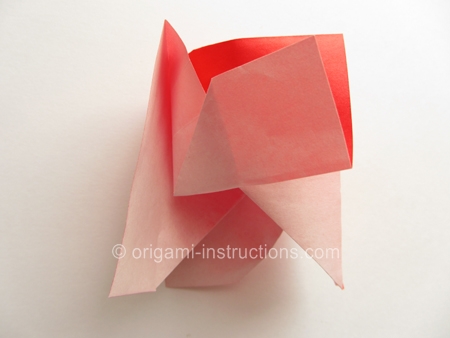
Origami Kawasaki Rose Step 20: Repeat for the layer to its right.
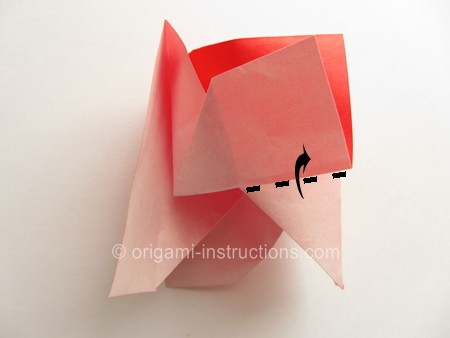
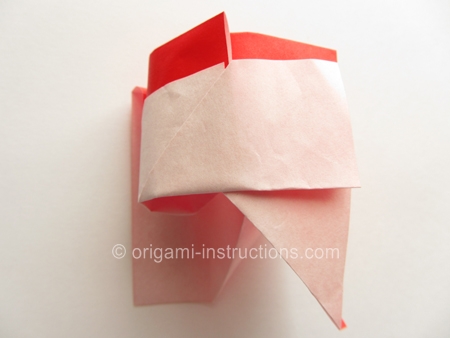
Origami Kawasaki Rose Step 21: Repeat the step 2 more times and tuck the tip of the fourth layer into the pocket of the first layer.
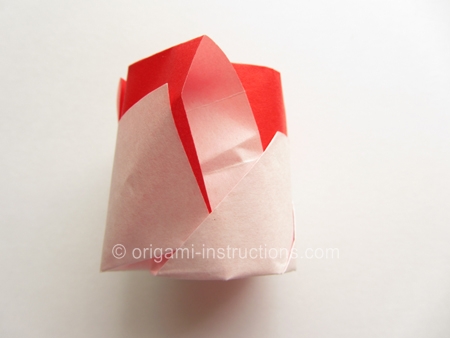
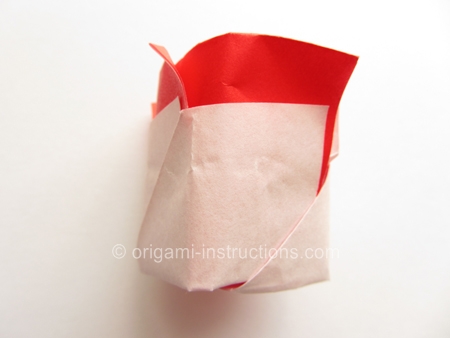
Origami Kawasaki Rose Step 22: Your rose is almost complete now!
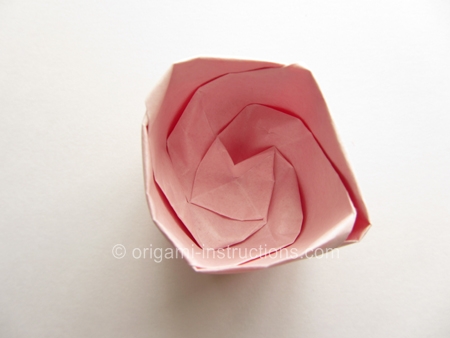
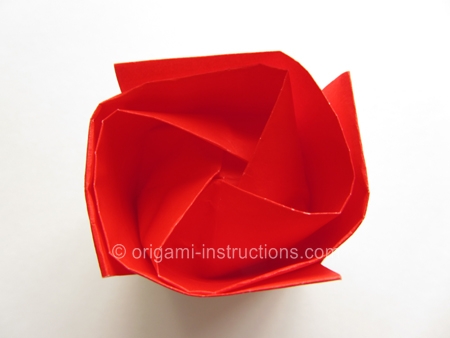
Origami Kawasaki Rose Step 23: Fold down the side petals.
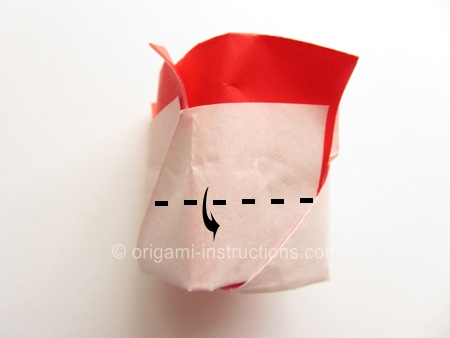
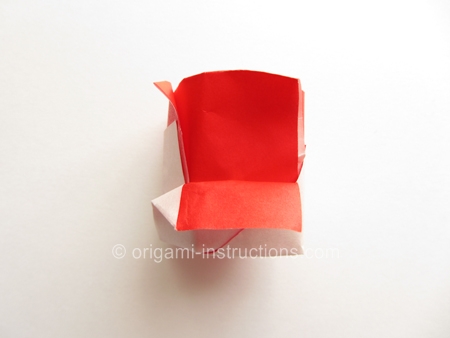
Origami Kawasaki Rose Step 24: Repeat Step 23 for the other 3 petals.
Curl all the petals. We used a bamboo skewer for this.
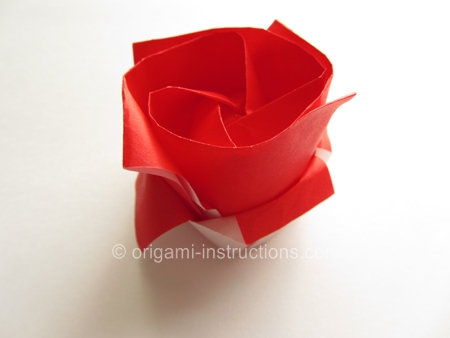
Origami Kawasaki Rose Step 25: And your origami kawasaki rose is complete!
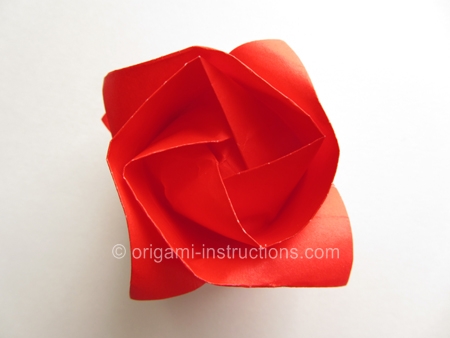
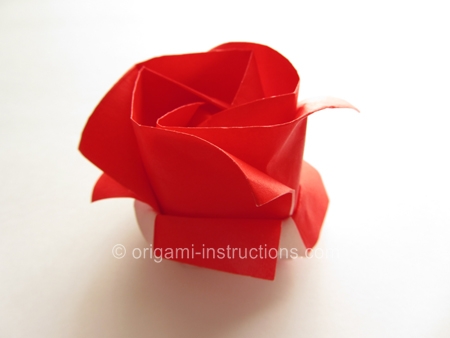
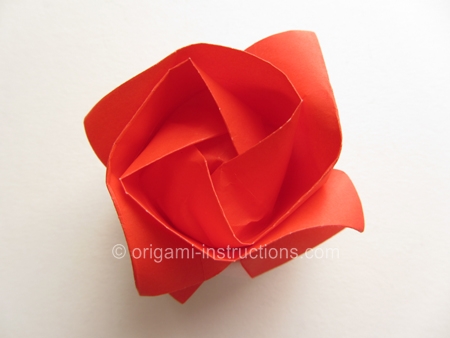
Practice makes perfect!
