Origami Camellia Folding Instructions
This origami camellia is a traditional origami flower. The camellia is highly valued in Japan and is often among the 1st flowers to appear in late winter.
Made this origami? Comment and Submit your photo using the comment box at the end of this page!
Other fun facts about camellia - Sacramento, CA is nicknamed the Camellia City and Camellia is the state flower of Alabama!
This is not a straightforward origami due to the multiple squash folds. So if you're a beginner and are not familiar with squash folds, this is not the best of origami to start with.
You might want to start with something simpler like any of the easy flowers or the lotus blossom or rose with leaf.
Origami Camellia Step 1: Start with a 6 inch square (15cm x 15cm) origami paper, color side down.

Origami Camellia Step 2: Make 2 triangle folds, one along each diagonal axis. Crease well and unfold.

Origami Camellia Step 3: Fold point A to meet the diagonal crease.


Origami Camellia Step 4: Now fold point B to meet the other diagonal crease.


Origami Camellia Step 5: Now we'll need to make a squash fold, which is not difficult. You just have to know where to crease the paper.

Pry open paper. Then crease along the edge shown.

Press down the fold.


Origami Camellia Step 6: Now fold point C to meet the line D-E as shown in the pictures below.


Origami Camellia Step 7: Now we have to make a squash fold again, like we did in Step 5.
Pry open paper and crease along the dotted line shown below.


Once you've made the crease, it's pretty easy to squash down the fold.


Origami Camellia Step 8: Fold point F to meet point G.


Origami Camellia Step 9: Time to repeat that squash fold. This time we need to crease along the dotted line shown below.

Pry open the paper and crease well along the dotted line.

Then make a squash fold.


Origami Camellia Step 10: Almost there! We now need to bring the bottom flap to the top. Then bring point H to I.

First, lift up the top flap...

Then pry open the bottom part of paper...

The bottom flap comes to the top. Swivel point H to meet I.

Press paper flat.

Origami Camellia Step 11: Here comes another squash fold! Crease well along the dotted line shown below. Then make a squash fold.


Origami Camellia Step 12: Bring point H back down and tuck it in as shown.


Origami Camellia Step 13: Now we'll tuck in point J as well.


Origami Camellia Step 14: Some finishing touches...make 4 small creases for the "petals".

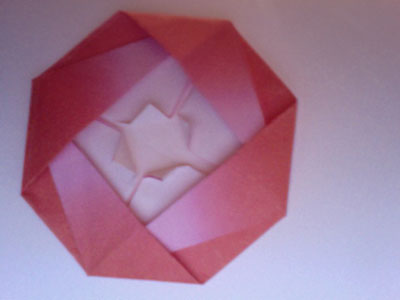
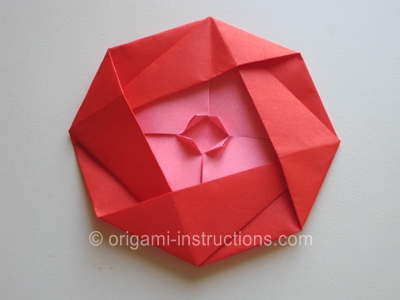
and your origami camellia is complete!

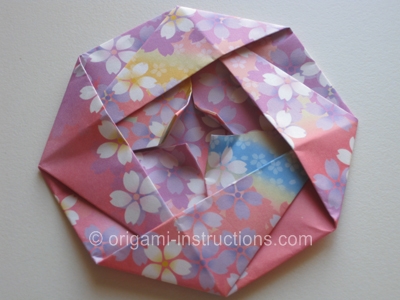
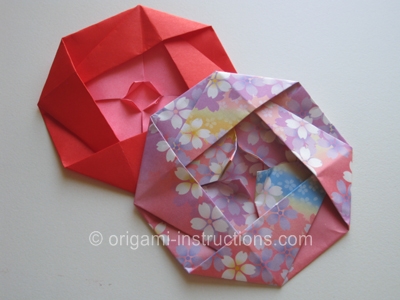
Here's another origami camellia with a different paper.
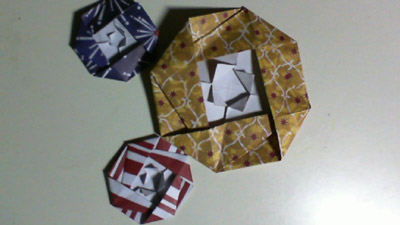
From Amy in Edmonton " This is my first time, this is a awesome site. "
Thanks, Amy, for the photo and compliment!
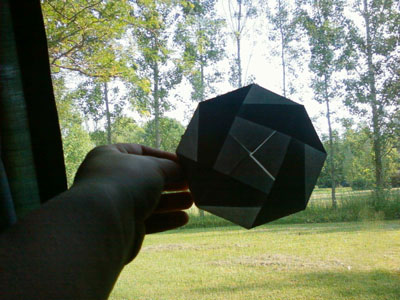
From reader in Turku Finland " I want to thank you for great origami instructions! Everything is explained very well and in detail so it's very easy to follow them! Here is one flower origami I made using paper from magazines. "

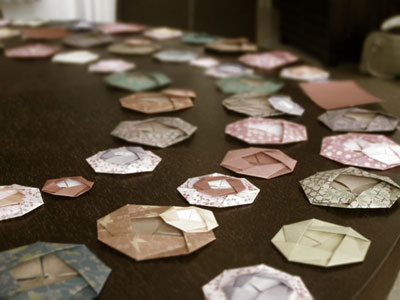
From Kristin in Ironton " These were my first two camellias. I really enjoyed this project. This is a great site for simple instructions! "

From Audrey in Lewis Center " this website is ausome.The first time i tried to make this,i didnt know how to do the tuck in stuff or that other stuff,but luckily this website came to the rescue and gave the best directions a person could ever want, cause this website is so awesome!!!
Thanks for the compliment, Audrey!
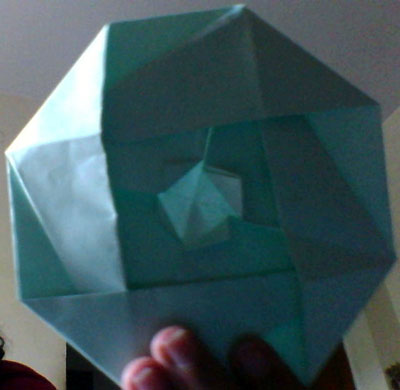
From reader in Rawalpindi " this is my camelia. at first it was difficult, and i almost gave up on it, but your instructions were amazing and here is my completed camelia. pretty good for my first try, i think "
Glad you didn't give up!
From Amber in Ventura " These camellias are traveling with me flat through Europe. We'll fold out their centers in the Czech republic, where they will become a beautiful quilted paper garland for my friends' wedding. Thanks so much! "
Wow, these origami camellias are going on an incredible journey!
From Ashley in Korea " This was just the right kind of easy origami flower I was looking for! Thanks a bunch! "