Easy Origami Piggy for Kids
This is an easy origami piggy for kids. It only requires easy basic folds, no squash, inside or outside reverse folds.
Made this origami? Comment and Submit your photo using the comment box at the end of this page!
Easy Origami Piggy Step 1: Start with a square 6" x 6" (15cm x 15cm) origami paper color side down. Make 2 folds on the diagonal axis. Crease well and unfold.


Easy Origami Piggy Step 2: Fold the right corner to meet the center.

Easy Origami Piggy Step 3: Fold the left corner to meet the center.

Easy Origami Piggy Step 4: Bring the top half down to meet the bottom, folding the paper in half.


Easy Origami Piggy Step 5: Make a fold at the dash line as shown below.


Easy Origami Piggy Step 6: Now we'll fold down the tip of the nose. Fold down the top half of the paper only.

Easy Origami Piggy Step 7: Can you see the piggy face already? Now fold the "ears". Fold the paper in towards you at each of the dash lines.


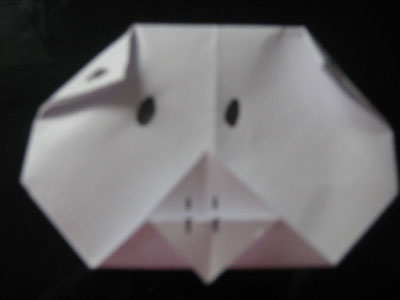
Easy Origami Piggy Step 8: And your easy origami piggy is completed! Have fun decorating it!


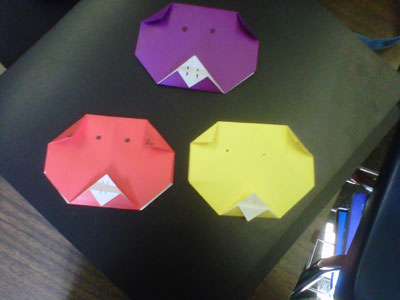
From Miss Lukas in Davie " Three little piggies! Miss Lukas, Jerome, and Sharese :-) "
From reader in Eastbourne: