


Halloween Pumpkin Origami
"Carve" up your own pumpkin with this Halloween pumpkin origami! Both adults and kids are sure to love it!
Made this origami? Comment and Submit your photo using the comment box at the end of this page!
All right, bring out your orange origami paper and let's begin....
Halloween Pumpkin Origami
Start off by folding an origami waterbomb base. This is a commonly used base in origami and we've created a separate page of instructions for it.
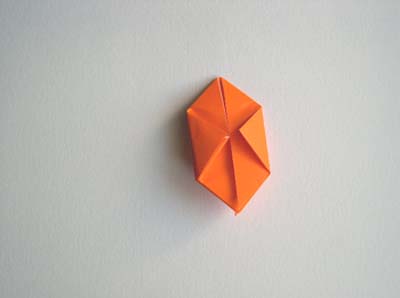
You should have the following to start with.
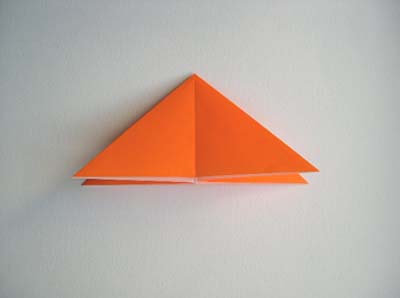
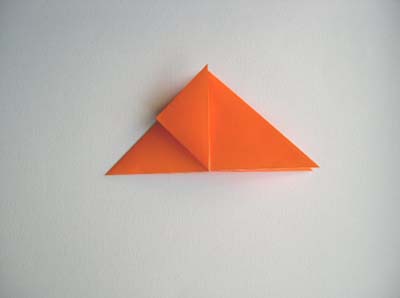
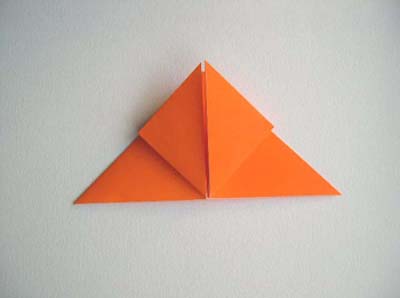
Now fold each of the four corners upwards as shown in the next three photos:

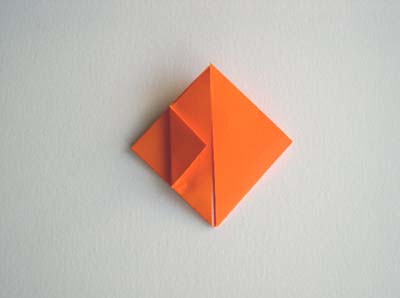
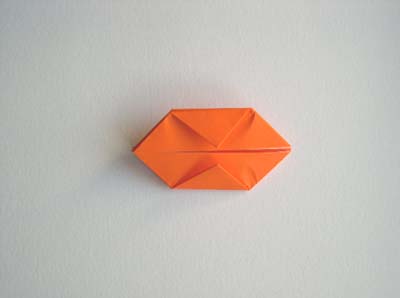
Now fold the four horizontal corners into the center as shown:
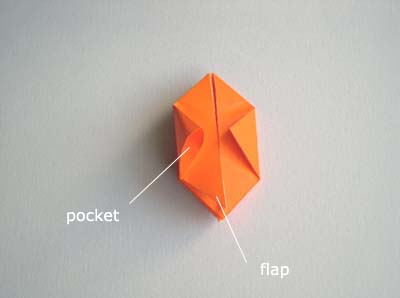
Use your finger to expand the little pocket as shown below. You are going to tuck the flap into the pocket.
However, the flap must first be folded in two to make it small enough for the pocket.
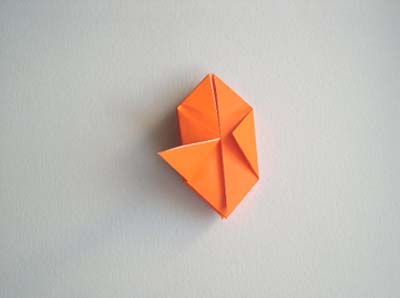
This sequence shows the flap folded, then tucked in.
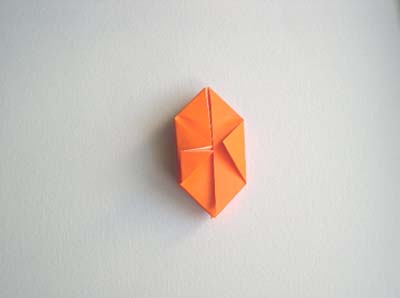
Now fold and tuck in the other three flaps.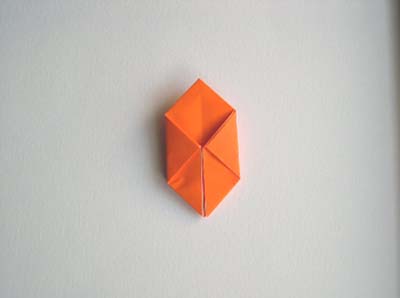
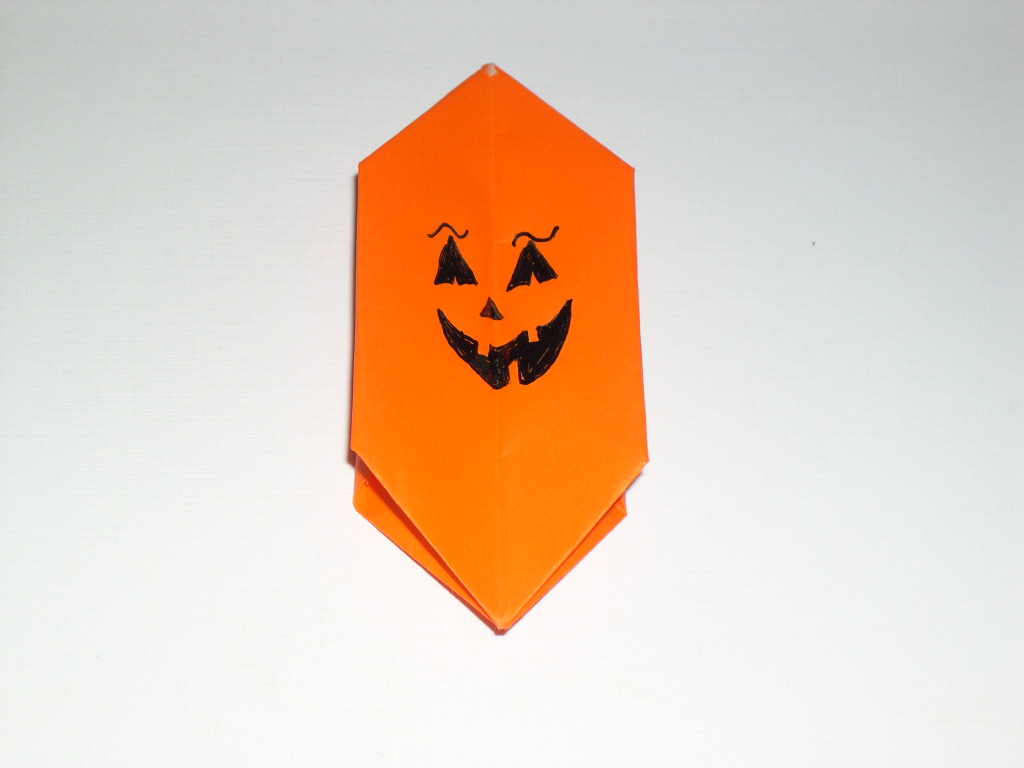
Now fold the front facing 2 flaps together so that the plain side is showing like below:

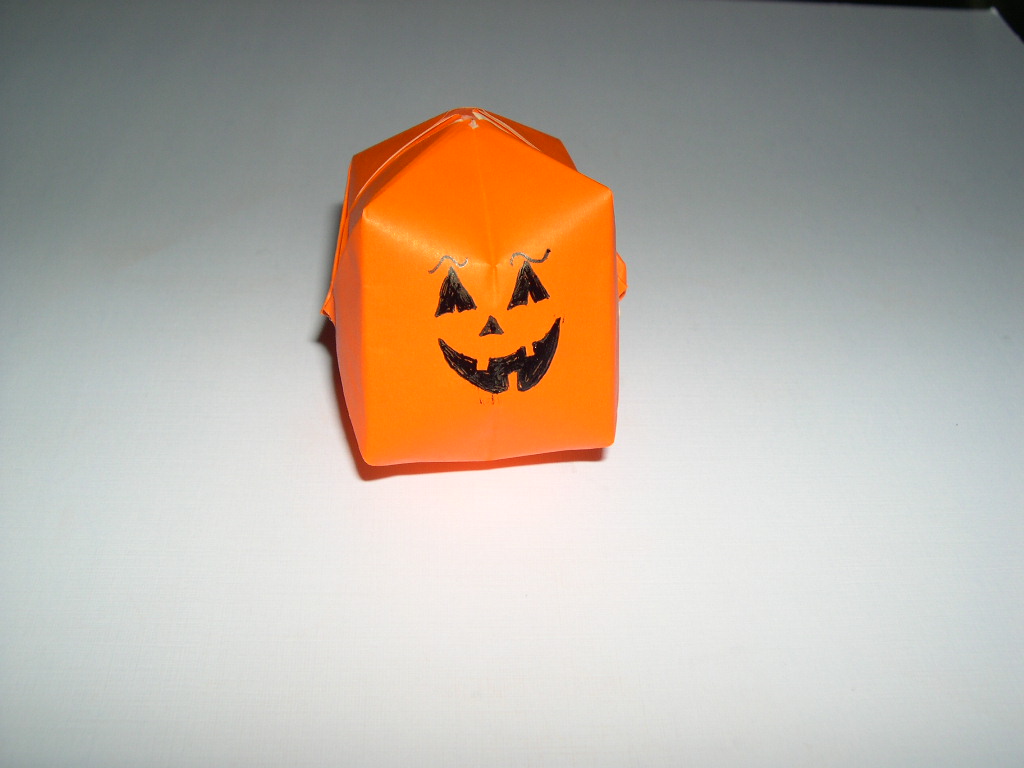
Now draw your pumpkin face on this plain side:
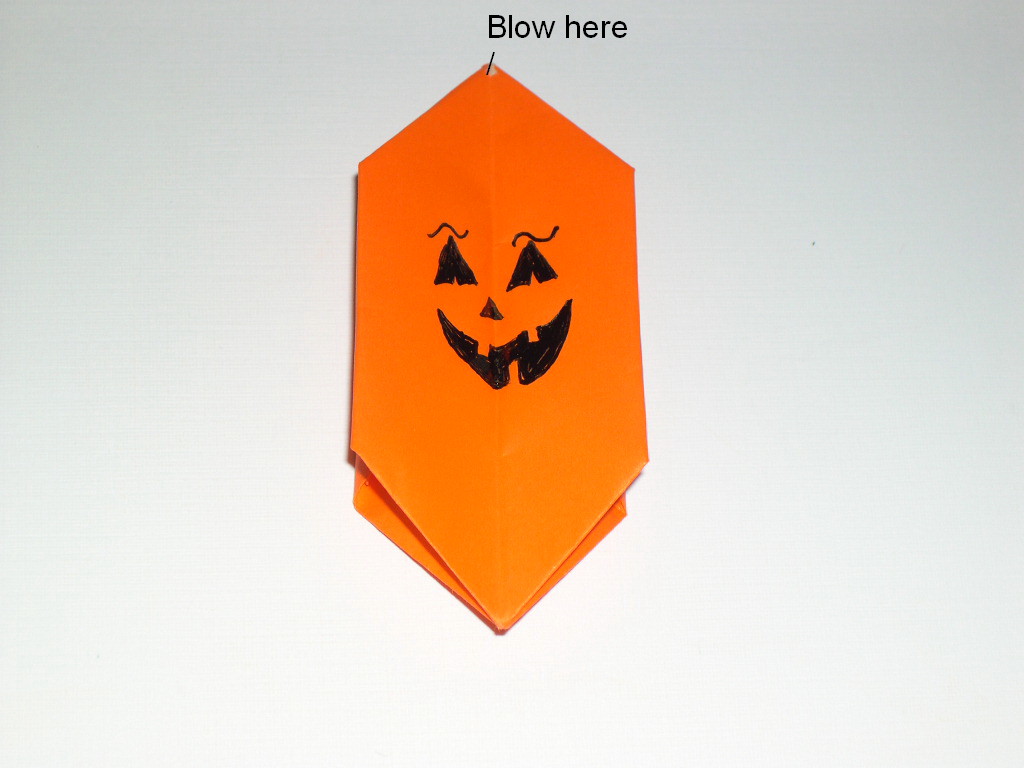
Finally expand the balloon as shown below...
and Voila! a pumpkin!
Add a "stem" to complete your own pumpkin:
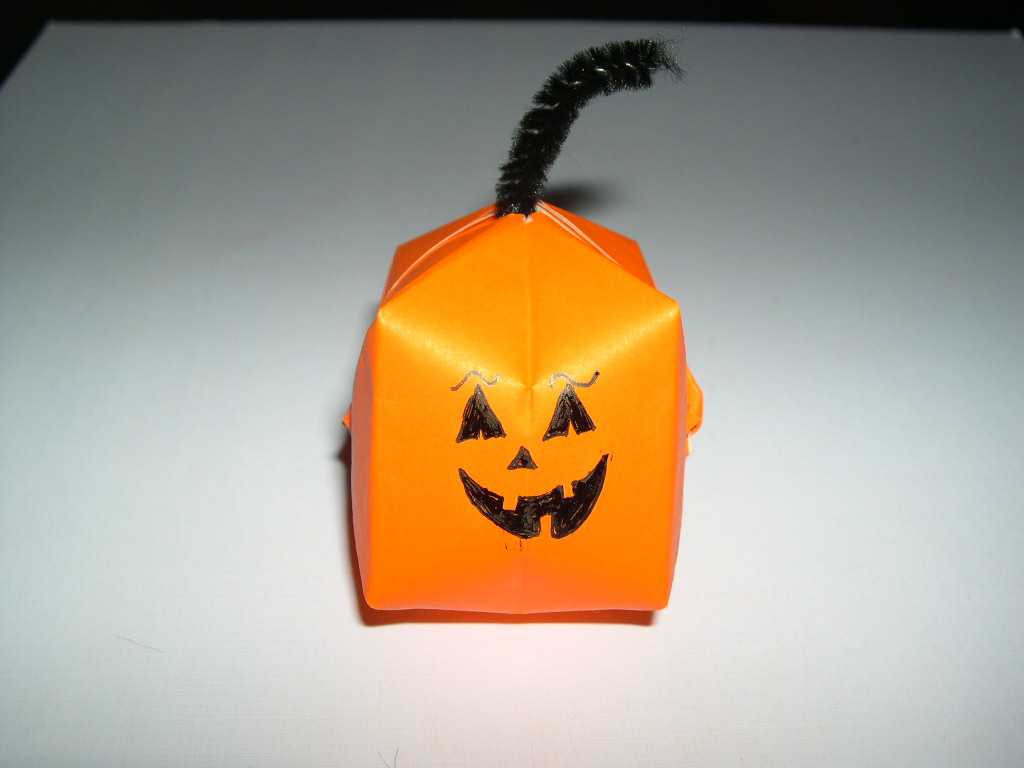
Happy Halloween!
Check out the many origami halloween pumpkin photos that have been submitted by our readers!