Origami Easter Chick Folding Instructions
This origami easter chick is not only cute but it is guaranteed to be salmonella free! I started folding this origami easter chick with a 6 inch square paper. Then I thought it'd be cuter with a smaller piece of paper. So I folded one with a 3 inch paper. Before I knew it, I have a mother with 3 cute little chicks!
Made this origami? Comment and Submit your photo using the comment box at the end of this page!
If you like, you can add an origami rooster to your chick family.
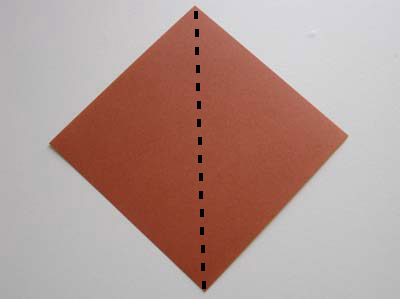
Origami Easter Chick Step 1: Start with a square origami paper, color side down.

Origami Easter Chick Step 2: Fold on the vertical diagonal axis, crease well and unfold.

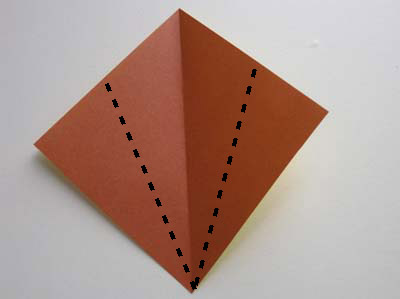
Origami Easter Chick Step 3: Now fold both edges to meet the center crease.

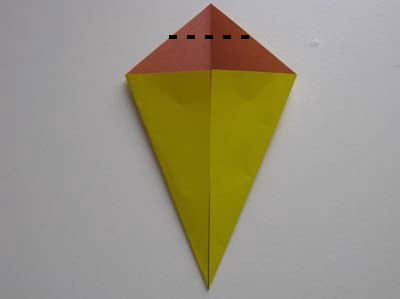
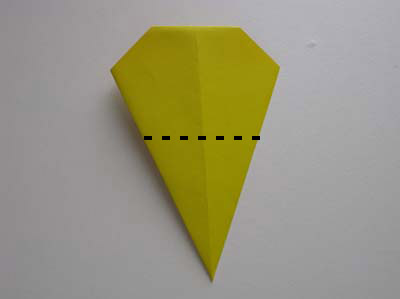
Origami Easter Chick Step 4: Fold the top tip down to meet the horizontal edge.

Origami Easter Chick Step 5: FLIP paper over.

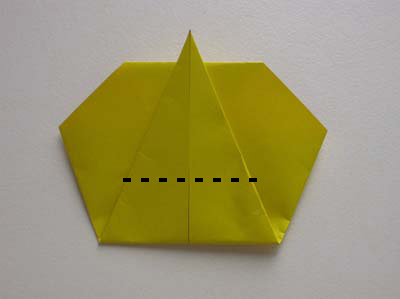
Origami Easter Chick Step 6: Now you want to fold slightly more than half of the paper from the bottom to the top so that the tip sticks out a bit.

Origami Easter Chick Step 7: Fold it back down with about 1.5cm sticking out at the bottom.

Origami Easter Chick Step 8: FLIP paper over again.

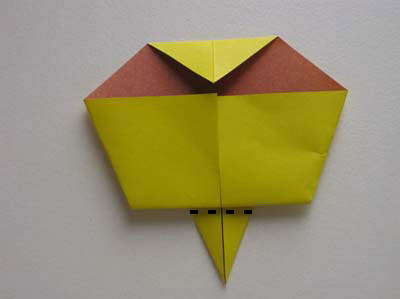
Origami Easter Chick Step 9: Now fold bottom tip to over the bottom horizontal edge.

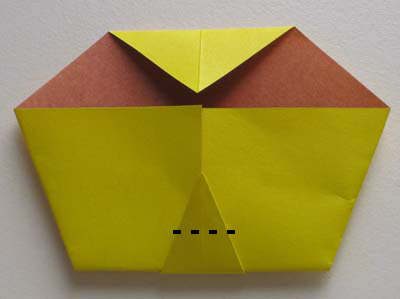
Origami Easter Chick Step 10: Fold the tip back down with a little bit sticking out. This will be the chick's "beak".

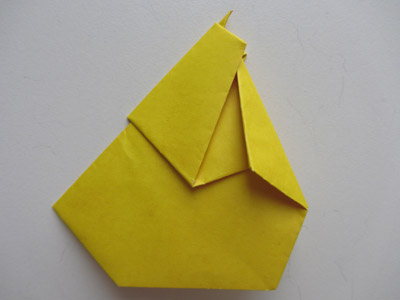
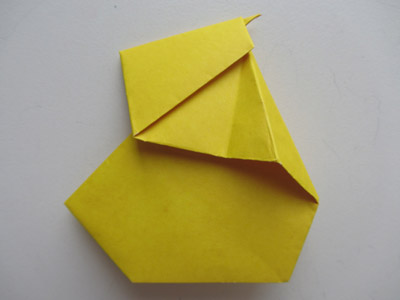
Origami Easter Chick Step 11: OK, now you will fold the paper in half.


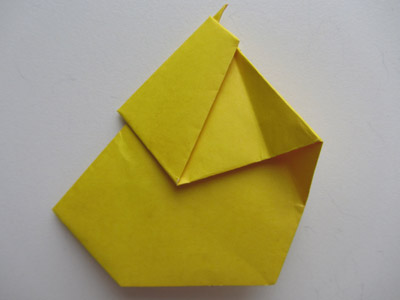
Origami Easter Chick Step 12: FLIP paper and rotate so that you see the below.

Origami Easter Chick Step 13: Fold at approximately the dash lines shown below on both sides of the paper. Crease well and unfold.

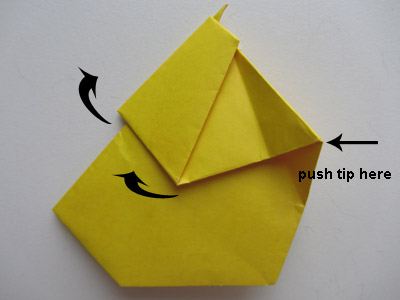
Origami Easter Chick Step 14: Now push the right tip on both sides of the paper. As you do so, the paper will swivel to the left and the "head" will move to the top.
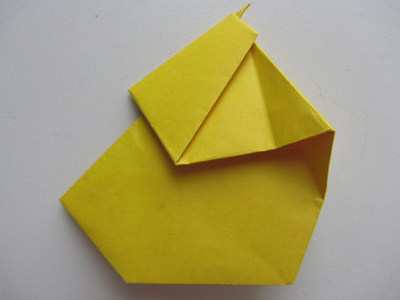


Origami Easter Chick Step 15: And that's it! Your origami easter chick is complete!


My origami easter chick family :)

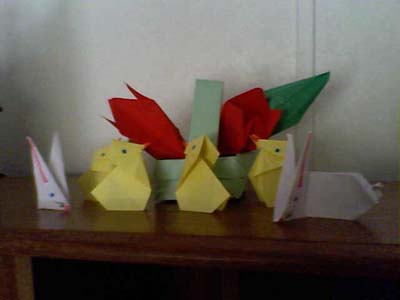
From reader in Alexandria "An Origami Easter Basket, with Origami tulips, 4 Origami chicks and 2 Origami Easter bunnies, are pictured in this photo."
From Pavani in Hyderabad:
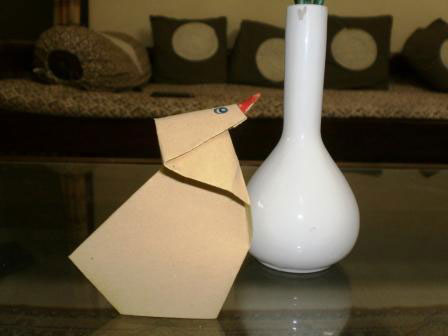
From Rashmi in Nagpur "Origami Easter Chick":
From reader in Barrie " My origami chick is super small made from one inch paper!!! "
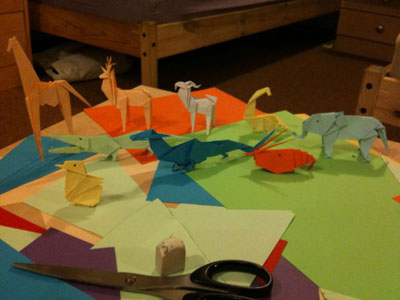
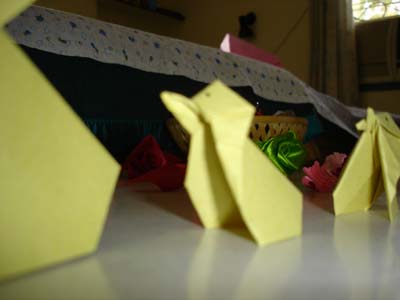
From Bin Bin in Nghe An " Mix of origami animals "