Origami Easter Bunny
Do not buy a bunny for Easter. Instead make one! Here is an easy origami easter bunny perfect for the occasion!
Made this origami? Comment and Submit your photo using the comment box at the end of this page!
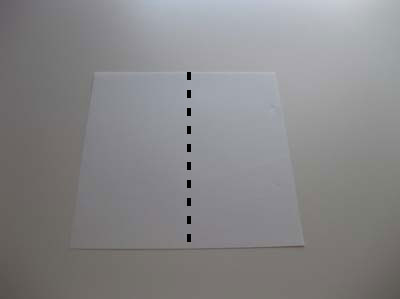
Origami Easter Bunny Step 1: Start with a square origami paper. If using a color paper, start with the color side down. Fold in half on the vertical axis. Crease well and unfold.

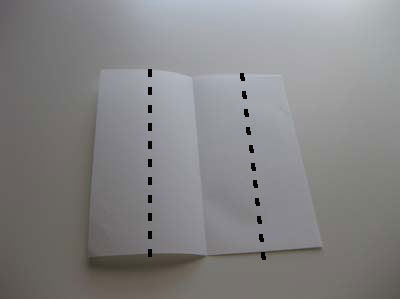
Origami Easter Bunny Step 2: Fold both sides to meet the center crease.

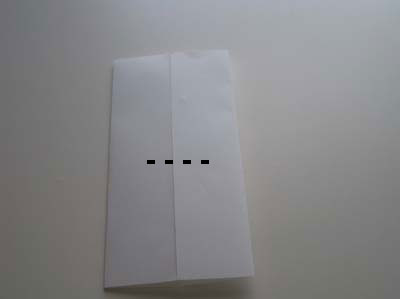
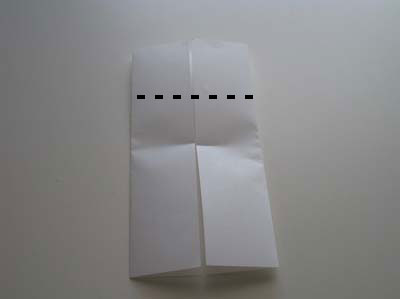
Origami Easter Bunny Step 3: Now we want to find the horizontal middle point. Fold paper in half and pinch the middle point. Don't crease all the way.

Origami Easter Bunny Step 4: Fold the top half down to meet the horizontal middle point. Crease well.

Origami Easter Bunny Step 5: Now unfold Step 4 halfway. Then pry paper open. Crease the diagonals on the left and right sides as shown in the pictures below.
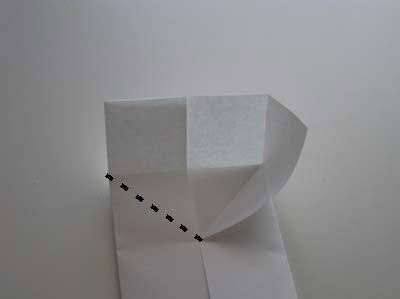

Origami Easter Bunny Step 6: Bring the top down and flatten paper to form a "roof".


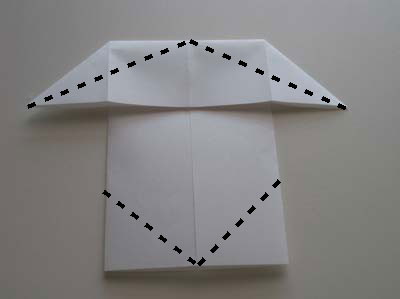
Origami Easter Bunny Step 7: FLIP paper over. Make a diagonal fold from the top center crease to the tips. Also fold the bottom corners to meet in the center.

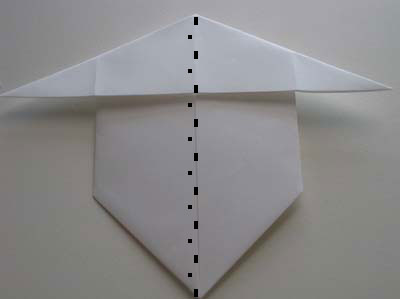
Origami Easter Bunny Step 8: FLIP paper over again. Fold paper in half as shown.


Origami Easter Bunny Step 9: Now we need to make an inside reverse fold so that the tail sticks up. Make a mountain fold on each side then push the paper inside, between the 2 sides. If you need more information, go to our inside reverse fold page.


Origami Easter Bunny Step 10: Almost done! Crease on the dash line shown below. This is so that the bunny can stand.


and your origami easter bunny is complete!

Below is another bunny we have on this site.

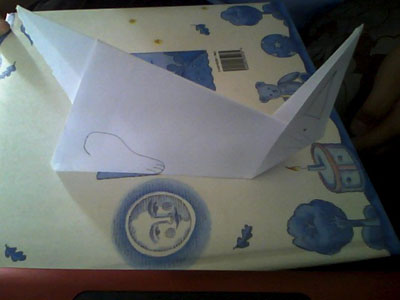
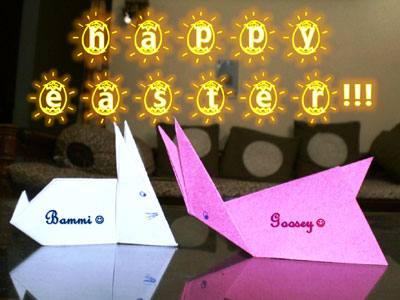
Thanks to reader Zsuzsanna from Kecskemet for submitting these delightul origami easter bunnies - " Have a Happy Easter and a Wonderful spring! "

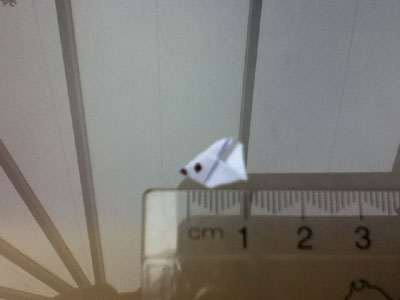
From Jenya in Sunnyvale " ORIGAMI EASTER BUNNY I made this cute Easter bunny and it fit perfectly in my origami tote!!! P.S. I love your website so much!!! Everything is super easy to understand with the photos on videos "
From Exie in Bluejacket " My 1st origami bunny! I think she looks cute! "
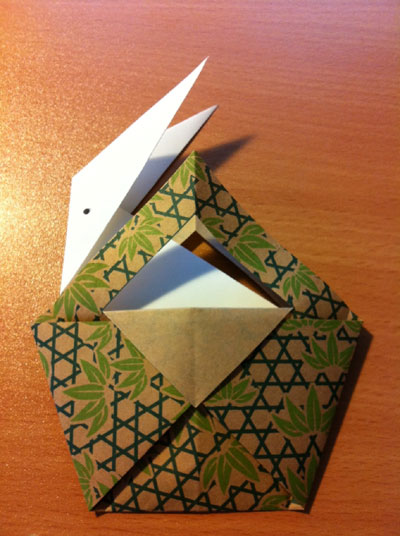
From Rashmi in Nagpur " Origami Rabbit - Easter bunnies to be specific! "
From reader in Sydney " Origami Easter Bunny."
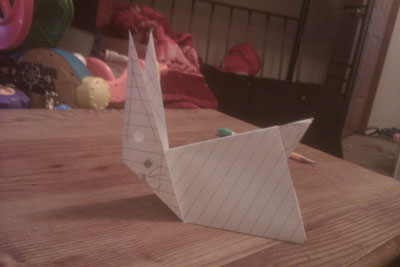
From reader in Jersey " This origami rabbit is SOOOOO cutee! So simple to make but so AWESOME! x "