Origami 8-Pointed Star Folding Instructions
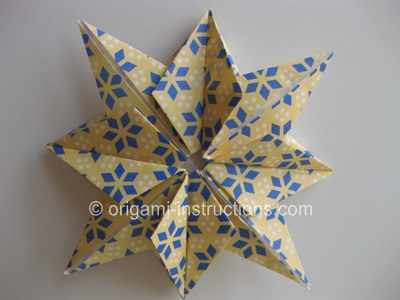
This is a really nice origami 8-pointed star designed by Dr. James Sakoda. The finished origami is beautiful and perfect for your christmas tree!
Made this origami? Comment and Submit your photo using the comment box at the end of this page!
Origami 8-Pointed Star Step 1: Fold an origami bird base. This is a common base used as a starting point in many origami so we've created a separate page for it. Follow the instructions and you should have the following to start with. Make sure to crease well.
Origami Bird Base Video
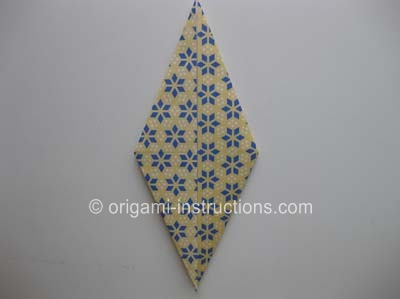
Origami 8-Pointed Star Step 2: Fold down the tip on the dotted line as shown below.
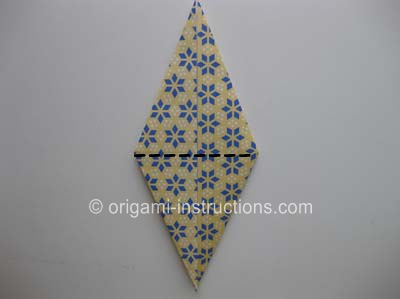
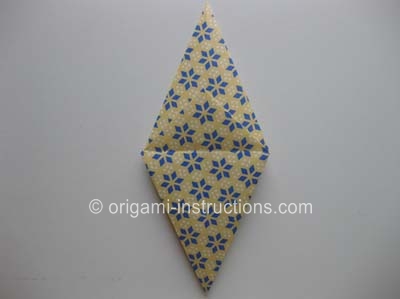
Origami 8-Pointed Star Step 3: Flip paper over. Fold down the tip on this side as well.
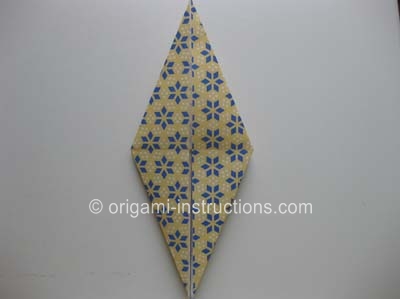
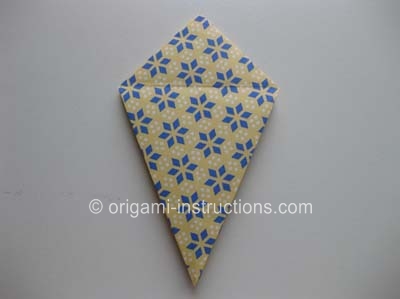
Origami 8-Pointed Star Step 4: We now need to sink the tip. You'll see what that means in the next few steps.
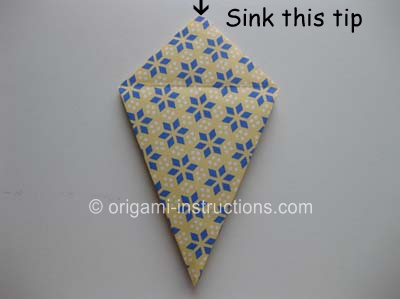
Origami 8-Pointed Star Step 5: Open up the paper like we've done in the photo below.
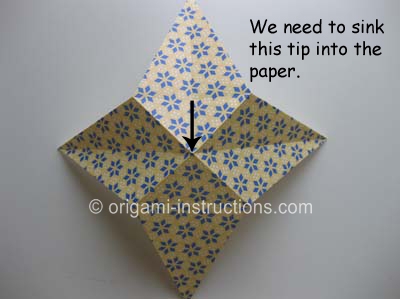
To sink the tip, we need to recrease the paper.
See the 4 creases that form a square? They're currently valley folds and we need to recrease them to make them into mountain folds.
If you're new to this, you may want to check out our page on valley and mountain folds.
Make sure you crease well.
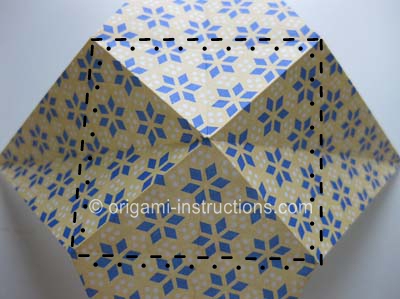
Origami 8-Pointed Star Step 6: We now need to recrease the 2 diagonal creases into valley folds. Make sure to crease well.
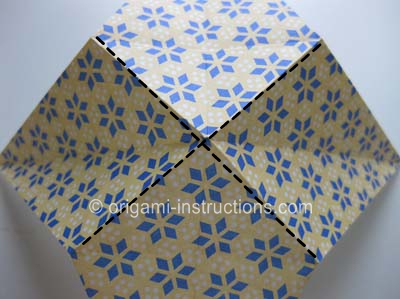
Origami 8-Pointed Star Step 7: This is what you should have after completing Steps 5 and 6. Do you see the difference between what you had in Step 5 and now?
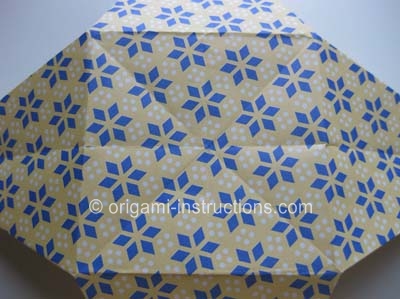
Origami 8-Pointed Star Step 8: Now we're going to complete our goal of sinking that pesky tip. Push in the paper from both sides so that they meet in the center. This is why you recreased the paper in the previous steps. Recreasing the paper helps you to coax the paper into the shape you want.
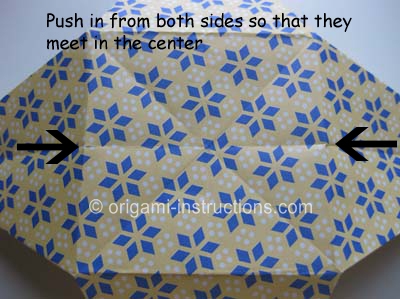
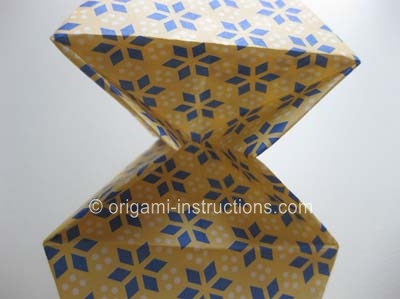
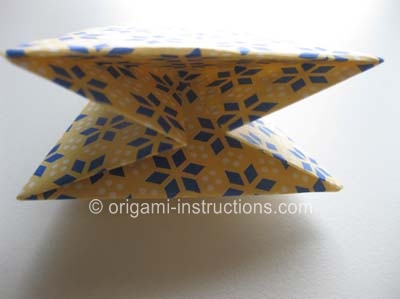
See how the tip has disappeared? The tip has sunk!! We've just completed a technique in origami called a sink fold.
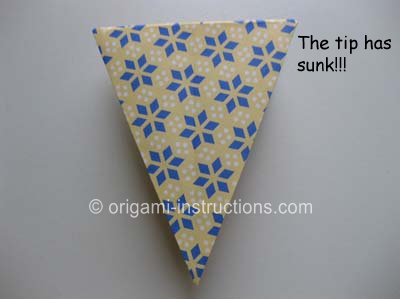
Origami 8-Pointed Star Step 9: Fold the tip up slightly more than halfway so that the tip sticks out over the upper edge.
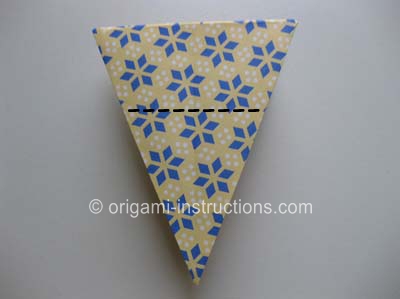
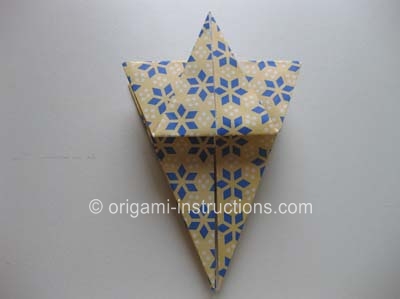
Origami 8-Pointed Star Step 10: Flip paper over and repeat Step 9.
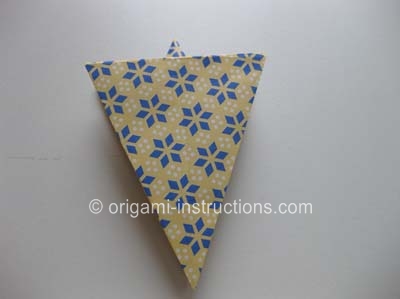
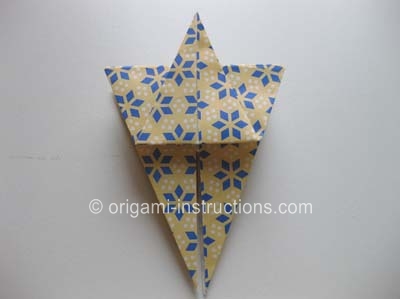
Origami 8-Pointed Star Step 11: There are 2 more sides to this. Fold the right flap over to the left and repeat Step 9.
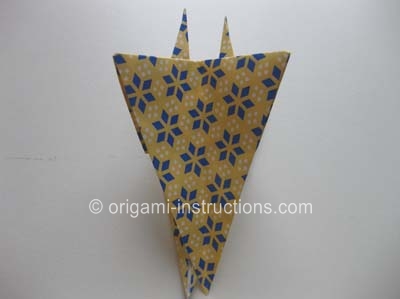
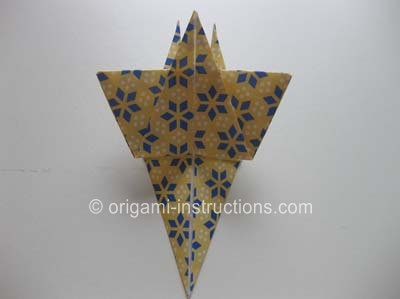
Origami 8-Pointed Star Step 12: Flip paper over and repeat Step 9.
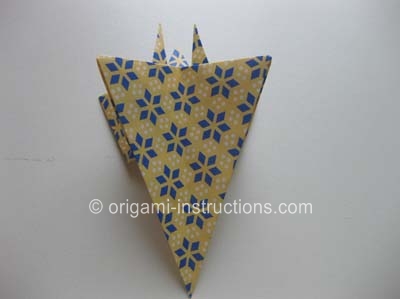
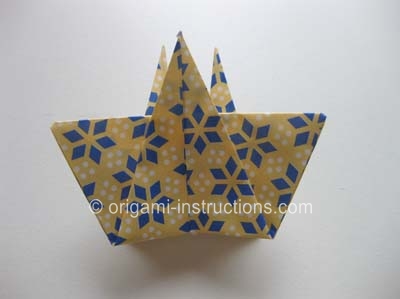
Origami 8-Pointed Star Step 13: Make 2 folds on the dotted line as shown below.
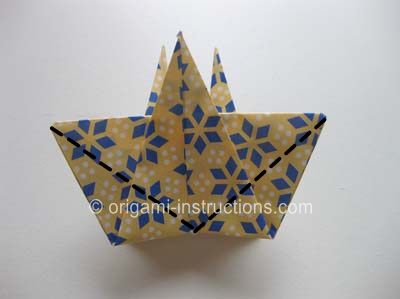
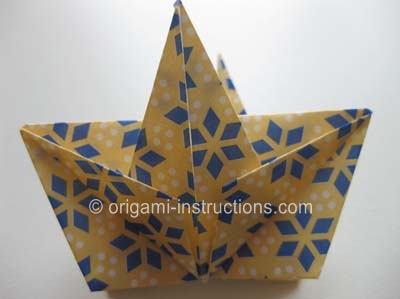
Origami 8-Pointed Star Step 14: Repeat Step 13 for the other 3 sides.
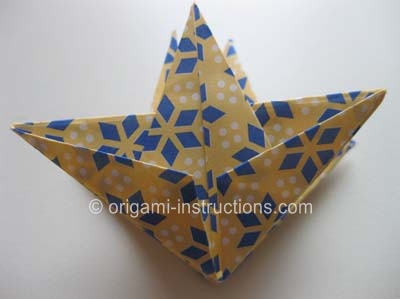
Origami 8-Pointed Star Step 15: We're almost done, We can now open up the paper.
Top view:
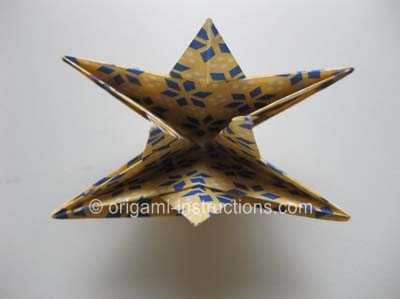
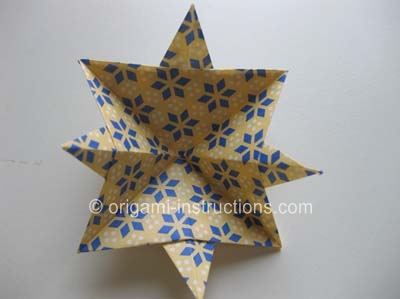
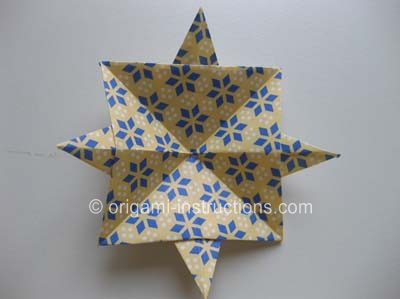
The front side.
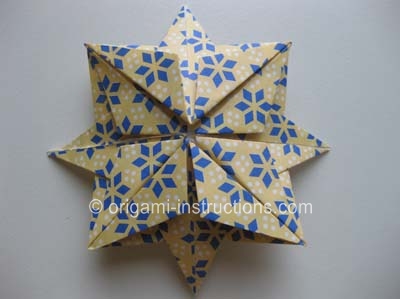
Origami 8-Pointed Star Step 16: Just some finishing touches.
We need to fold the paper back on a diagonal so that that the edges line up and the extra bit of paper cannot be seen from the front. That way, we can get more of the star shape.
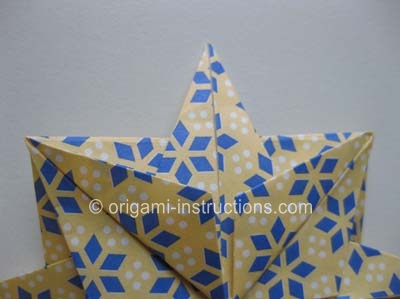
Flip paper over and fold along the dotted lines as shown below.
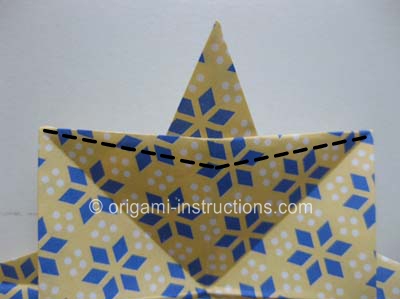
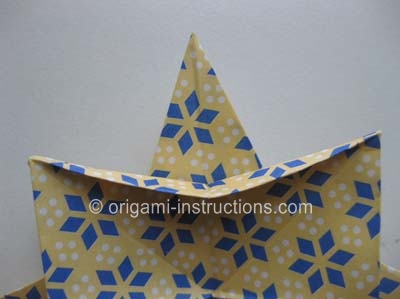
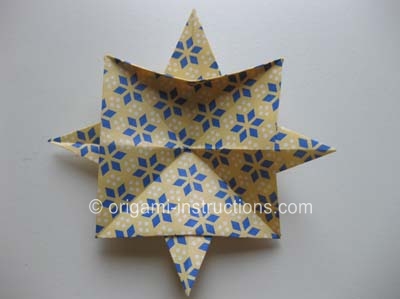
Origami 8-Pointed Star Step 17: Repeat Step 16 for the other 3 sides.
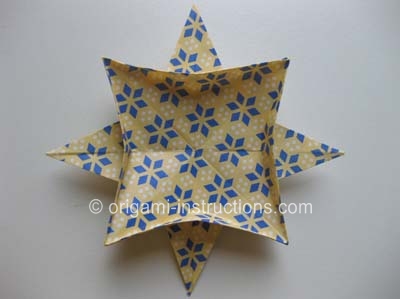
Origami 8-Pointed Star Step 18: Flip paper over and your origami 8-pointed star is complete! It almost look like a snow flake, doesn't it?
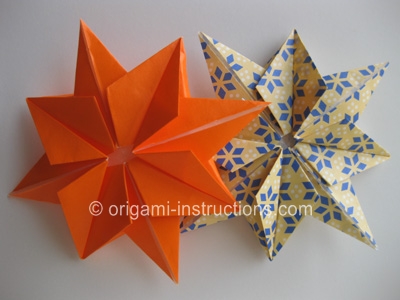
Check out the many origami 8-pointed star photos that have been submitted by our readers!


