Origami Rooster Instructions
This is a fairly simple origami rooster but it does require folding the squash fold and inside reverse fold.
Made this origami? Comment and Submit your photo using the comment box at the end of this page!
If you'd like to give this origami rooster a family, then check out our origami chick.
Origami Rooster Step 1: Start with a square piece of origami paper, colored side down. Fold in half along the diagonal.


Origami Rooster Step 2: Now fold corners A and B down to corner C. Fold the model in half lengthwise, moving corner D to the back. Rotate 90 degrees clockwise.


Origami Rooster Step 3: Now take the top flap and do a squash fold, as shown in the next three (3) photos.


Origami Rooster Step 4: Repeat this squash fold on the back of the model. Then do an inside reverse fold as shown. This forms the feet of the origami rooster.


Origami Rooster Step 5: Rotate the model 90 degrees clockwise. Now at corner E, fold back the outer layer of paper. This forms the rooster's crown.


Origami Rooster Step 6: Next do an inside reverse fold to form the rooster's beak. Now your origami rooster is complete!


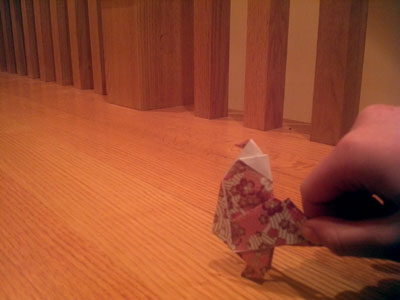
From Ramona in Berlin:
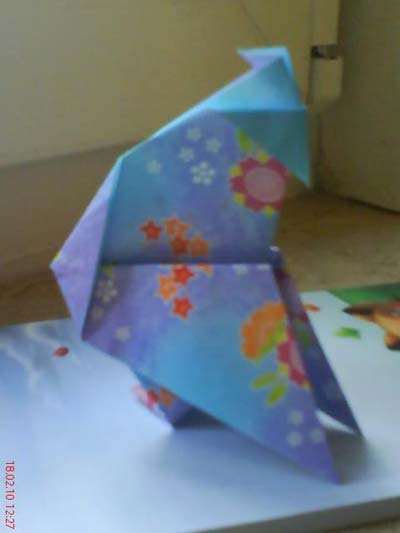
From reader in Crosslake " 'Gami rooster! He turned out great! really looks up to the big man too. "
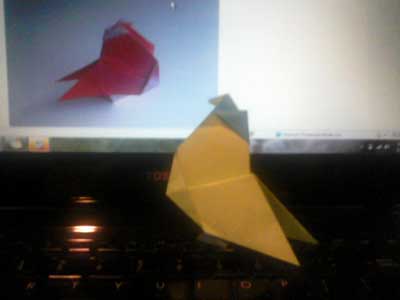
From Bree in Rutland County "Origami Rooster"