Origami Pleated Box Folding Instructions
Here is another origami box to add to your collection. It is a simple box but the pleats give it a something "extra" and make it fancy!
Made this origami? Comment and Submit your photo using the comment box at the end of this page!
We have other boxes on this site: an easy origami box and an origami star box.
Origami Pleated Box Step 1: Start with a square origami paper color side down.

Origami Pleated Box Step 2: Make 1 fold on each of the diagonals. Crease well and unfold.

Origami Pleated Box Step 3: Now fold all 4 tips to meet in the center. This is called a blintz base.

Origami Pleated Box Step 4: FLIP paper over.

Origami Pleated Box Step 5: We'll make another blintz fold by folding all 4 tips on this side to the center.

Origami Pleated Box Step 6: Now we'll fold the tip from the center to the edge.

Origami Pleated Box Step 7: Repeat for all other 3 tips.

Origami Pleated Box Step 8: FLIP paper over.

Origami Pleated Box Step 9: Fold the top flap to the edge.


Origami Pleated Box Step 10: Here we'll make the pleats. Basically we fold the paper up and down (or valley and mountain folds) several times to make the pleat. This is called the pleat fold. Follow the photos below.


Origami Pleated Box Step 11; Repeat Steps 9 and 10 for the other 3 quarters.

Origami Pleated Box Step 12: Now we need to make the box. As you can see, the paper is currently flat. A box should have 4 sides so we need to make that. Gently force the paper up to make the sides. Pinch the corners slightly to help form the sides.


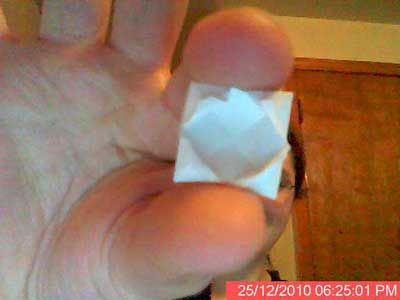
Origami Pleated Box Step 13: You have completed the origami pleated box!


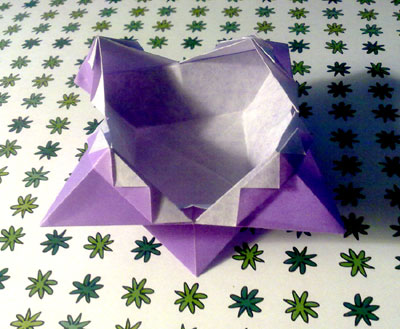
Thanks to reader Andreas for his origami pleated box!
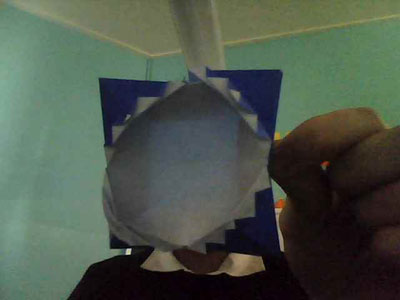
From Xavier in Indiana " This is just what I started to make when I was bored, and I dont have any origami paper so I just cut some scrap paper up and made this. I started making origamis about 3 days ago and now I can't stop. I love this website, and its awesome. And I would like to know what you think about what I made. "
Thanks for your origami pleated box, Xavier!
From Emily in Manila:
From Tarambuque in Cordoba:
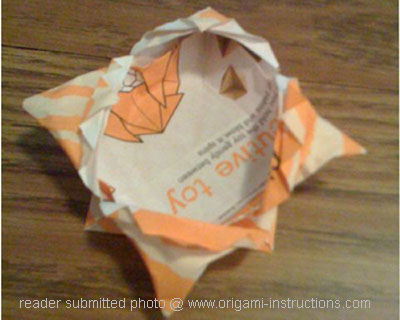
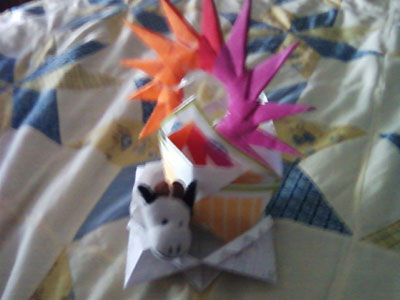
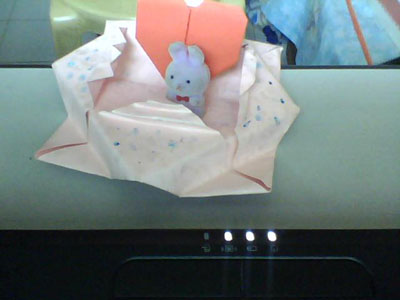
From Casey in Princeton, NJ " This is an awesome Pleated Box I made. It has some of my favorite origami in it (a 13-pointed star, a tote bag) and a cute little cow toy I found. the instructions are suprisingly easy. Hope you people out there like it! "
From Entesar in London:
From reader in St Pete:
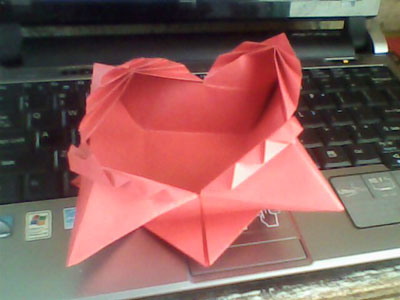
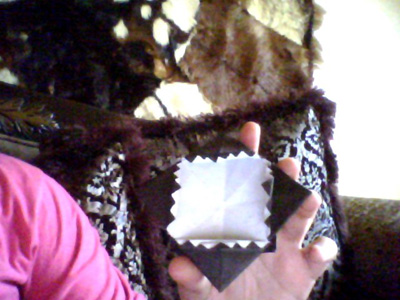
From Jazzy in Parma " heh, my art is in making minigami (that's what all my friends call tiny oragami figures), this was my first attempt at a teeny box <3 enjoy "
From Chey in Angeles:
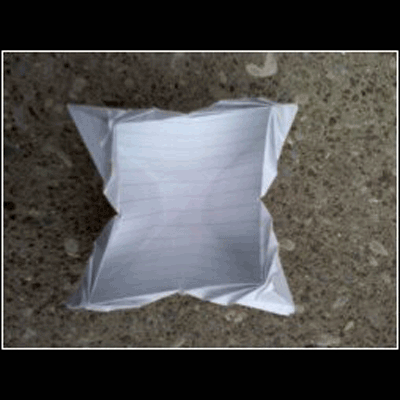
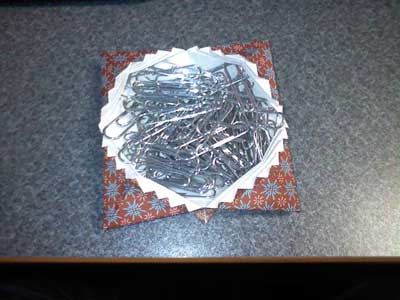
From Micah in Baguio " Origami Box : I got bored waiting for a friend, I decided to make a box made out of paper tray :-) "

From reader in Geelong: