Easy Origami Vase Folding Instructions
This is an easy origami vase that can be used to hold your origami flowers which is precisely why we made it!
Made this origami? Comment and Submit your photo using the comment box at the end of this page!
If you can, use a slightly thicker origami paper.
I am using with a 6" (15cm) square Rice Origami Paper with Kimono and Folk Art Designs
The rice origami paper is thicker and not flimsy. This pack comes with several different designs and colors.
If you would like a larger vase, you'd need a larger sheet of paper.
Easy Origami Vase Step 1: Start by making a waterbomb base. You should have this to start with.

Easy Origami Vase Step 2: Fold over the right side to the left and the left side to the right. The fold can start at approximately 1 inch from the bottom tip. Crease well and unfold.

Easy Origami Vase Step 3: Now make a squash fold on the right side - Open the paper slightly and flatten.


Easy Origami Vase Step 4: Repeat Step 3 on the left side.

Easy Origami Vase Step 5: FLIP paper over and repeat Step 2. Make sure the edges line up.

Easy Origami Vase Step 6: Now repeat the squash folds on this side.

Easy Origami Vase Step 7: Now we need to work on the pointed tips. Fold each side of the pointed tip to meet the center crease.


Easy Origami Vase Step 8: Repeat Step 7 for the other 3 tips.

Easy Origami Vase Step 9: Open the paper and fold the tips into the vase.


Easy Origami Vase Step 10: Repeat for the other 3 tips. Once done, push down on the bottom of the vase to flatten it.

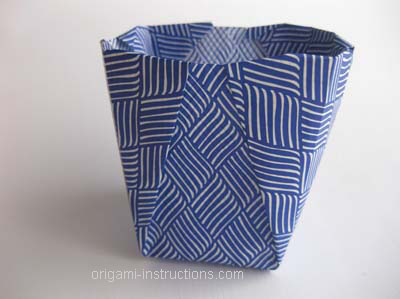
Easy Origami Vase Step 11: And that's it! Your easy origami vase is complete.


The vase above was made with a 6 inch square paper. It was a bit too small to hold more than 1 flower.
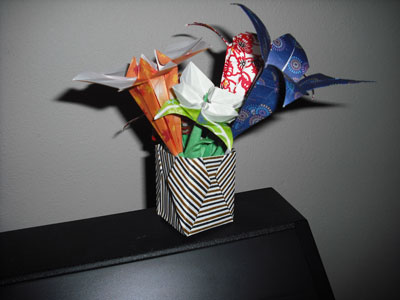
So I made another vase with an 8 1/4 inch paper and used it to hold the origami day lilies.
Here's the larger origami vase made using an 8 1/4 inch Origami Paper with Traditional Print
Here's the larger origami vase with the origami day lilies:

Thanks to reader, Jen, for submitting her origami vase: She also submitted several other photos: origami lily, snail, tulip, frog.
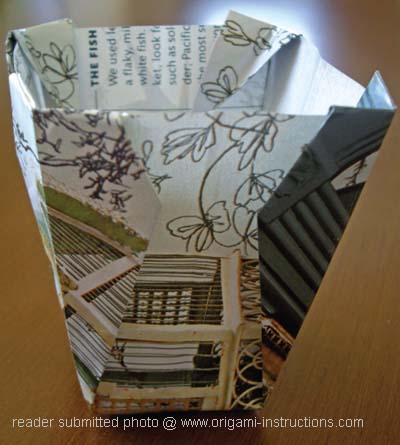
From Ashwin in Appleton "Simple Origami Vase with a few traditional flowers, made for a nice gift"