Origami Modular Square Box - Assembly
After you've made 4 of the modular units as shown in part 1, you can now begin to assemble this cool modular square box.
Made this origami? Comment and Submit your photo using the comment box at the end of this page!
Origami Modular Square Box Step 9: We'll start by assembling 2 of the units. Modular origami is often assembled by inserting the tip of a unit into a pocket. This is what we'll do here as well.
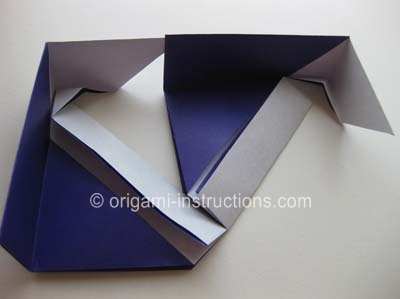
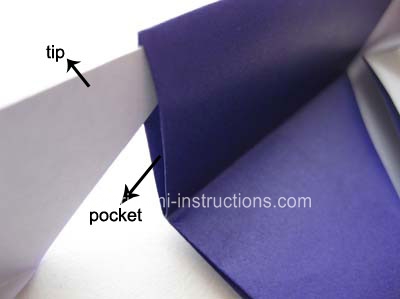
Insert the tip all the way into the pocket (you may have to pry open the paper) and your modular box will start to take shape like below:
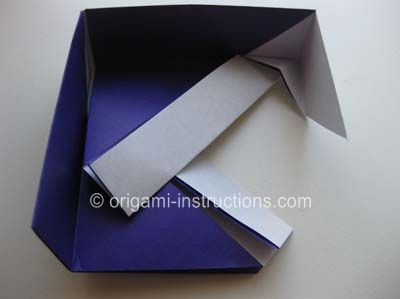
Origami Modular Square Box Step 10: We're not done with those 2 units yet. After taking care of the box exterior, we now need to complete the assembly for the interior of the box. Once again, we'll be tucking a tip into a pocket.
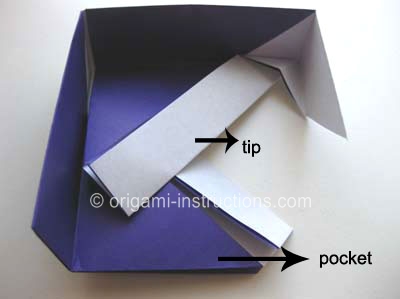
Zooming in so you can see the tip going into the pocket.... Lift up and pry open the paper so that the tip can be inserted into the pocket.
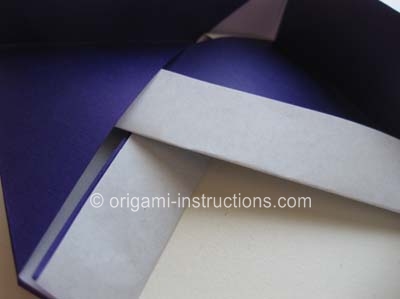
This is what you should get...
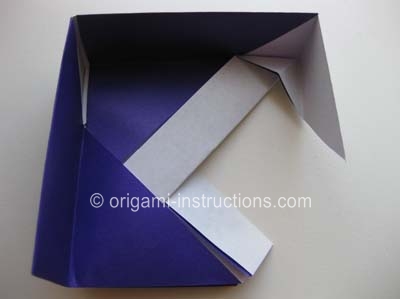
Origami Modular Square Box Step 11: Now we just have to repeat Steps 9 and 10 to finish assembling our modular square box.
Here's the 3rd unit being assembled.
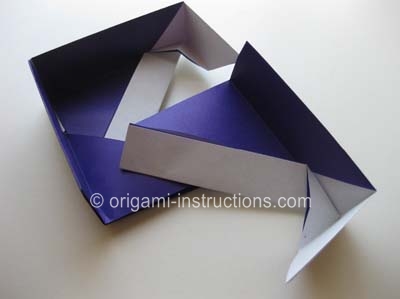
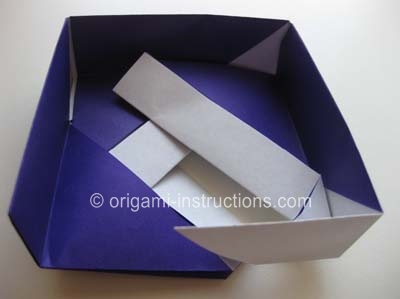
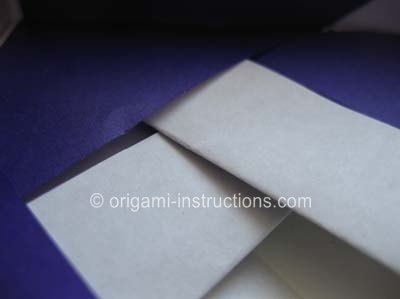
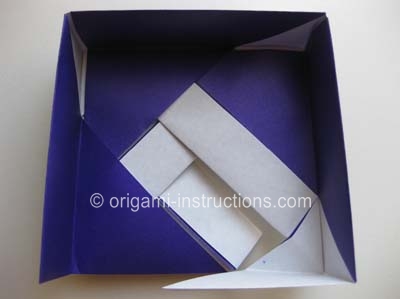
Origami Modular Square Box Step 12: Our final unit! Rotating the box so that it's easier to see....
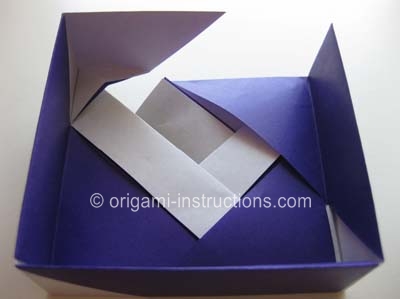
Once again, insert the tip into the pocket. Notice that the final unit is going under the unit on the right...
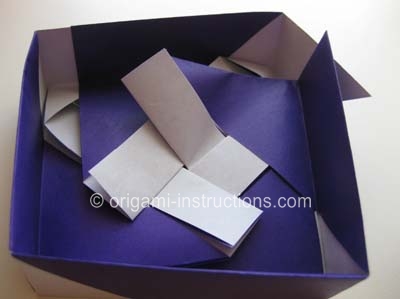
It's getting tight and crowded in there!
As you can see, we're not quite done yet.
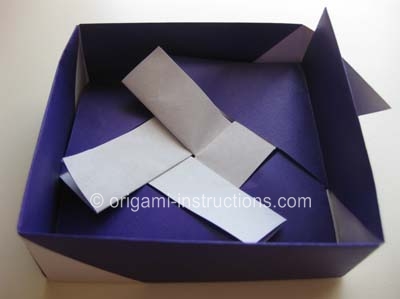
Let's complete the outside of the box. Just insert the tip into the pocket as you already know how to do.
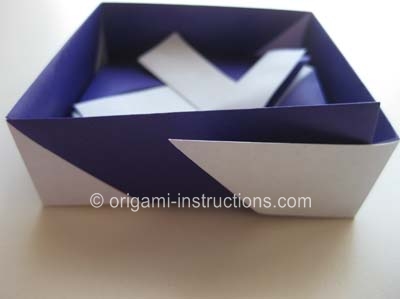
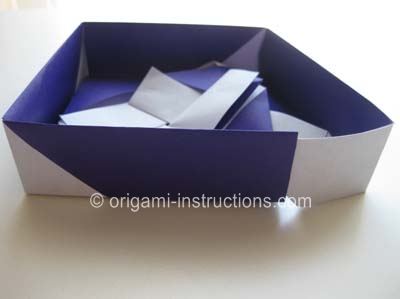
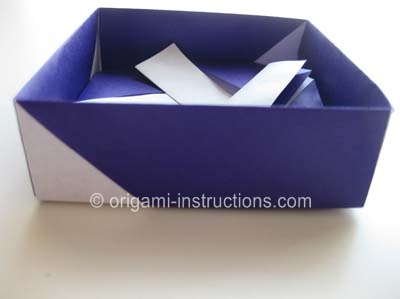
Now we turn our attention to the inside of the box. While we were taking care of the box exterior, some of the assembly on the inside may have come loose. Don't worry, we'll just take care of it right now.
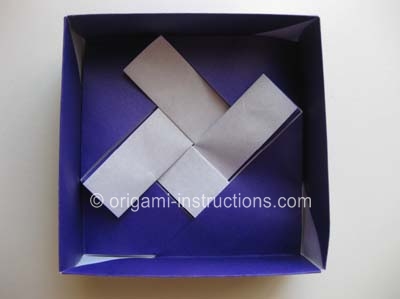
Insert the white tips into the purple pockets. Here's one....
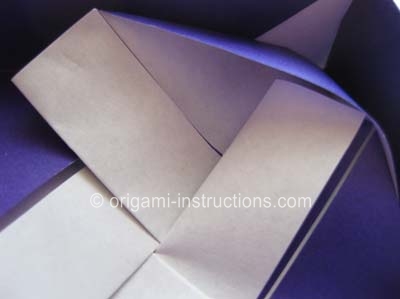
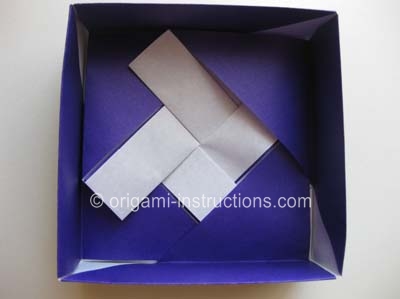
Here's the 2nd tip going into another pocket.
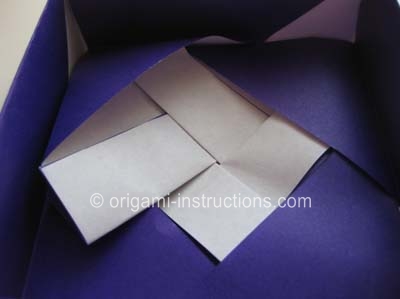
One more tip to insert....
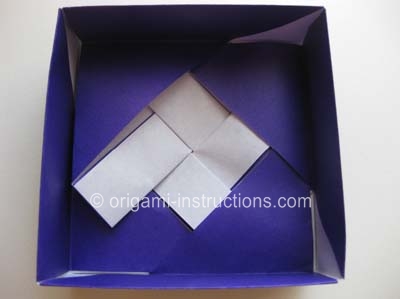
and voila! Our modular square box is now complete!
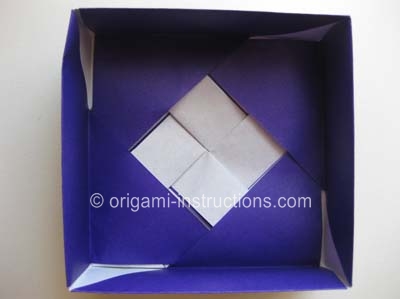
Flip it over...You can use this as the box body or as the lid...
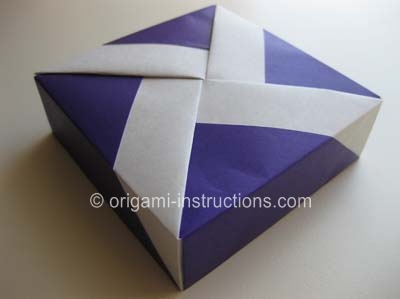
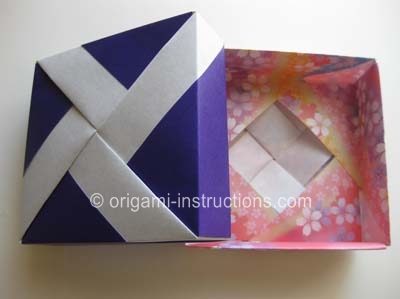
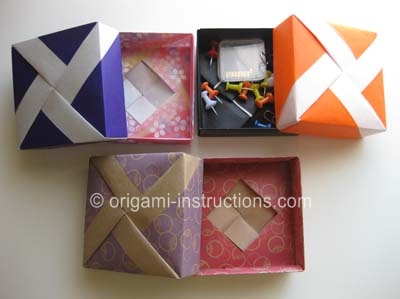
Check out the many origami modular square box photos that have been submitted by our readers!


