Origami Cube
Due to popular demand, here is the folding instructions for an easy origami cube. You will need 6 sheets of origami paper for this cube. This is a good model for those who want to try modular origami.
Made this origami? Comment and Submit your photo using the comment box at the end of this page!
Easy Origami Cube Step 1: Start with a square 6" x 6" (15cm x 15cm) origami paper color side down.
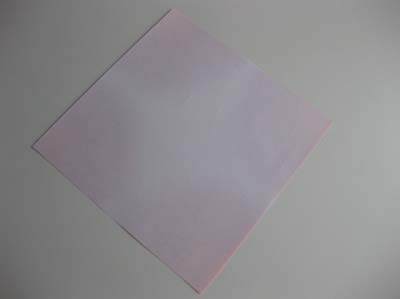
Easy Origami Cube Step 2: Fold on the horizontal diagonal. Crease well and unfold.
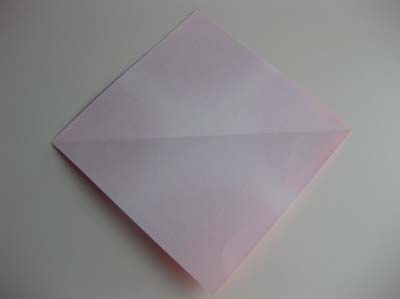
Easy Origami Cube Step 3: Now fold along the vertical diagonal line. We just want to mark the center so don't crease it all the way. Just crease in the center and unfold.

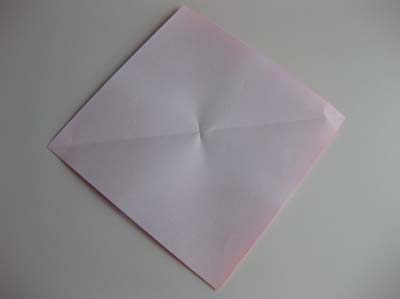
Easy Origami Cube Step 4: Now fold both the top and bottom tips to meet the crease in the center.
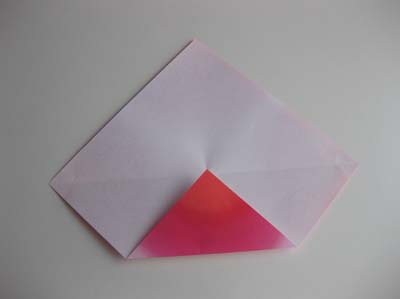
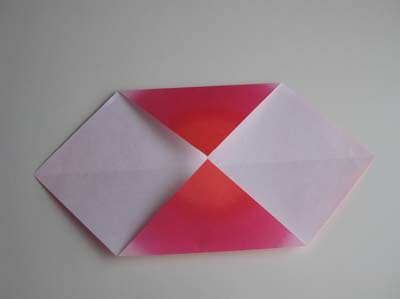
Easy Origami Cube Step 5: Now fold both the bottom and top sides to meet the crease in the center.
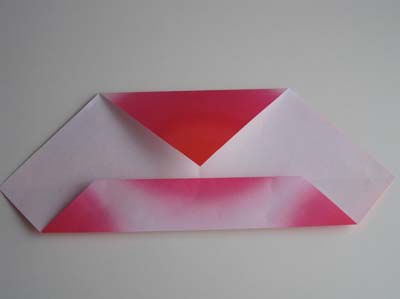

Easy Origami Cube Step 6: Now fold both the left and right tips to meet the spot marked by the arrows shown below.
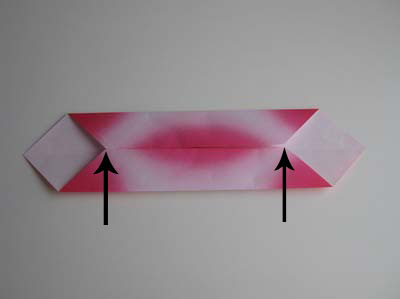


Easy Origami Cube Step 7: Now fold both sides as shown by the dash lines below.
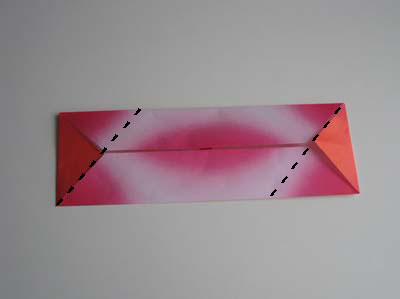
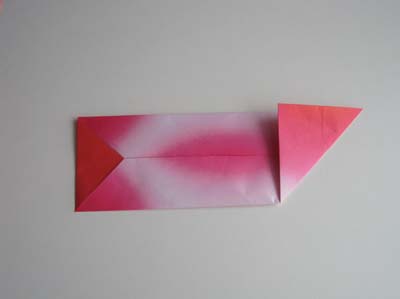
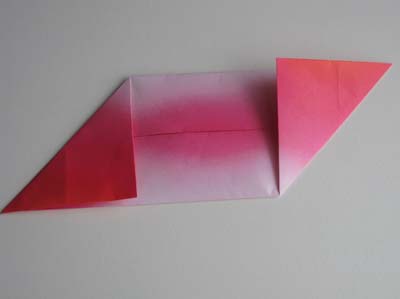
Easy Origami Cube Step 8: Now you will fit the 2 flaps you just fold in the previous step into the "pocket". We'll start with the right side. Bring the right flap over and open the paper slightly then slide the paper into the pocket.
Look at the 2nd picture below. See how you can slide the right flap into the pocket?
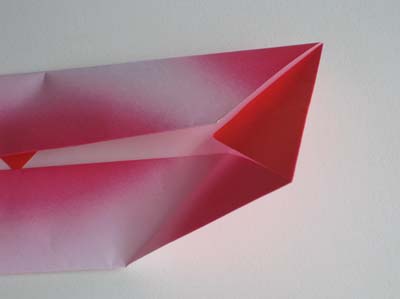
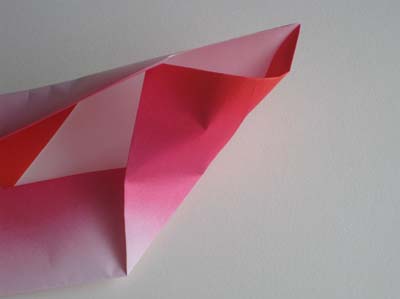
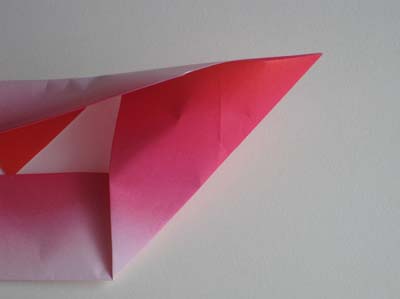
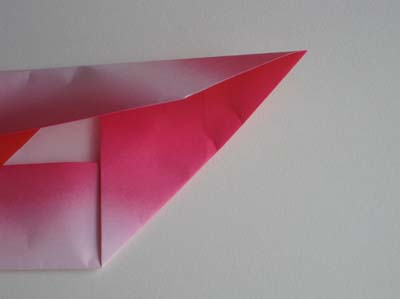
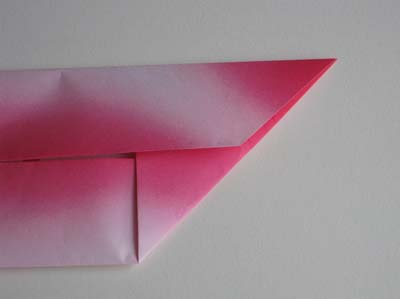
Easy Origami Cube Step 9: Now repeat step 8 for the left side and you should have the following.
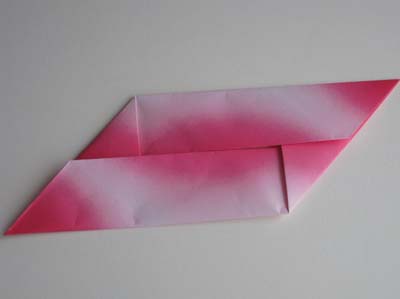
Easy Origami Cube Step 10: FLIP paper over.
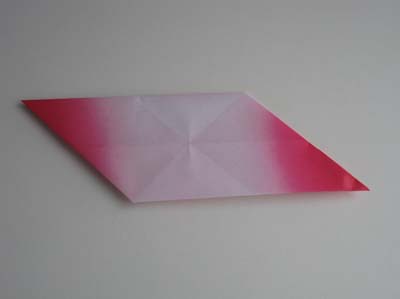
Easy Origami Cube Step 11: Now we'll fold both tips in at the dash lines shown below.
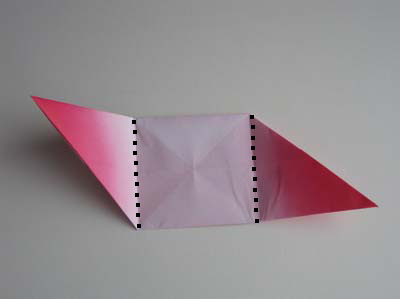
Easy Origami Cube Step 12: OK, that was 1 modular unit. Since a cube has 6 sides, we need 6 of those units. So, repeat steps 1-11 and make another 5 of these units.
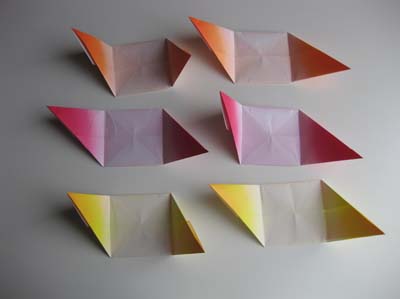
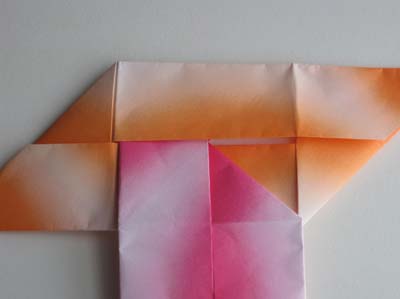
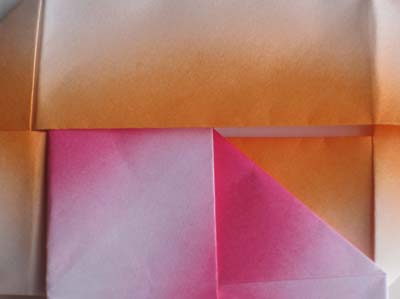
Easy Origami Cube Step 13: To assemble the cube, I first use 1 of each color. Basically we will insert the tips into the pocket to form a cube. First I insert the red tip into the orange unit pocket.
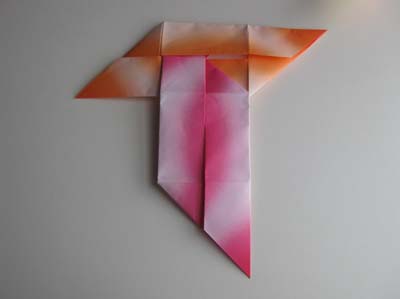
Closer look:
Even closer look...
Easy Origami Cube Step 14: Then I insert the yellow tip:
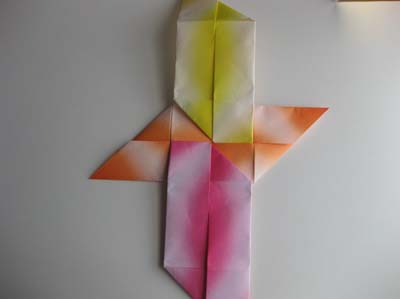
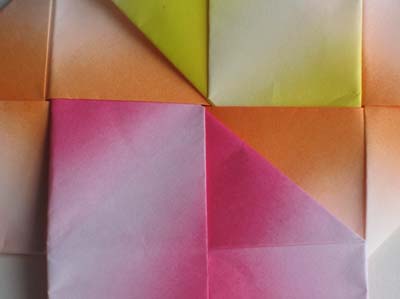
This is what you should have now:
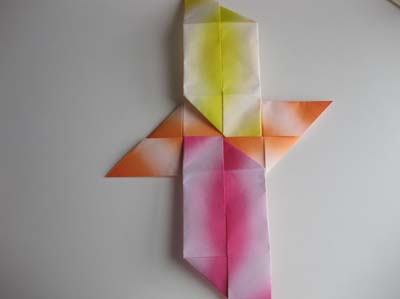
Easy Origami Cube Step 15: Next, Flip the paper over.
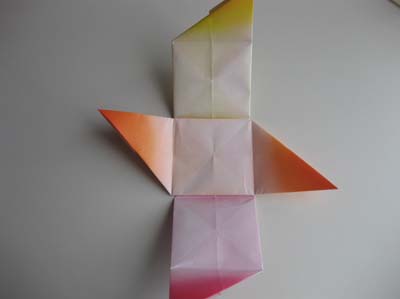
Easy Origami Cube Step 16: Now, since we have the orange unit at the bottom, I'm going to use the 2nd orange unit for the top side. Bring up the tips of red and yellow unit in the picture above and insert them into the pocket of the 2nd orange unit.
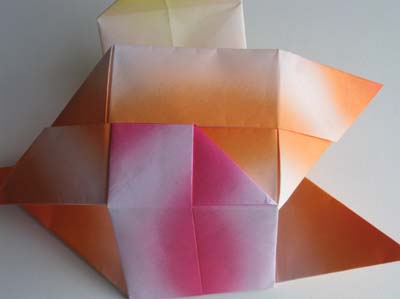
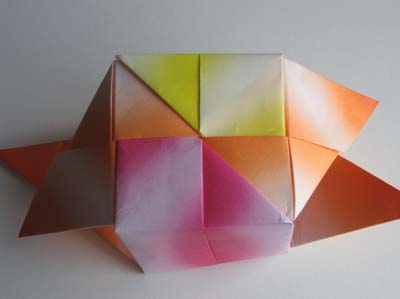
Easy Origami Cube Step 17: OK, you have 2 sides (top and bottom) completed. Now we need to complete the remaining 4 sides (2 open and 2 with paper already on its side but not complete) using the 2 units you have left.
Now I will use my remaining red unit, place it on one of the sides. (I have rotated the cube so that you can see what's going on).
Notice that you will need to insert the tips of this red unit into the pockets of each side.
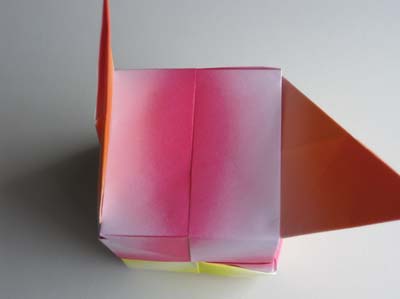
Next bring the 2 orange flaps in and slide them into the red pocket.
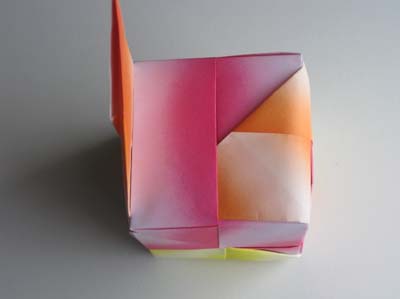
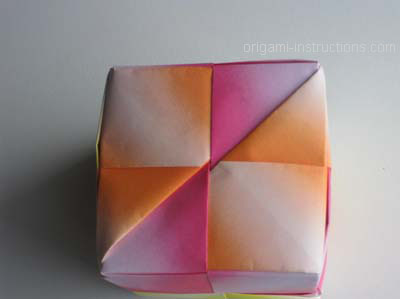
Easy Origami Cube Step 18: Last one! Rotate the cube so that you can place the last unit into the cube.
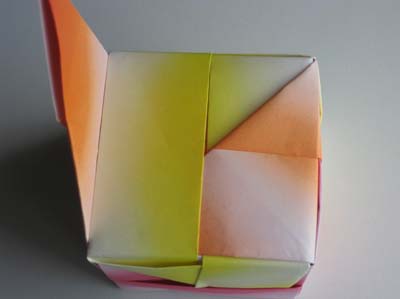
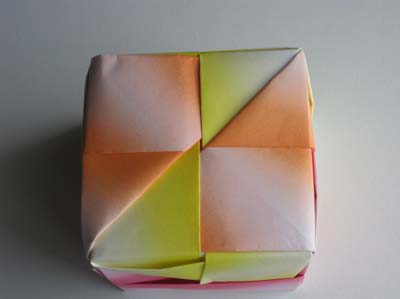
That's it! Here's your easy origami cube!
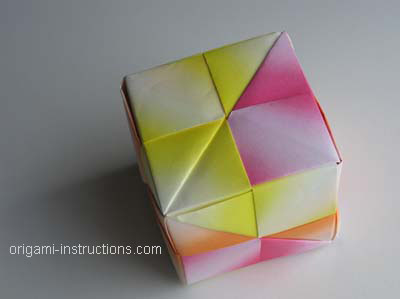
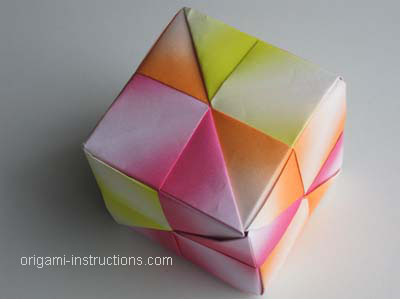
The origami cube is a favorite among our readers. We've received so many photos of your origami cubes that we've created an additional page just for your cube photos.
Check them out here:
Origami Cube Photos from Readers


