Origami 4-Pointed Star Folding Instructions
This origami 4-pointed star looks like a windmill and requires some patience! It's funny how you make fold after fold and don't see the shape of a star until the very last fold! Just trust me, you are folding a star and your patience will be worth it!
Made this origami? Comment and Submit your photo using the comment box at the end of this page!
Origami 4-Pointed Star Step 1: Start with a 6" x 6" (15cm x 15cm) square origami paper color side down. Make 2 folds, 1 on each of the diagonals as shown by the dash lines below. Crease well and unfold.


Origami 4-Pointed Star Step 2: Now you need to divide the paper into 3 sections on both the horizontal and vertical axis. The paper here is 15 cm so every 3rd is 5cm.
Figure out how large your paper is and divide by 3. Mark on your paper as shown in the photo below. Fold, crease well and unfold.


Origami 4-Pointed Star Step 3: Next make the 4 diagonal folds indicated below. Crease and unfold.

When completed your paper should now look like this.

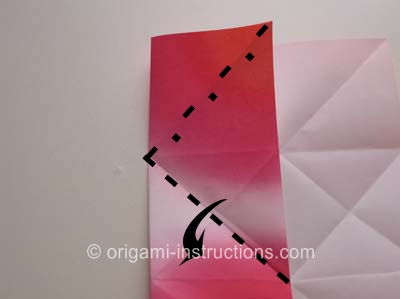
Origami 4-Pointed Star Step 4: Now fold the left side 1/3 over to the right.


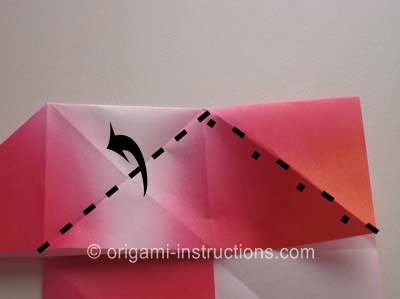
Origami 4-Pointed Star Step 5: Now on the top left, we need to make a mountain fold and a valley fold shown by the lines in the picture below. The dash line is the valley fold while the "-.-.-.-" is the mountain fold.
If you're not clear on what valley and mountain folds are, check out this page for more info: Valley and Mountain Folds


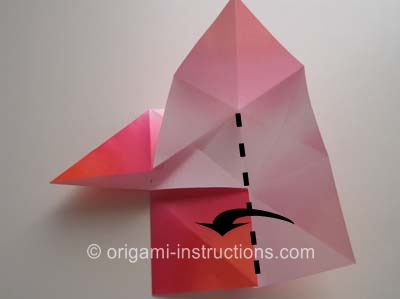
Origami 4-Pointed Star Step 6: Now you will open the paper somewhat. Use the valley and mountain folds to form what looks like a roof on a house. Crease down on the valley fold and push out the mountain fold. Follow the photos below.


Origami 4-Pointed Star Step 7: We will fold valley and mountain folds again, this time at the lines shown below. The "----" line is valley and the other is mountain.


Origami 4-Pointed Star Step 8: OK, open up the paper slightly, crease down on the valley fold and push out the mountain fold. Bring the right side over to the left. Follow the photos below.


Origami 4-Pointed Star Step 9: Make mountain and valley folds again at the lines shown below.


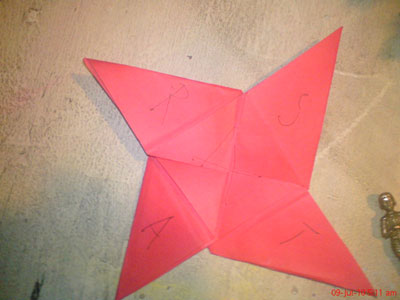
Origami 4-Pointed Star Step 10: We are almost done! Promise! :) Open up the paper and see the area marked "Flap A" in the photo below? Make the valley fold and push "Flap A" out to the left.. Then bring the entire bottom piece up.
The creases and folds you've painstakingly made help bring it together easily. Follow the photos below.


Origami 4-Pointed Star Step 11: One last fold! Fold down the left tip on the dash line shown below.

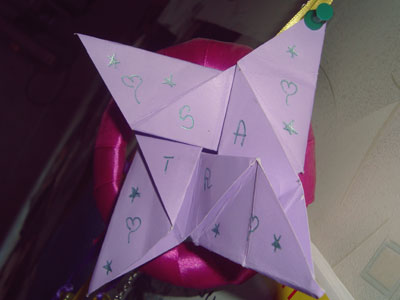
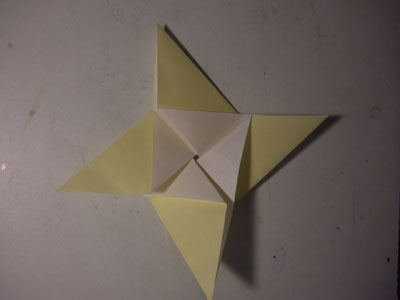
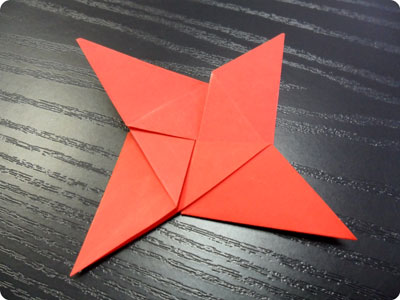
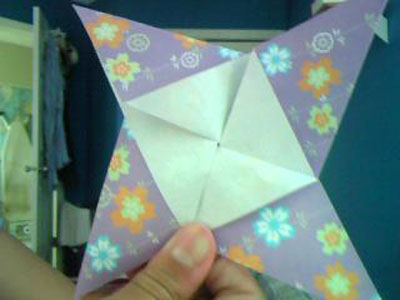
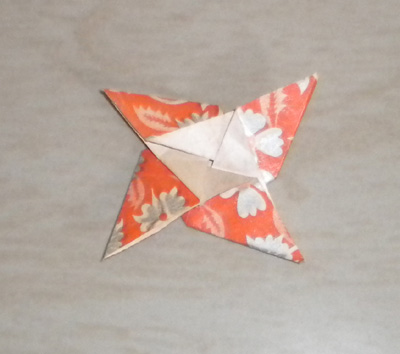
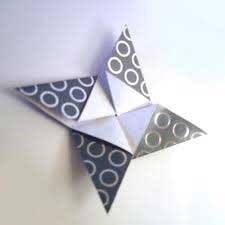
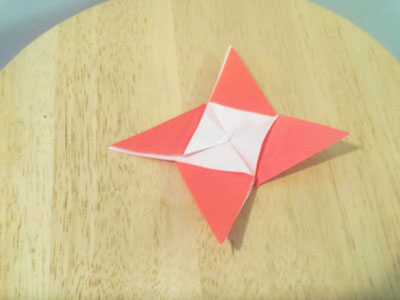
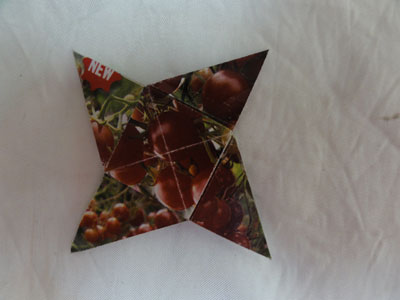
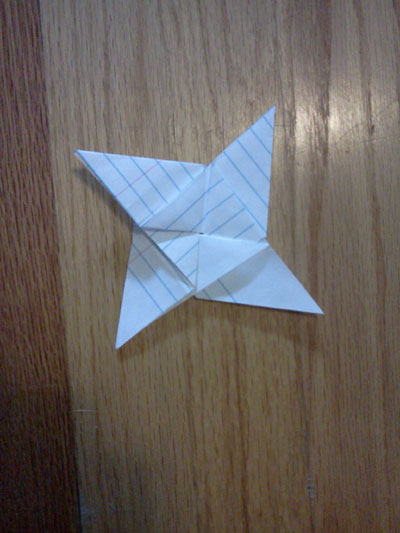
and voila! Your origami 4-pointed star! You didn't see that coming, did you?


From Trent in Victorville "This is one of my favorites on this website."
From Igor in Kupljenovo:
From Jamie in Calgary:
From Dave in Manchester:
From reader in India " 4 pointed origami star "
From May in Sedona "This is awesome!"
From reader in West Hartford:
From Tammy in Ohio "Origami 4-Pointed Star"
From Dee in Boston "Four pointed star!"
From Adelina in Bacau Romania "Origami 4-Pointed Star"