


Origami Inside and Outside Reverse Folds
The origami inside and outside reverse folds are techniques often used in origami. It's used in two of the most popular origami, the crane and flapping bird. It's often used to create the "head" or "tail" of an animal. It's not a difficult fold but may seem intimidating to those starting out. You should be comfortable with this fold and know what to do when you hear the terms "inside reverse fold" and "outside reverse fold".
You can watch the video below to see how to make the inside and outside reverse folds.
Origami Inside and Outside Reverse Fold Video
Origami Inside Reverse Fold
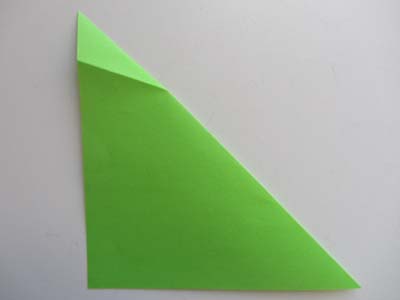
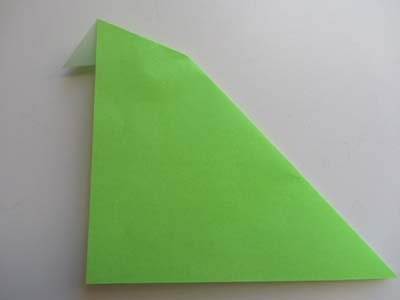
Origami Inside Reverse Fold Step 1: The first thing to do is to make a mountain fold. Crease well and unfold.

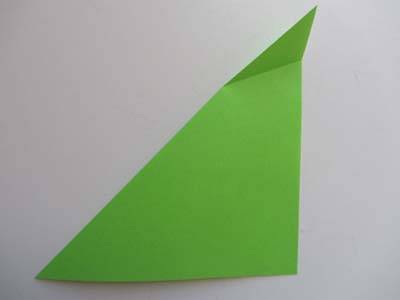
Origami Inside Reverse Fold Step 2: This step is somewhat optional. Flip paper over. When you make a mountain fold on one side, that same fold is a valley fold on the other side. Pinch the fold so that it becomes a mountain fold.
You can probably skip this step once you are familiar with inside reverse folds. But if you're a beginner, this extra step makes the next step easier.
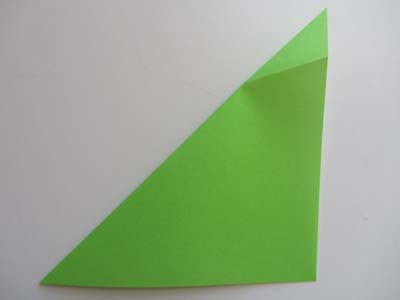
Origami Inside Reverse Fold Step 2: Flip paper over. Pry paper open slightly. Push the tip downwards so that it'll be in between the 2 sides of paper.
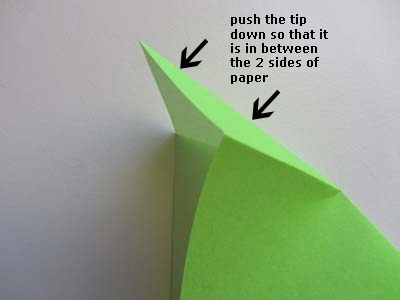

Press paper flat.
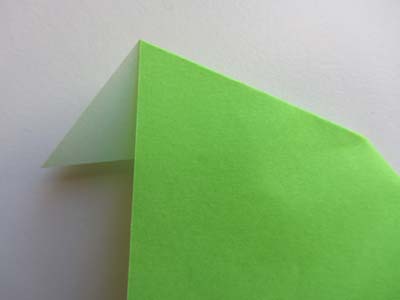
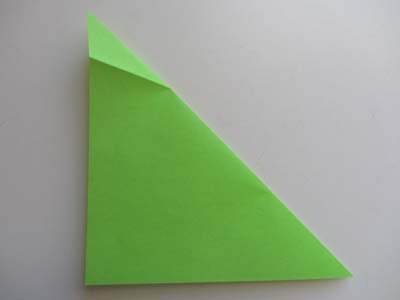
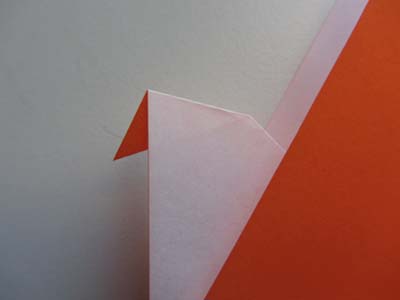
You've just completed the inside reverse fold! See how it looks like a"head"?
Below is the TOP view of this inside reverse fold.
Let's work on another example. This time, let's create the "tail" of something.
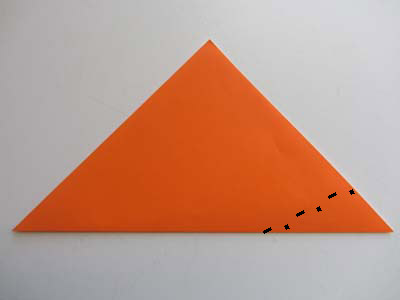
Once again, make a mountain fold. Crease well and unfold.
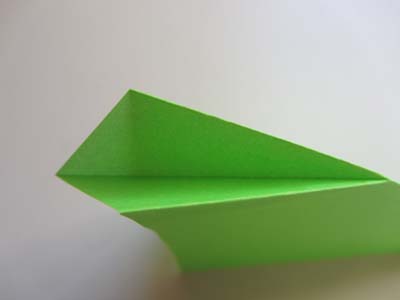
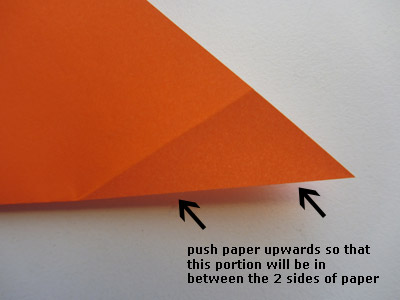
Pry paper open slightly. Push the tip upwards this time so that it'll be in between the 2 sides of paper.
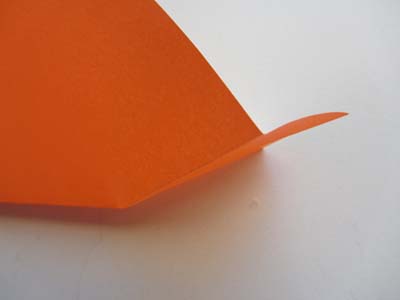
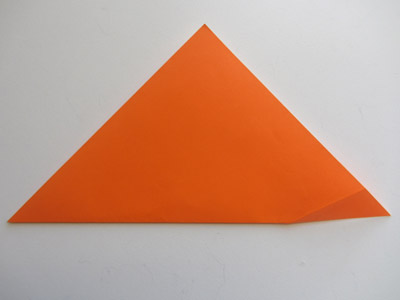
Press paper flat and you've completed another inside reverse fold. Notice how it looks like a "tail"?
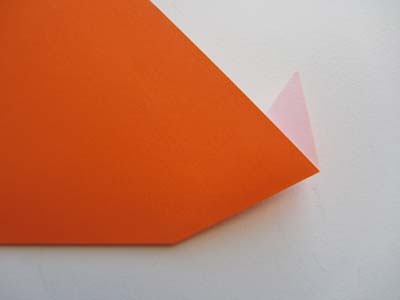
Just for fun, let's make 2 more inside reverse folds. Make the mountain fold and then an inside reverse fold.
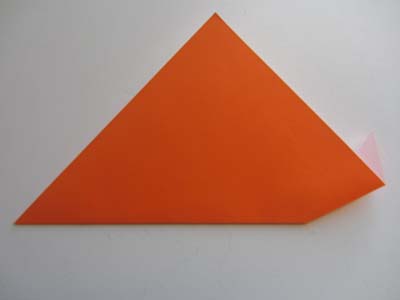
Did you get the following?
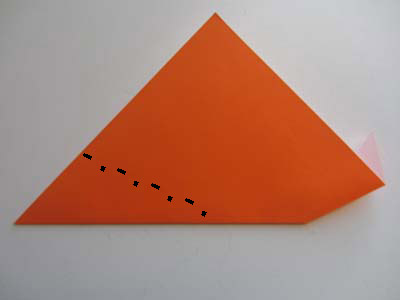
Now make another inside reverse fold as indicated below:

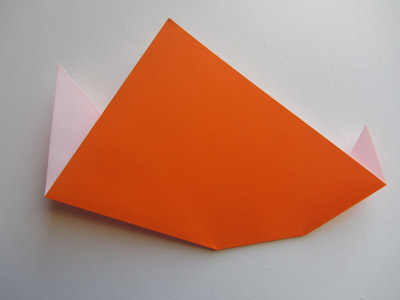
Did you get this?
And this is what you should have now:
See how by making 3 inside reverse fold, you seem to have a head, neck and tail?
The best way to learn the inside reverse fold is to fold an origami which requires it. So try folding the origami crane or flapping bird.
Origami Outside Reverse Fold
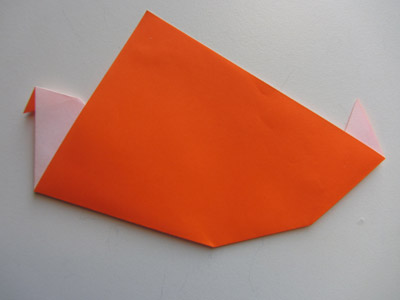
Origami Outside Reverse Fold Step 1: We want to make an origami outside reverse fold on the corner shown in picture. First make a valley fold on the dash line. Fold only the outer layer of paper.


Origami Outside Reverse Fold Step 2: Flip the paper over. Make a valley fold on the outer layer of paper only.


Origami Outside Reverse Fold Step 3: Flip the paper over.

Origami Outside Reverse Fold Step 4: Open the paper slightly and fold the corner part of the paper outward. Close the 2 flaps of paper, making sure the corner stays outward. Press the front/corner part down to complete the origami outer reverse fold.


