Money Origami Ring
The money origami ring with a dollar bill gives new meaning to the words "dime-in ring" (ten dimes, to be exact!).
Made this origami? Comment and Submit your photo using the comment box at the end of this page!
For those not in the USA, the dimensions of a USA one dollar bill are height = 66mm (2.6 inch) and width = 156mm (6.1 inch).
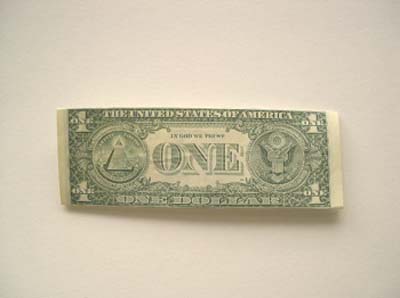
Start with a crisp new dollar bill. First, turn the backside to face up.
Then fold over just the white edge portions, as show in the second photo:
Money Origami Ring

Now fold the bill in half, lengthwise.
Now fold the bill in half, lengthwise (is there an echo in here)?


Then fold the white edge near the end of the folded bill. Fold it away from you.
Next, fold the "1" at that same end, so that the "1" is centered in a little square of folded money.


Now curve the rest of the bill slightly, in preparation for the curve to be folded later.
Now lay the bill back down, and fold part of it upwards at 90 degrees, as shown.
The exact length of the horizontal portion depends on the size of your ring finger!
After you have folded the ring once and understand the process, the next time you should be able to measure your finger with the dollar bill and get fairly close to a perfect fit.


The piece of folded bill sticking up is now folded over the back of the horizontal piece, to end up straight down.
Then flip the whole piece over as shown.


Remember the curved piece?
Now roll it around to form a complete circle. Line up the folds as shown.
The wrap the vertical piece downwards....


...then back up through the center of the ring. Almost there!
Now we need to make the whole thing stick together.
Take the folded end flap containing the "1", and tuck it into the edge of the vertical piece that you just wrapped.
See the photo for where to tuck.
You may need to use a fork, key, or other handy tool to open up that pocket slightly and get the flap tucked in.


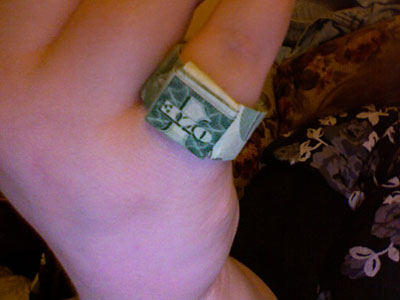
And now the money origami ring is ready to wear!

From Holly in Rochester "origami ring made from money! he got it from my wallet! (he went to Jarred's) haha "
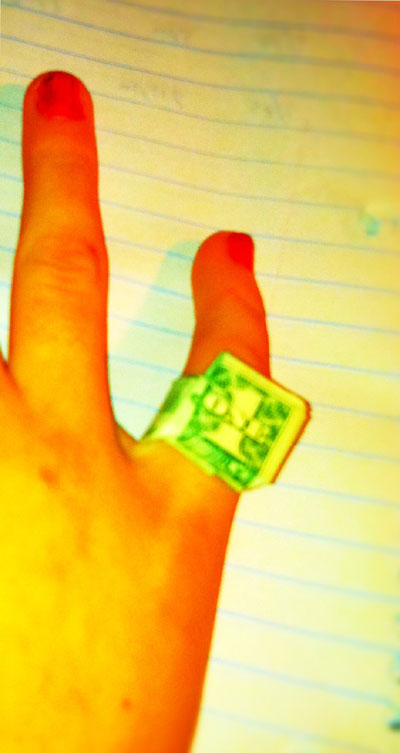
From Kim in Woodland " Dollar-bill ring. Took me a couple of tries to get the fit right, but I figured it out. "
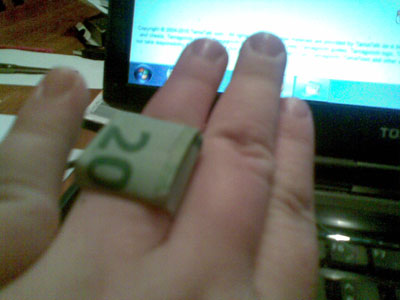
From reader in Alexandra " This is my ring made out of a $20 note! ^_^ "
From Victoria in Orlando " Fits my pinky finger perfectly!!!!!! "